Throughout my childhood; Mum made her own bread rolls.
To us; they were just everyday, even mundane bread rolls. They fed the family of five when money was tight.
To us they were nothing special; but to my surprise everyone outside of our family absolutely loved them. My cousins could destroy a batch of bread rolls while they were still cooling on the rack before anyone else had a chance. Still to this day it is a core memory for my cousin – Aunty Kerrie’s bread rolls.
I didn’t appreciate them until I was older and started cooking them myself. Bread rolls are my party trick when having guests around for dinner and the guests are more than happy taking the remaining rolls home; if there are any.
But I am here to dismiss the mysticism of “Mum’s bread rolls”. They are great; but there is no unobtainable magic in them, no exotic ingredients that need to be sourced from far away lands and no secret recipe that is passed down only to the oldest of the family.
The recipe actually came that came from the instruction manual of the first bread machine that we purchased all those years ago.
But with a few simple technique improvements; these bread rolls can be taken up a notch from the default bread machine recipe.
So finally for all those people wondering “How”; this is how you make “Mum’s bread rolls.” Try giving them a go yourself.
Mechanical Assistance
For this recipe I use a bread machine. It is a device that my family has used for many years. I think Mum has burnt out three bread machines in her life; running them almost every day when we all lived at home.
I have used a bench mixer with a dough hook when making a double batch of bread rolls with success. The bench mixer can be noisy compared to the bread machine; especially if you have to kneed the dough for 30min. I also hand kneeded the dough while we were away on holidays. It is harder to develop the gluten than the bread machine or a bench mixer; but can be done.
The Recipe
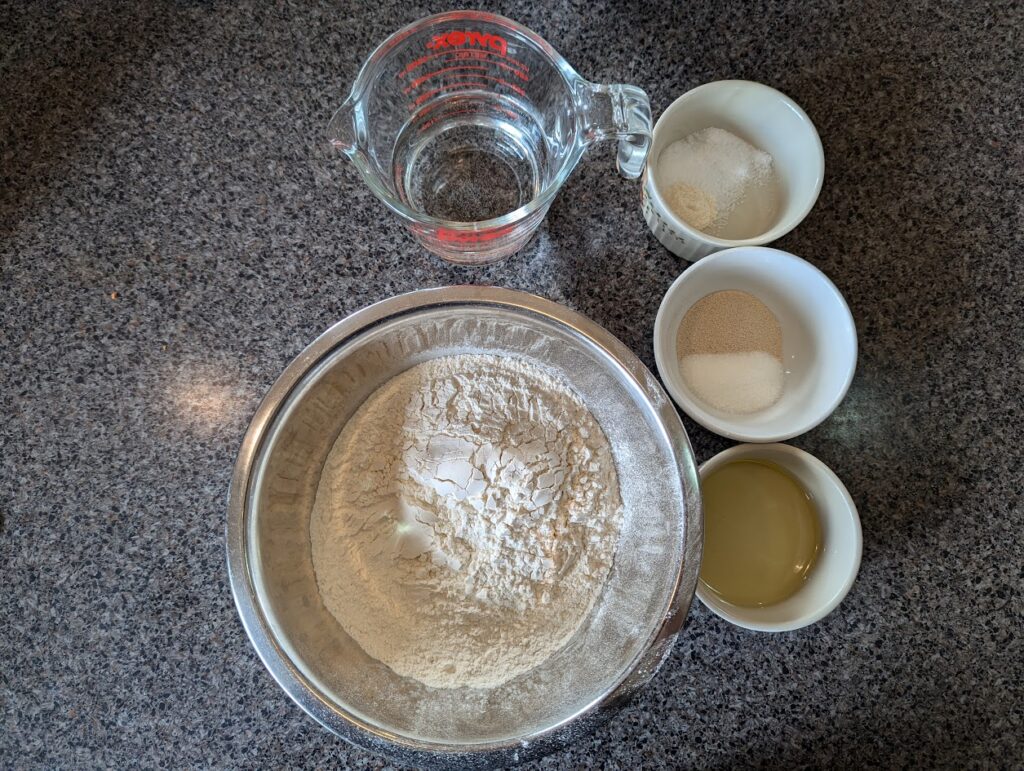
Ingredients
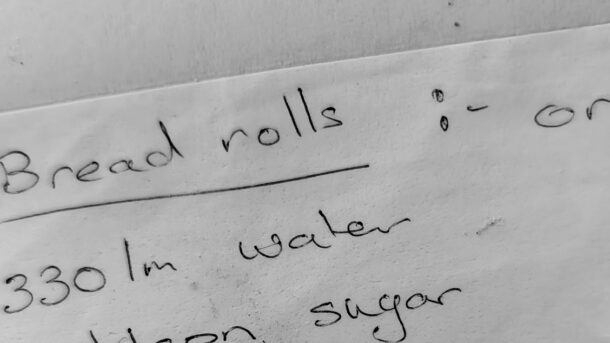
- 330ml of warm water
- 2tsp of dried yeast
- 1tbs of white sugar
- 1cp wholemeal flour
- 2 1/2 cp strong baker’s flour
- 1tsp of Bread improver or 1/4 tsp of ascorbic acid
- 1tbs of olive oil (or a neutral cooking oil)
- 1tsp salt
Method
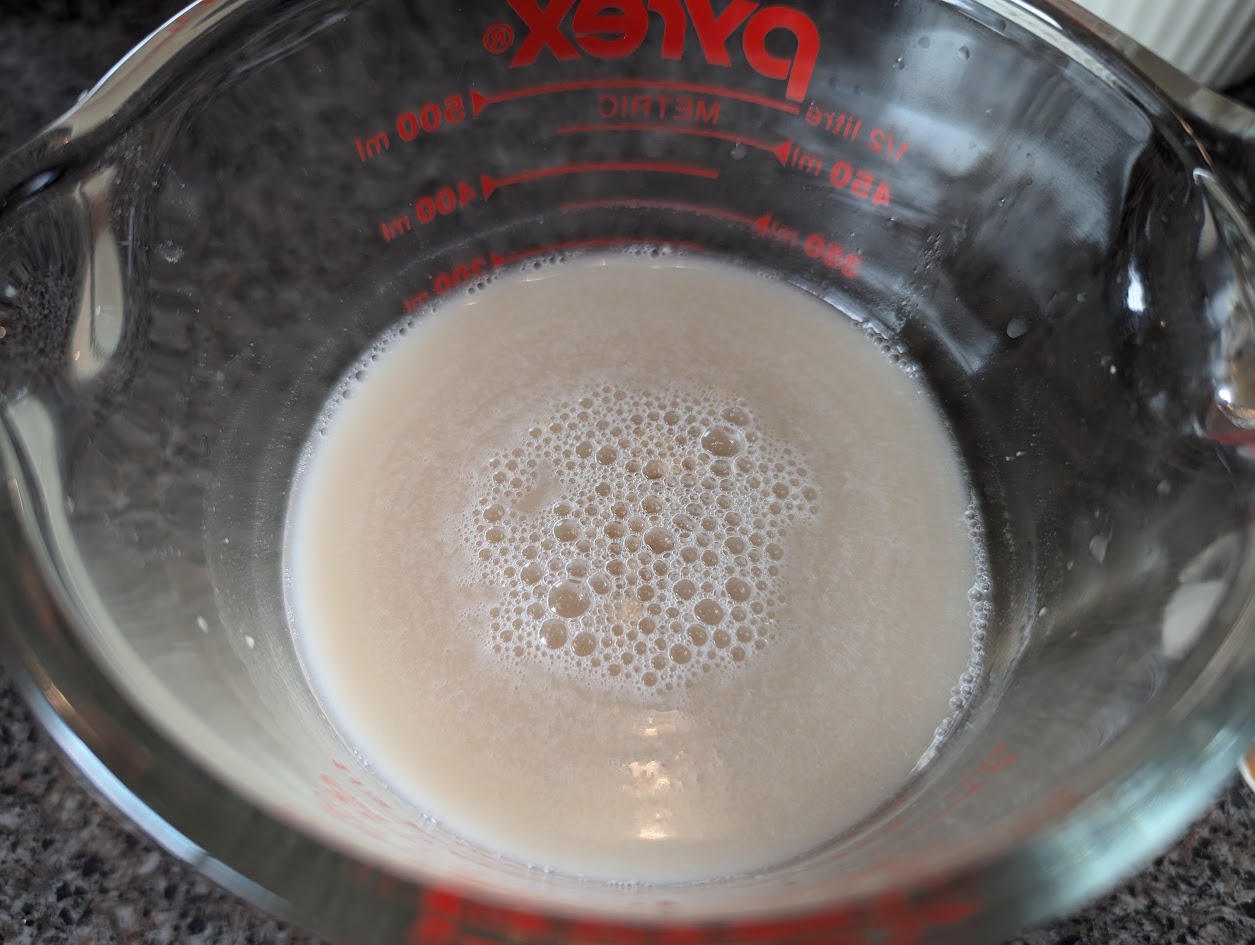
- Dissolve the sugar in warm water. Mix in the yeast. Leave for 10min in a warm spot to allow the yeast to activate
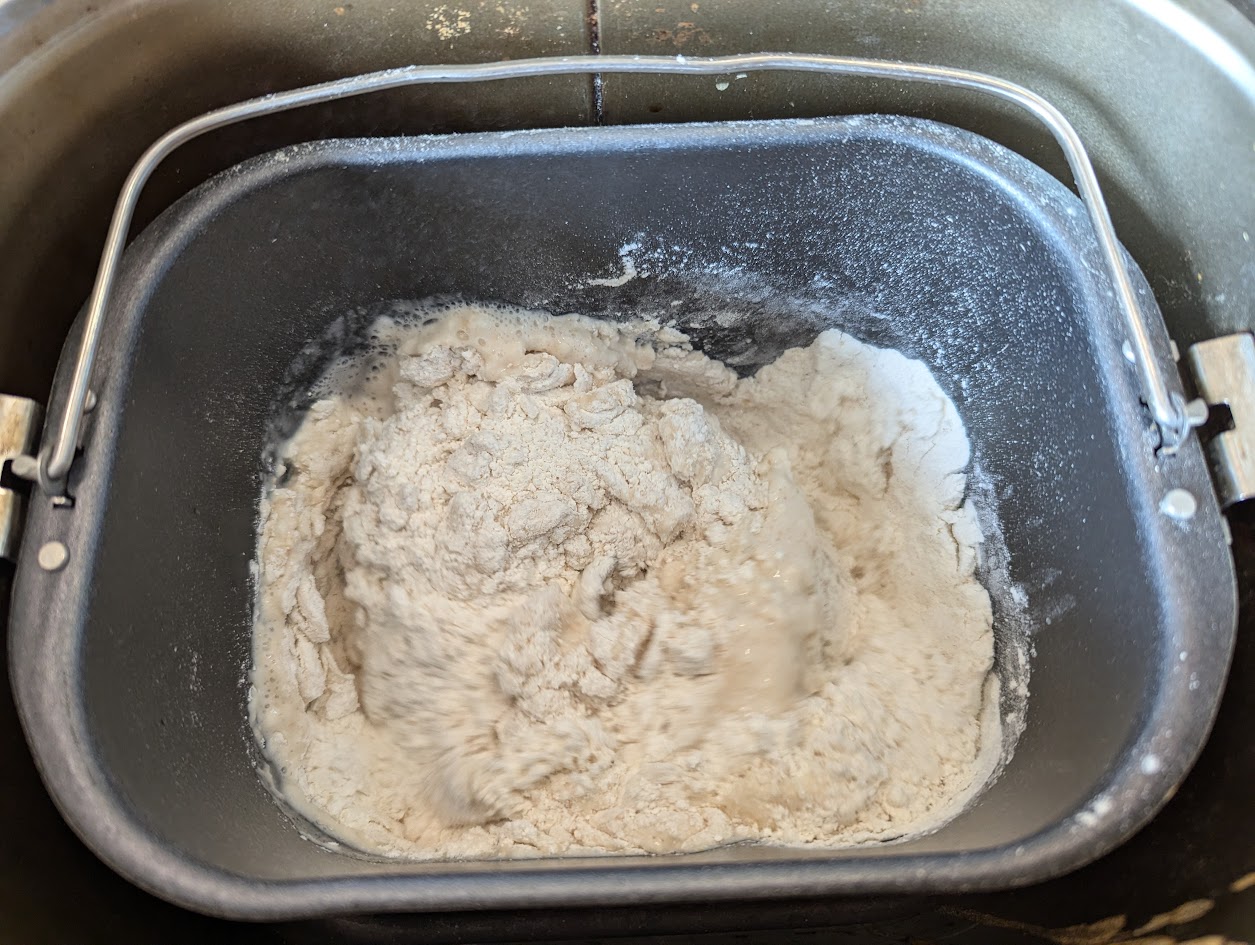
- Add all the ingredients in the bread machine and start it on the “dough” setting. Watch for the first 10 minutes to ensure the ingredients combine correctly. You are looking for a smooth dough that only just slightly catches to the side of the bread machine. If it is too sticky; add extra baker’s flour teaspoon by teaspoon. If the dough is too dry and not forming together; add water teaspoon by teaspoon. Allow time for the water to get mixed in because it is very easy to overdo it.

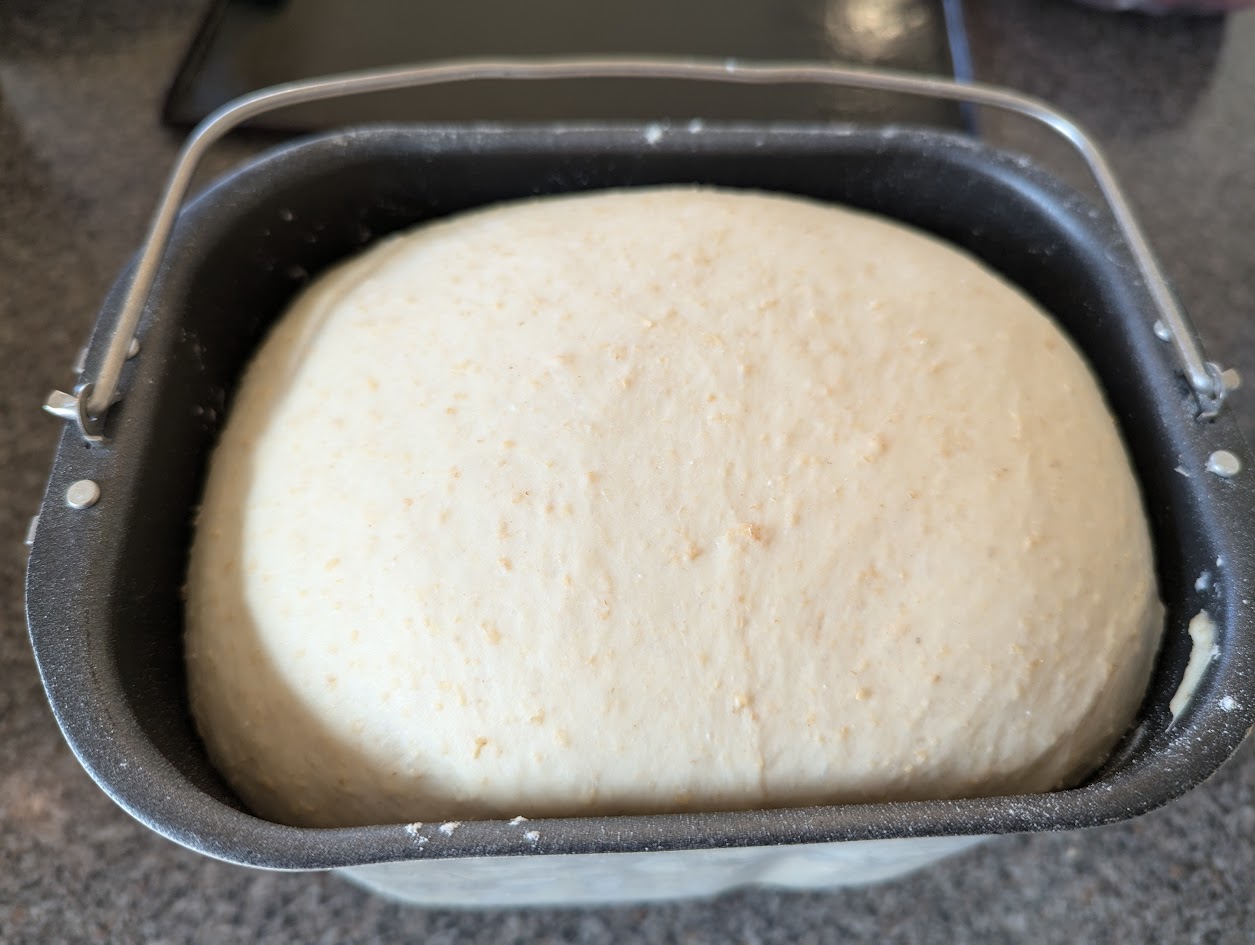
- Allow the dough to kneed for 30minutes.
- After kneeding; allow the dough to rise for an hour in a warm spot.
- Punch the dough down and turn the dough out on a floured surface. Kneed for a few minutes to release any large air pockets and shape the dough in a rough log shape
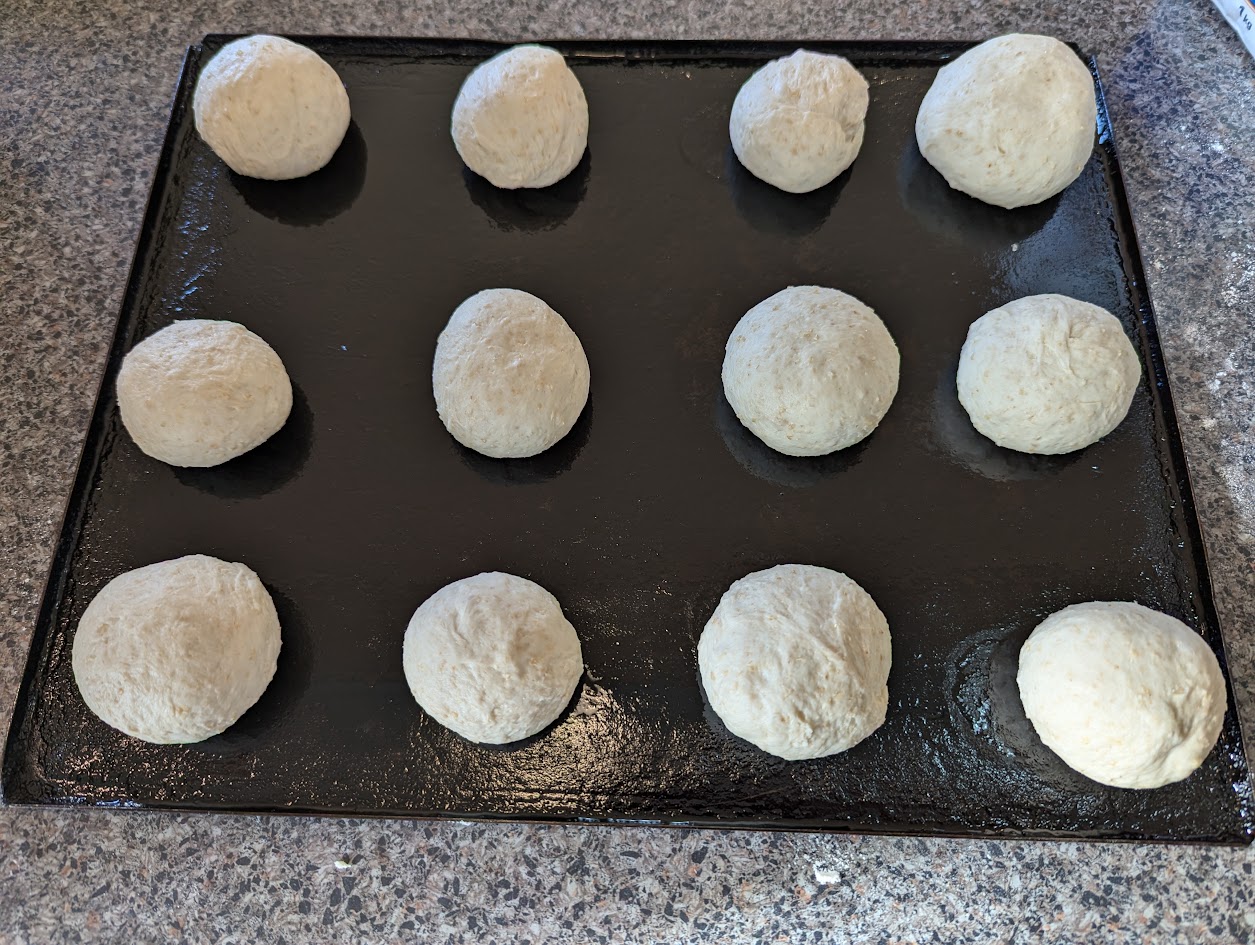
- Divide the dough up into individual rolls. Typically I divide the dough up into 12 bread rolls. 16 is good if you are feeding kids and 8 is good if you are making rolls as the feature part of a meal (e.g. a schnitzel sandwich)

- To shape the rolls (I’ll do my best to describe the method). Find a un-floured spot on the bench. You need the dough to ever so slightly stick to the bench top. Ppress down on the clump of dough with the palm of your hand. Make circular motions with your hand to move the dough around and slowly raise it while bringing in your fingers. This will shape the dough into a bread roll.
- Add the bread rolls to a lightly oiled heavy baking tray.
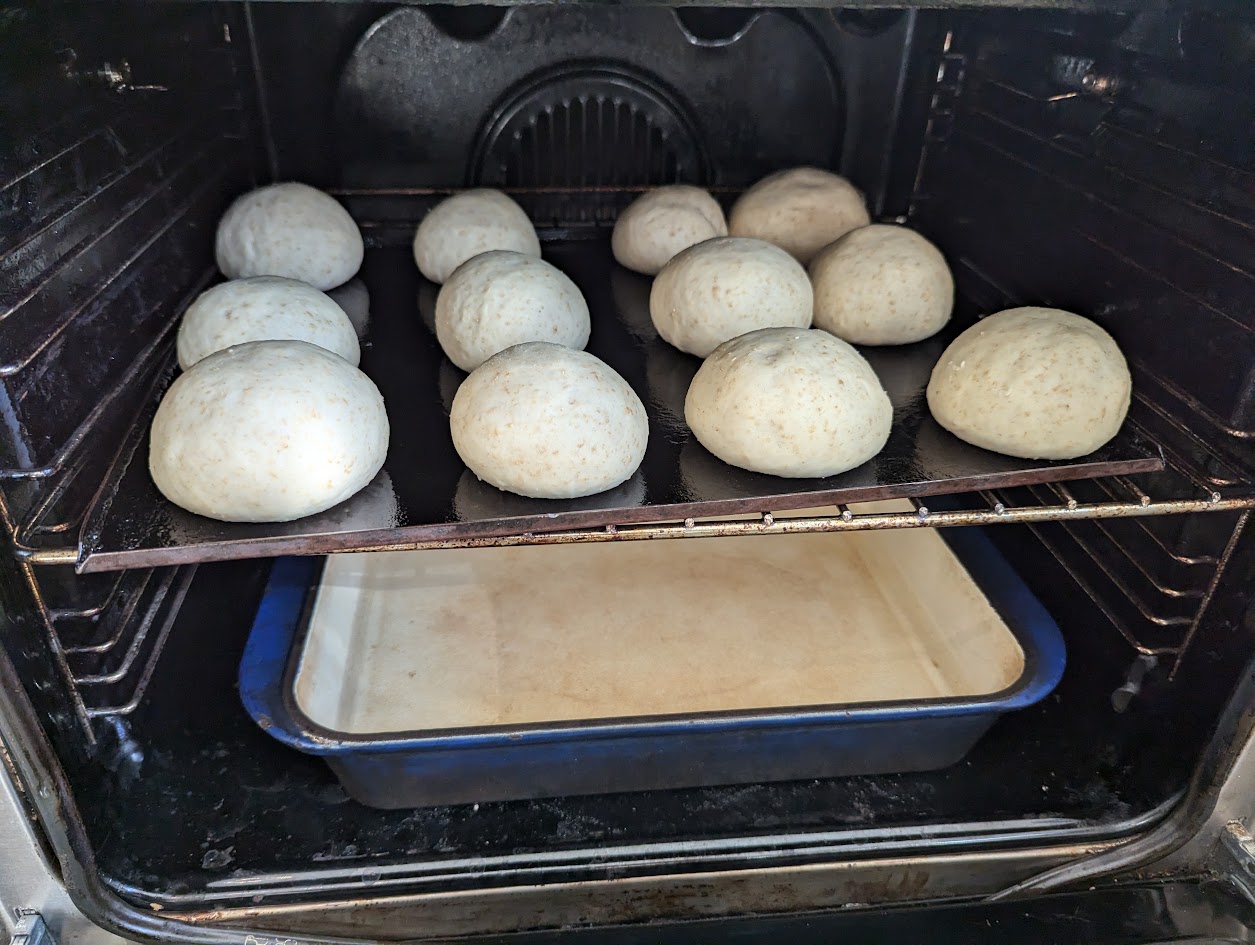
- Place the bread rolls in a warm spot and allow them to rise for about 40 minutes; or double in size. Rising time will depend on your ambient temperature; in the colder months I have to position a tray over a heater vent to encourage the bread to rise
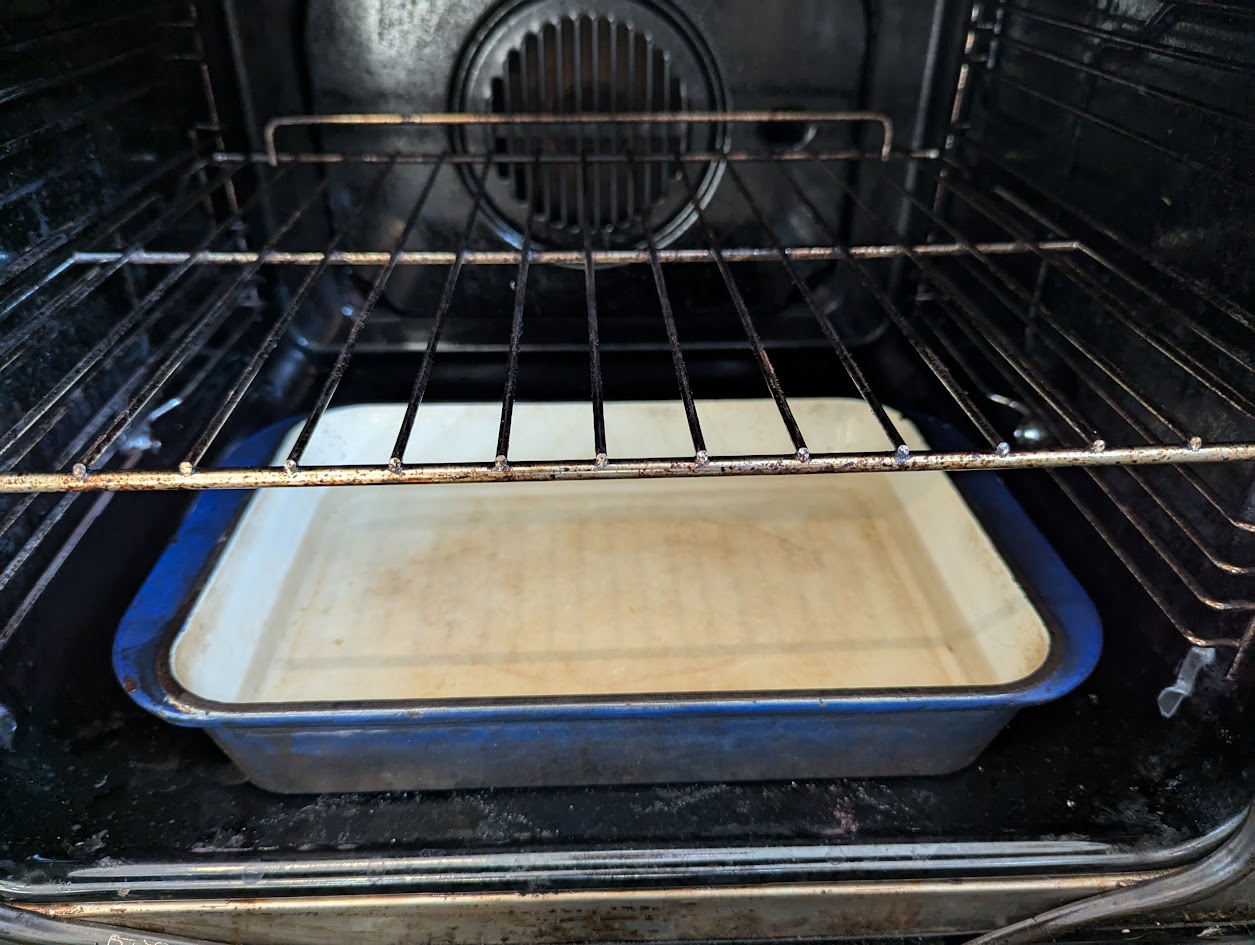
- Ten minutes before the bread rolls have completed rising; preheat a oven to 180c. Carefully place a heatproof pan at the bottom of the oven half filled with boiling. This will create steam for the bread rolls to improve the crust on them.
- Position the bread rolls in the middle of the oven and bake for 10 minutes. Rotate the tray and cook for another 3 minutes; or until the bread rolls achieve the crust that you want.
- Turn onto a wire rack and cool.
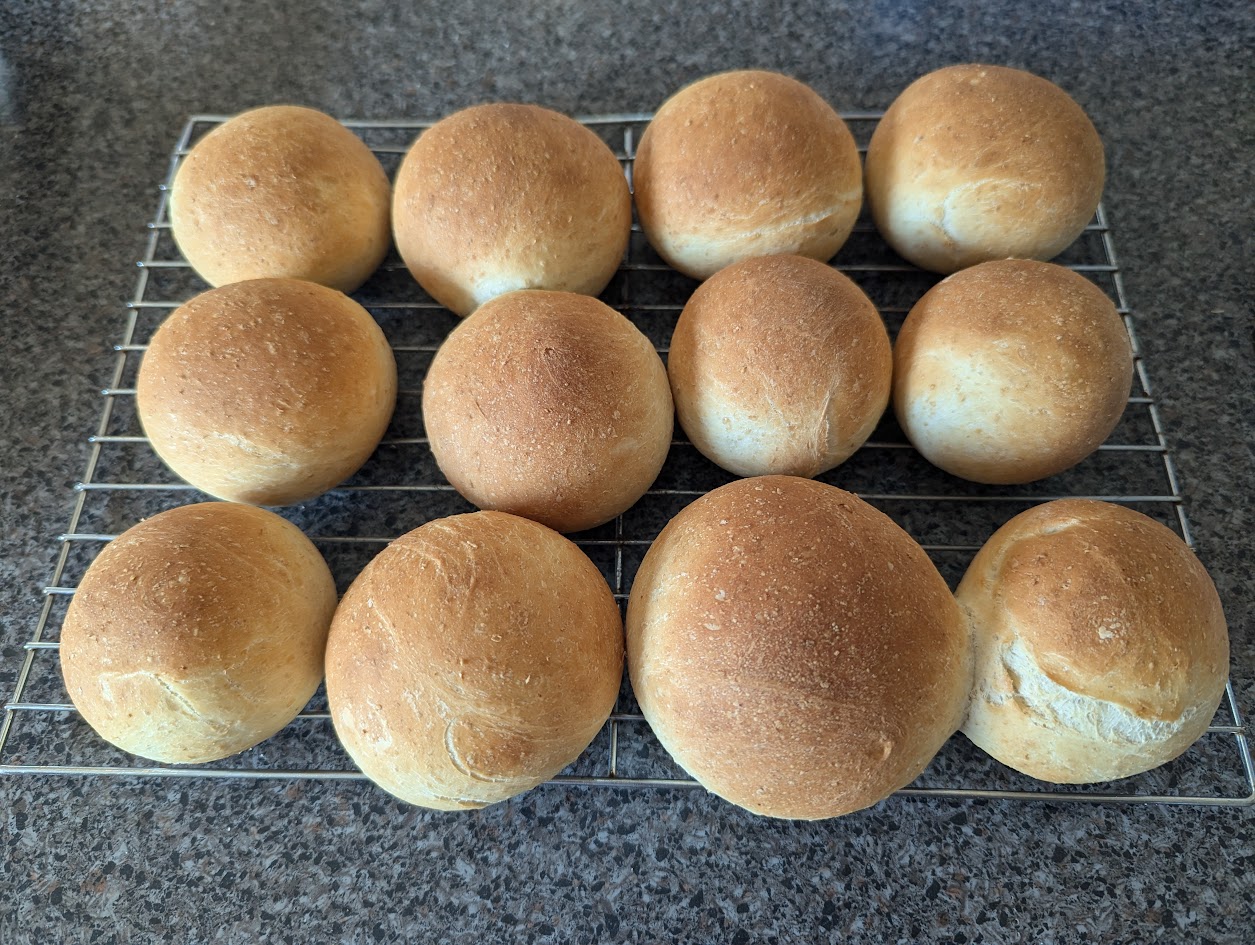
- Try and keep cousins, children, wife, friends etc from sneaking bread rolls until they are cool enough to eat.