Cook

Little Ash’s “Dangerous” Beef Sausage Rolls

I quite often you hear recipes described as “scrumptious” or “moreish” and these terms are thrown around by people with poor impulse control.

I describe this recipe as “Dangerous.”  Dangerously addictive.   And I don’t use this term lightly.  I’m surprised there isn’t a “Drug & Alcohol” article released on the dangers of these Sausage rolls

Before COVID in the office morning tea, the original owner of the recipe would bring a batch of sausage rolls in and they will be the first plate of food eaten. 

I cooked a batch for a 4 yo birthday party and people were fighting over to get the last one. 

My kid’s friends devoured a whole container of sausage rolls after school, leaving none for tea that night.

When the original recipe owner gave me the recipe; surprisingly there is nothing remarkable about the ingredients.  No rare or exotic ingredients need to be sourced from far distant lands.  No illicit drugs folded in.  No magic or rituals to add to the quality.

Anyway – without further ado; here is the recipe of “Little Ash’s ‘Dangerous’ sausage rolls.”

The Recipe

Ingredients

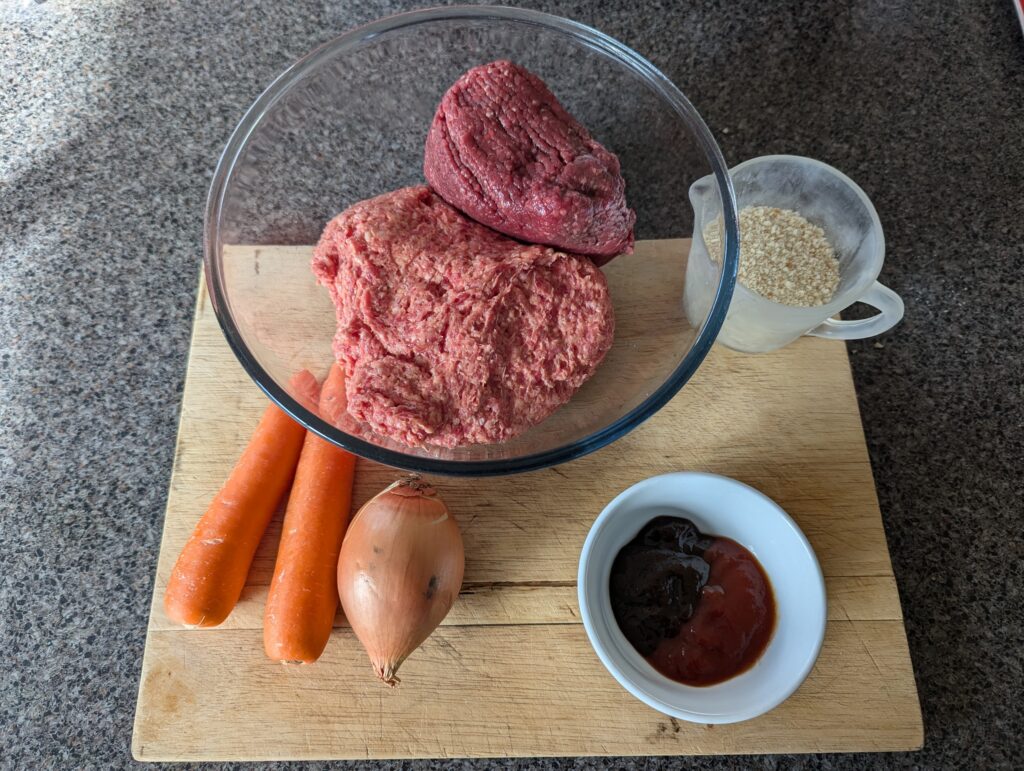
  • 500g Sausage mince
  • 500g Beef mince
  • 1 onion (diced fine)
  • 2 carrots (finely grated)
  • 2/3 cup bread crumbs
  • 2tbs Tomato sauce
  • 2tbs Nice BBQ sauce
  • 1tsp Garlic powder
  • Sprinkle of mixed herbs
  • Pepper to taste
  • 6 sheets of puff pastry (20cm x 20cm)
  • Beaten egg + 1tbs of milk for glazing

Method

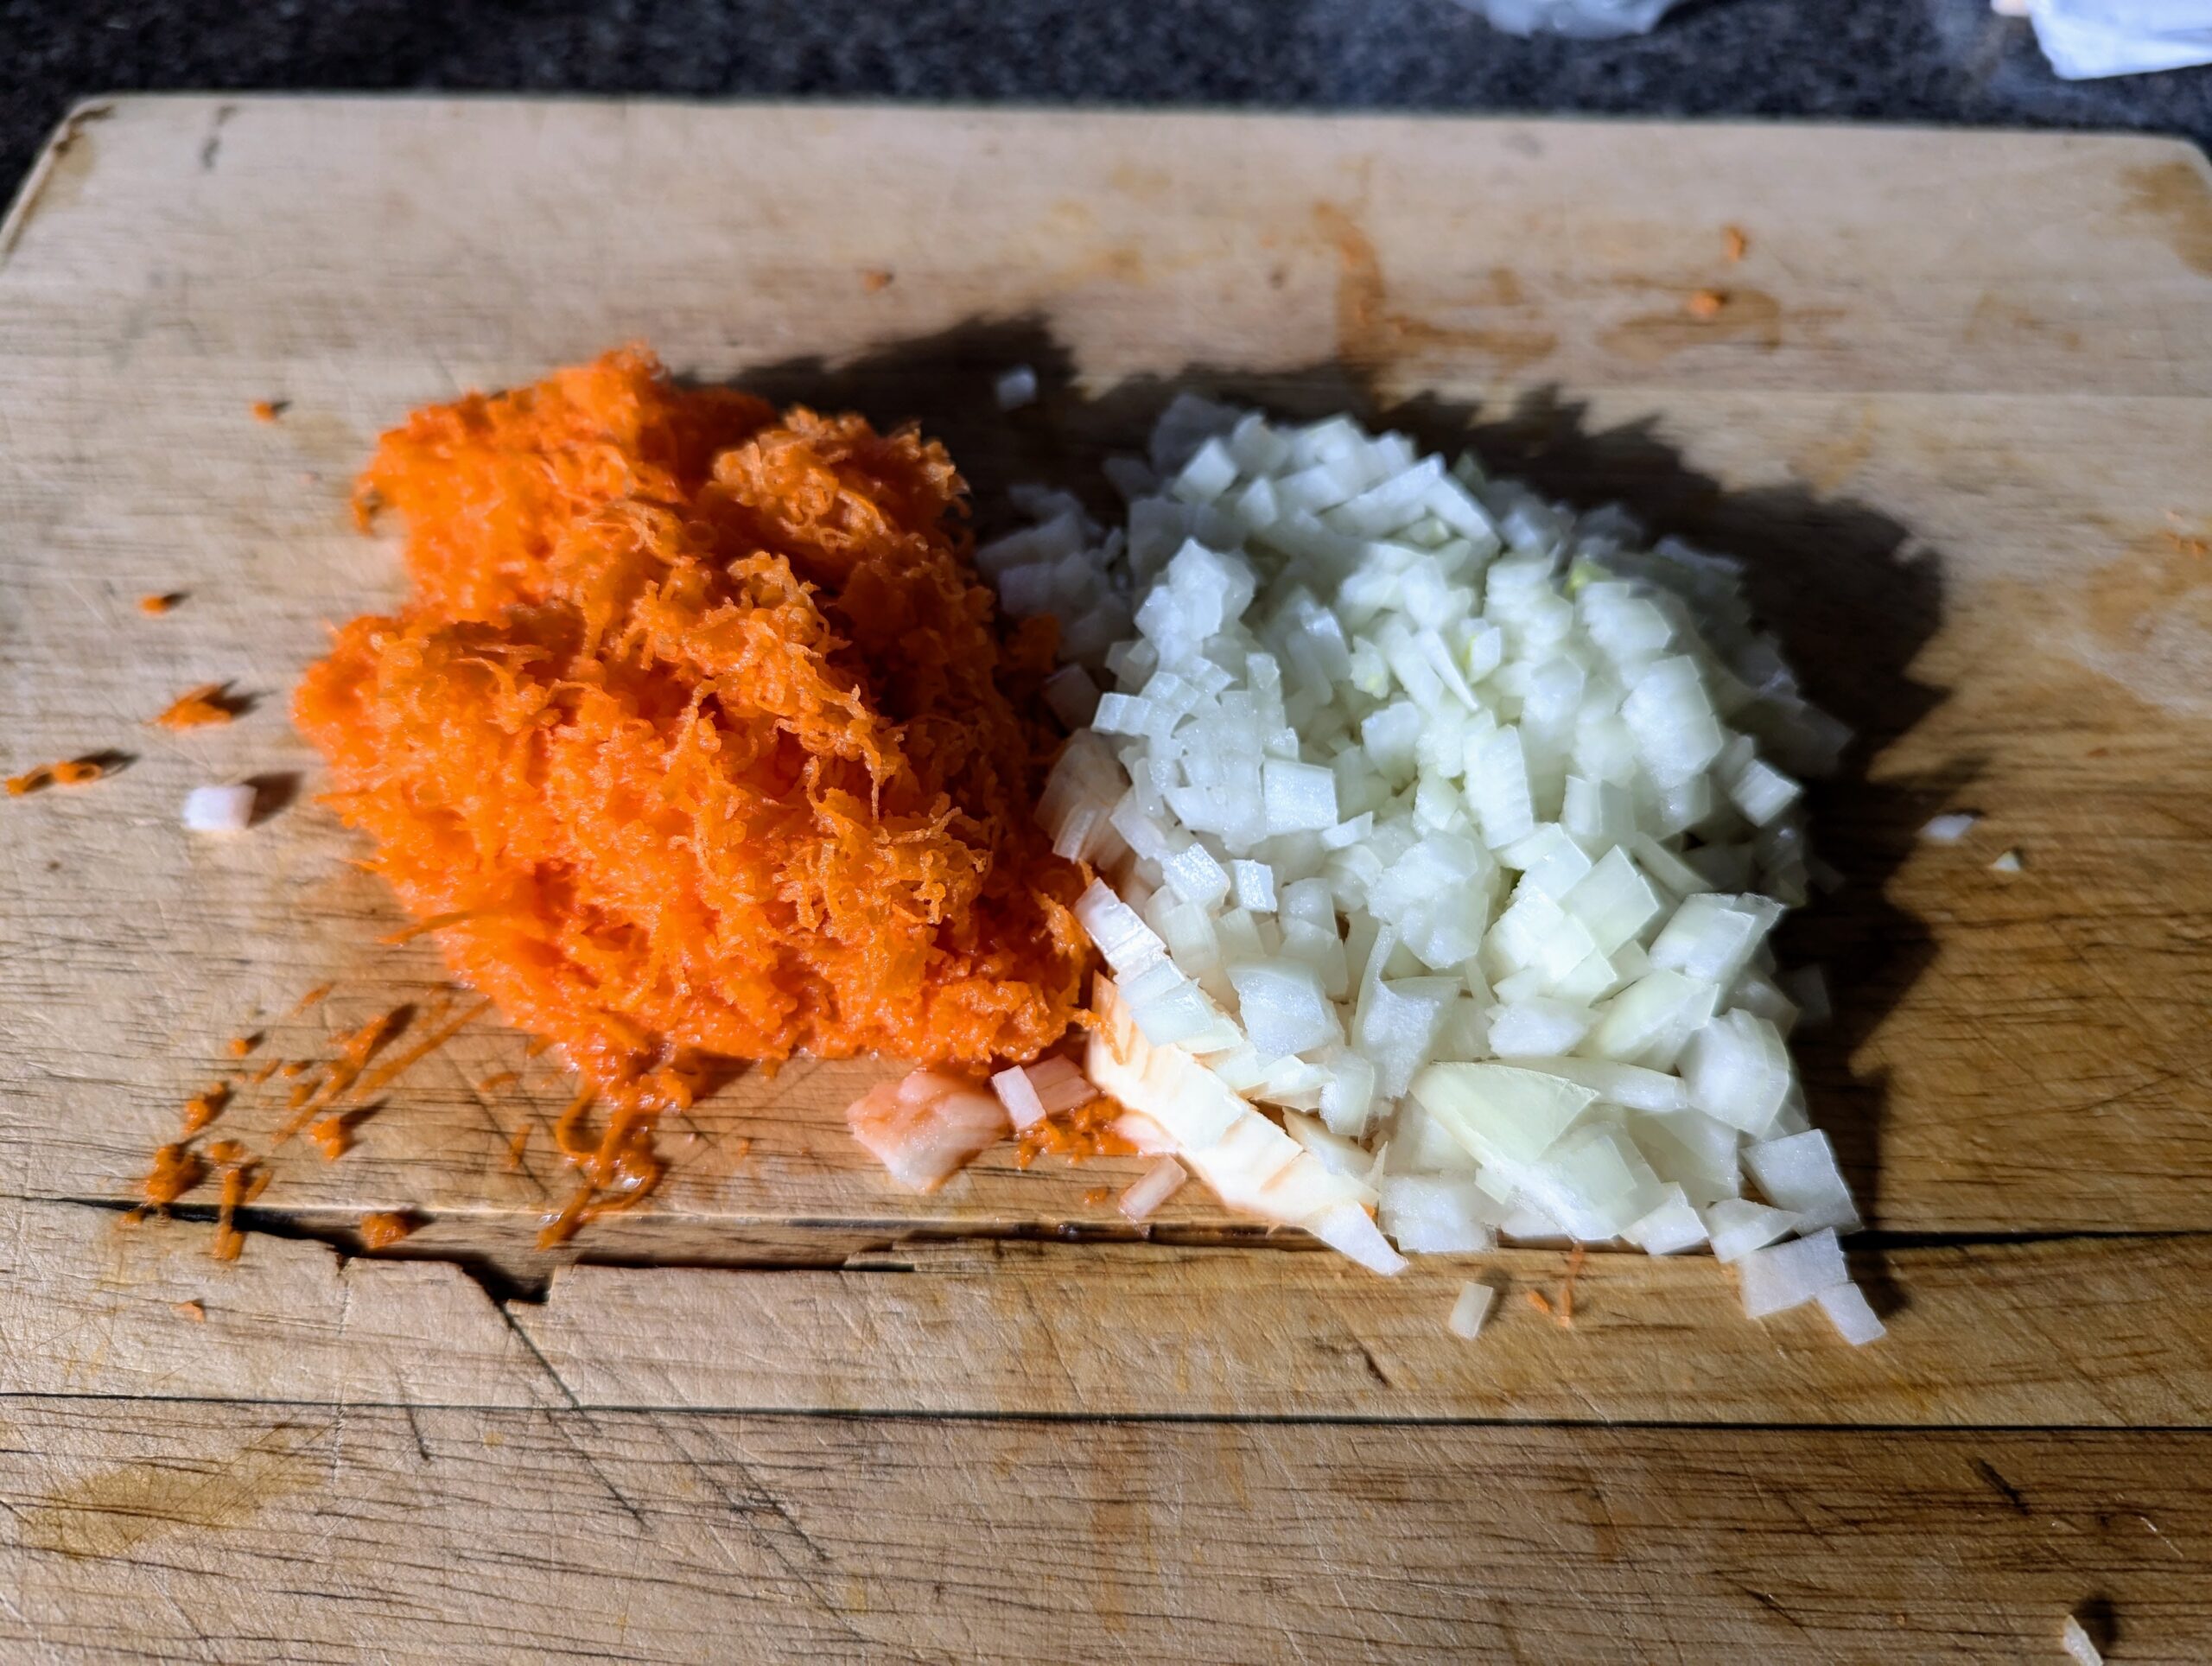
  1. Dice the onion up as finely as possible
  2. Grate the carrots in the small holes in the grater

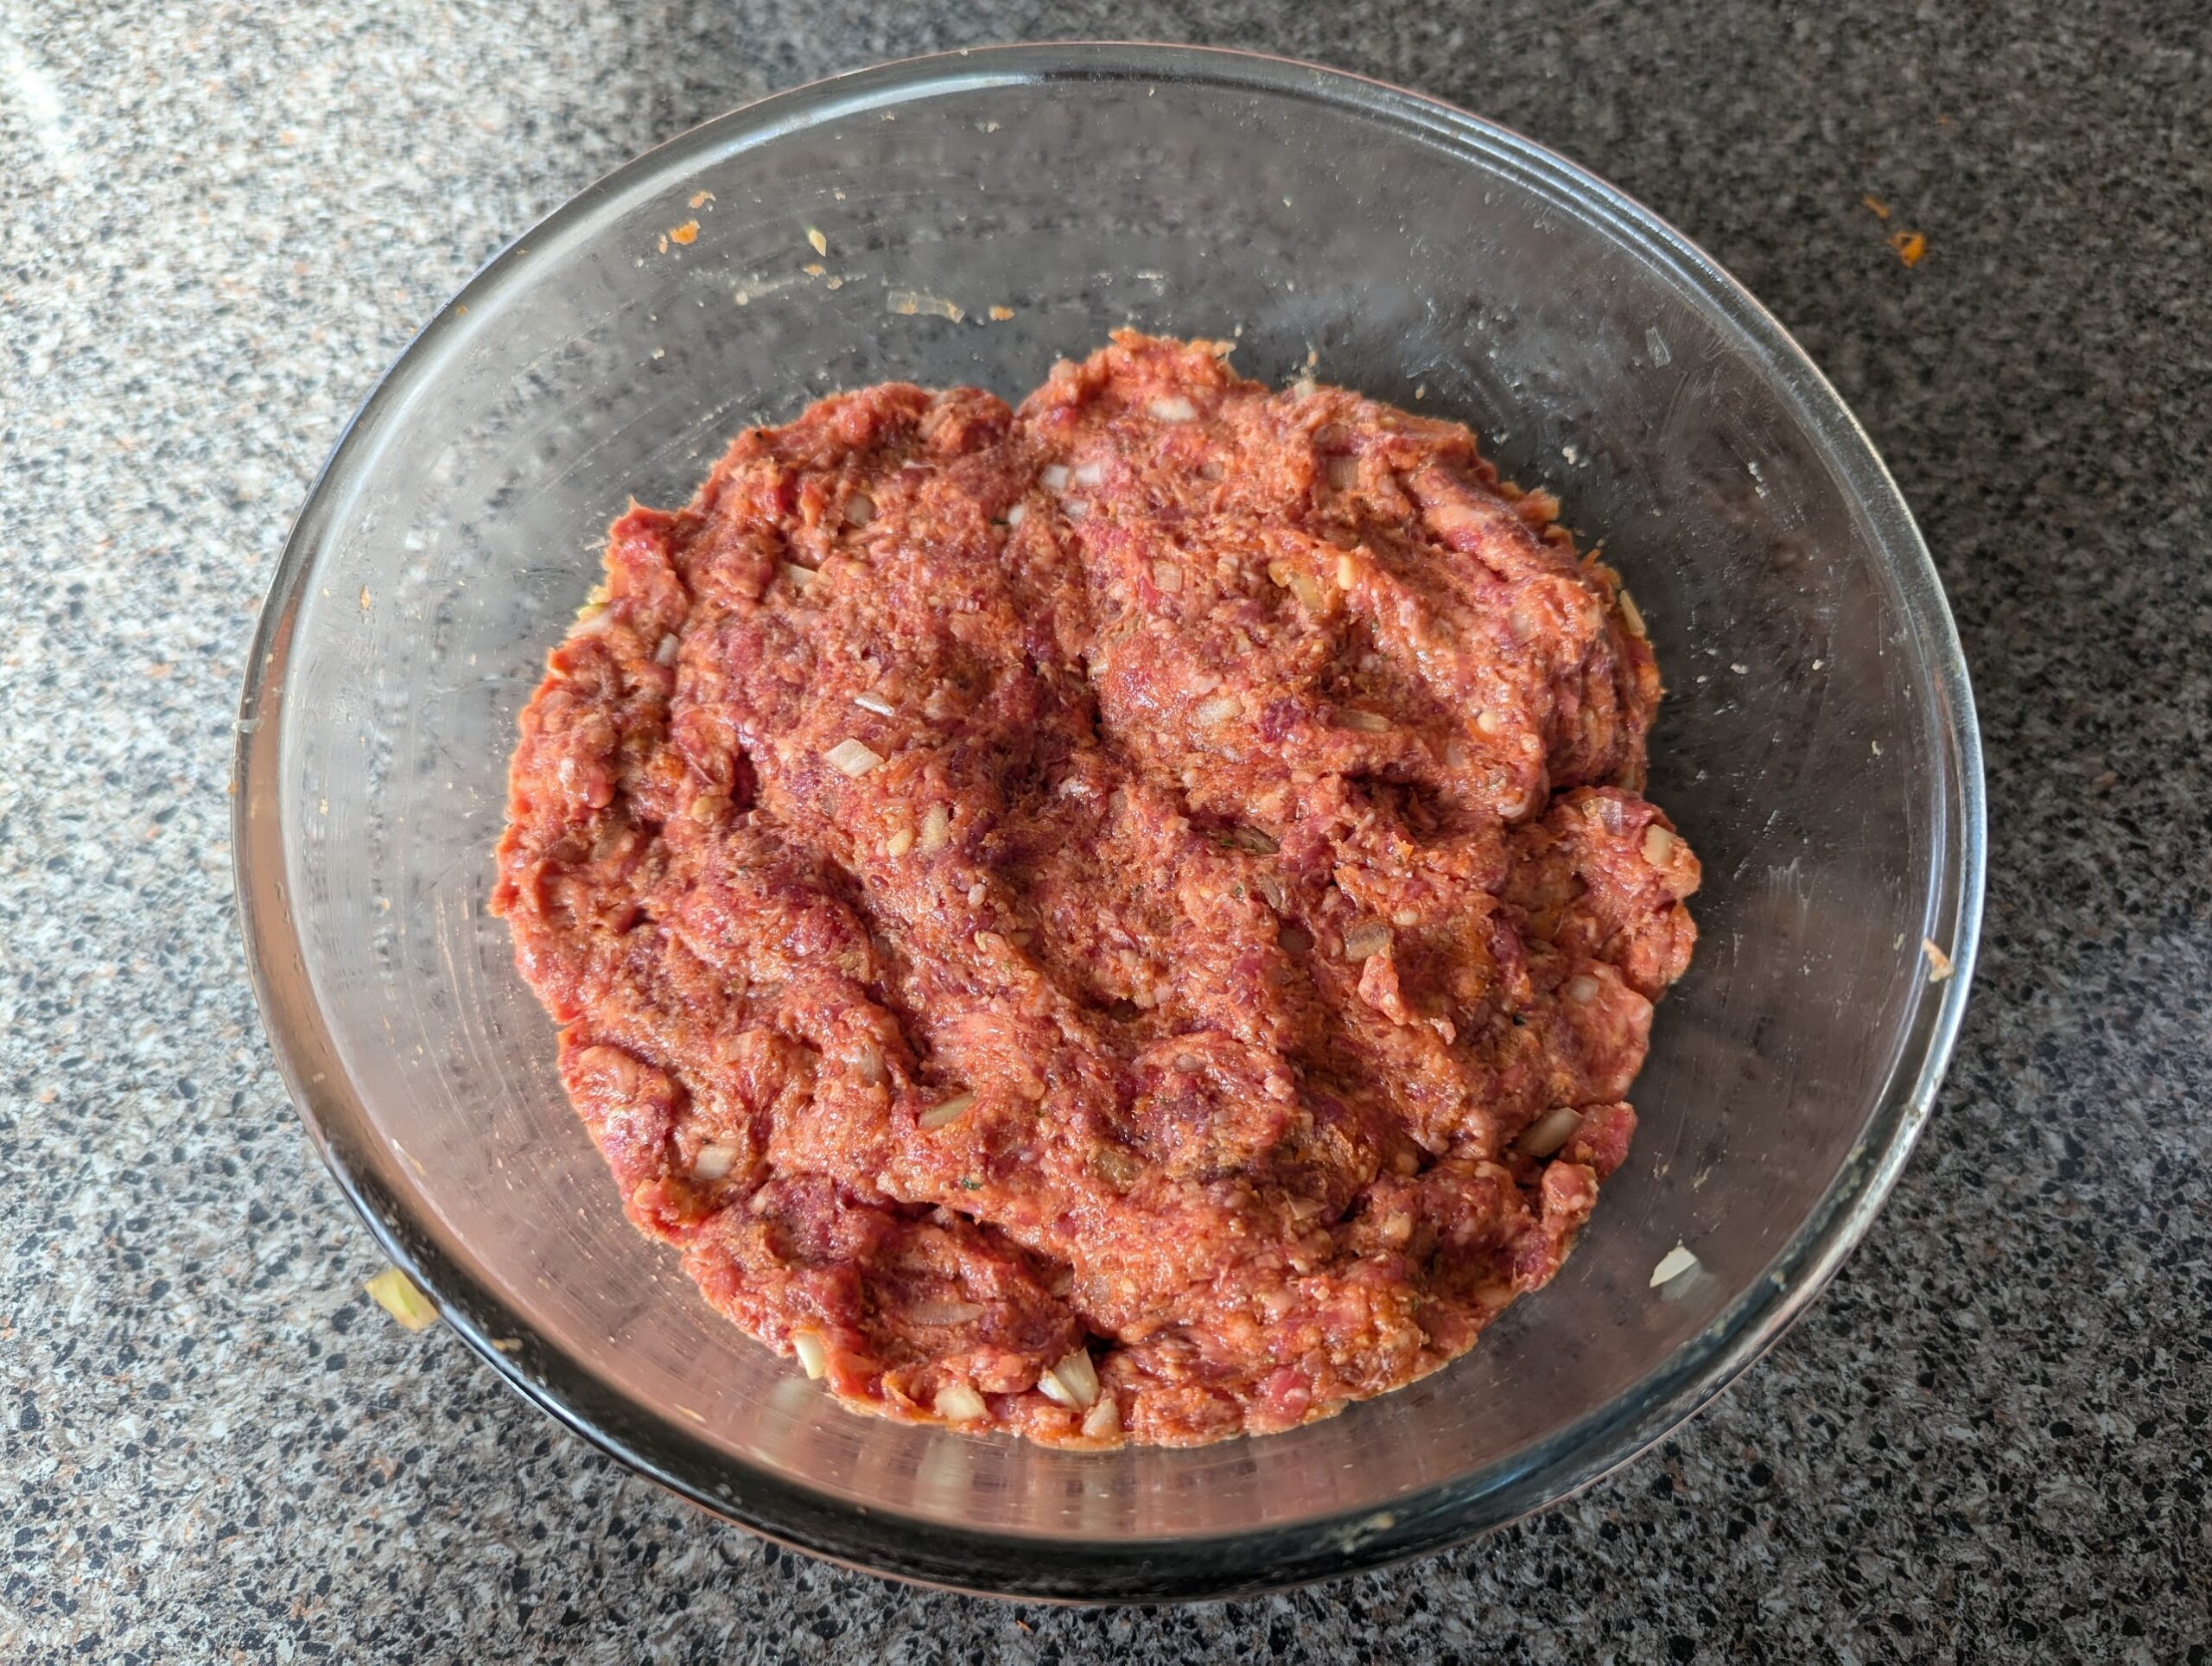
  3. Mix all the ingredients together in a large bowl; ensuring they are all evenly distributed. I use clean hands to do this.
  4. Cover with gladwrap and allow mixture to rest for an hour in the fridge. I actually leave the mixture overnight for the flavours to develop further.

  5. Preheat a fan forced oven to 200c
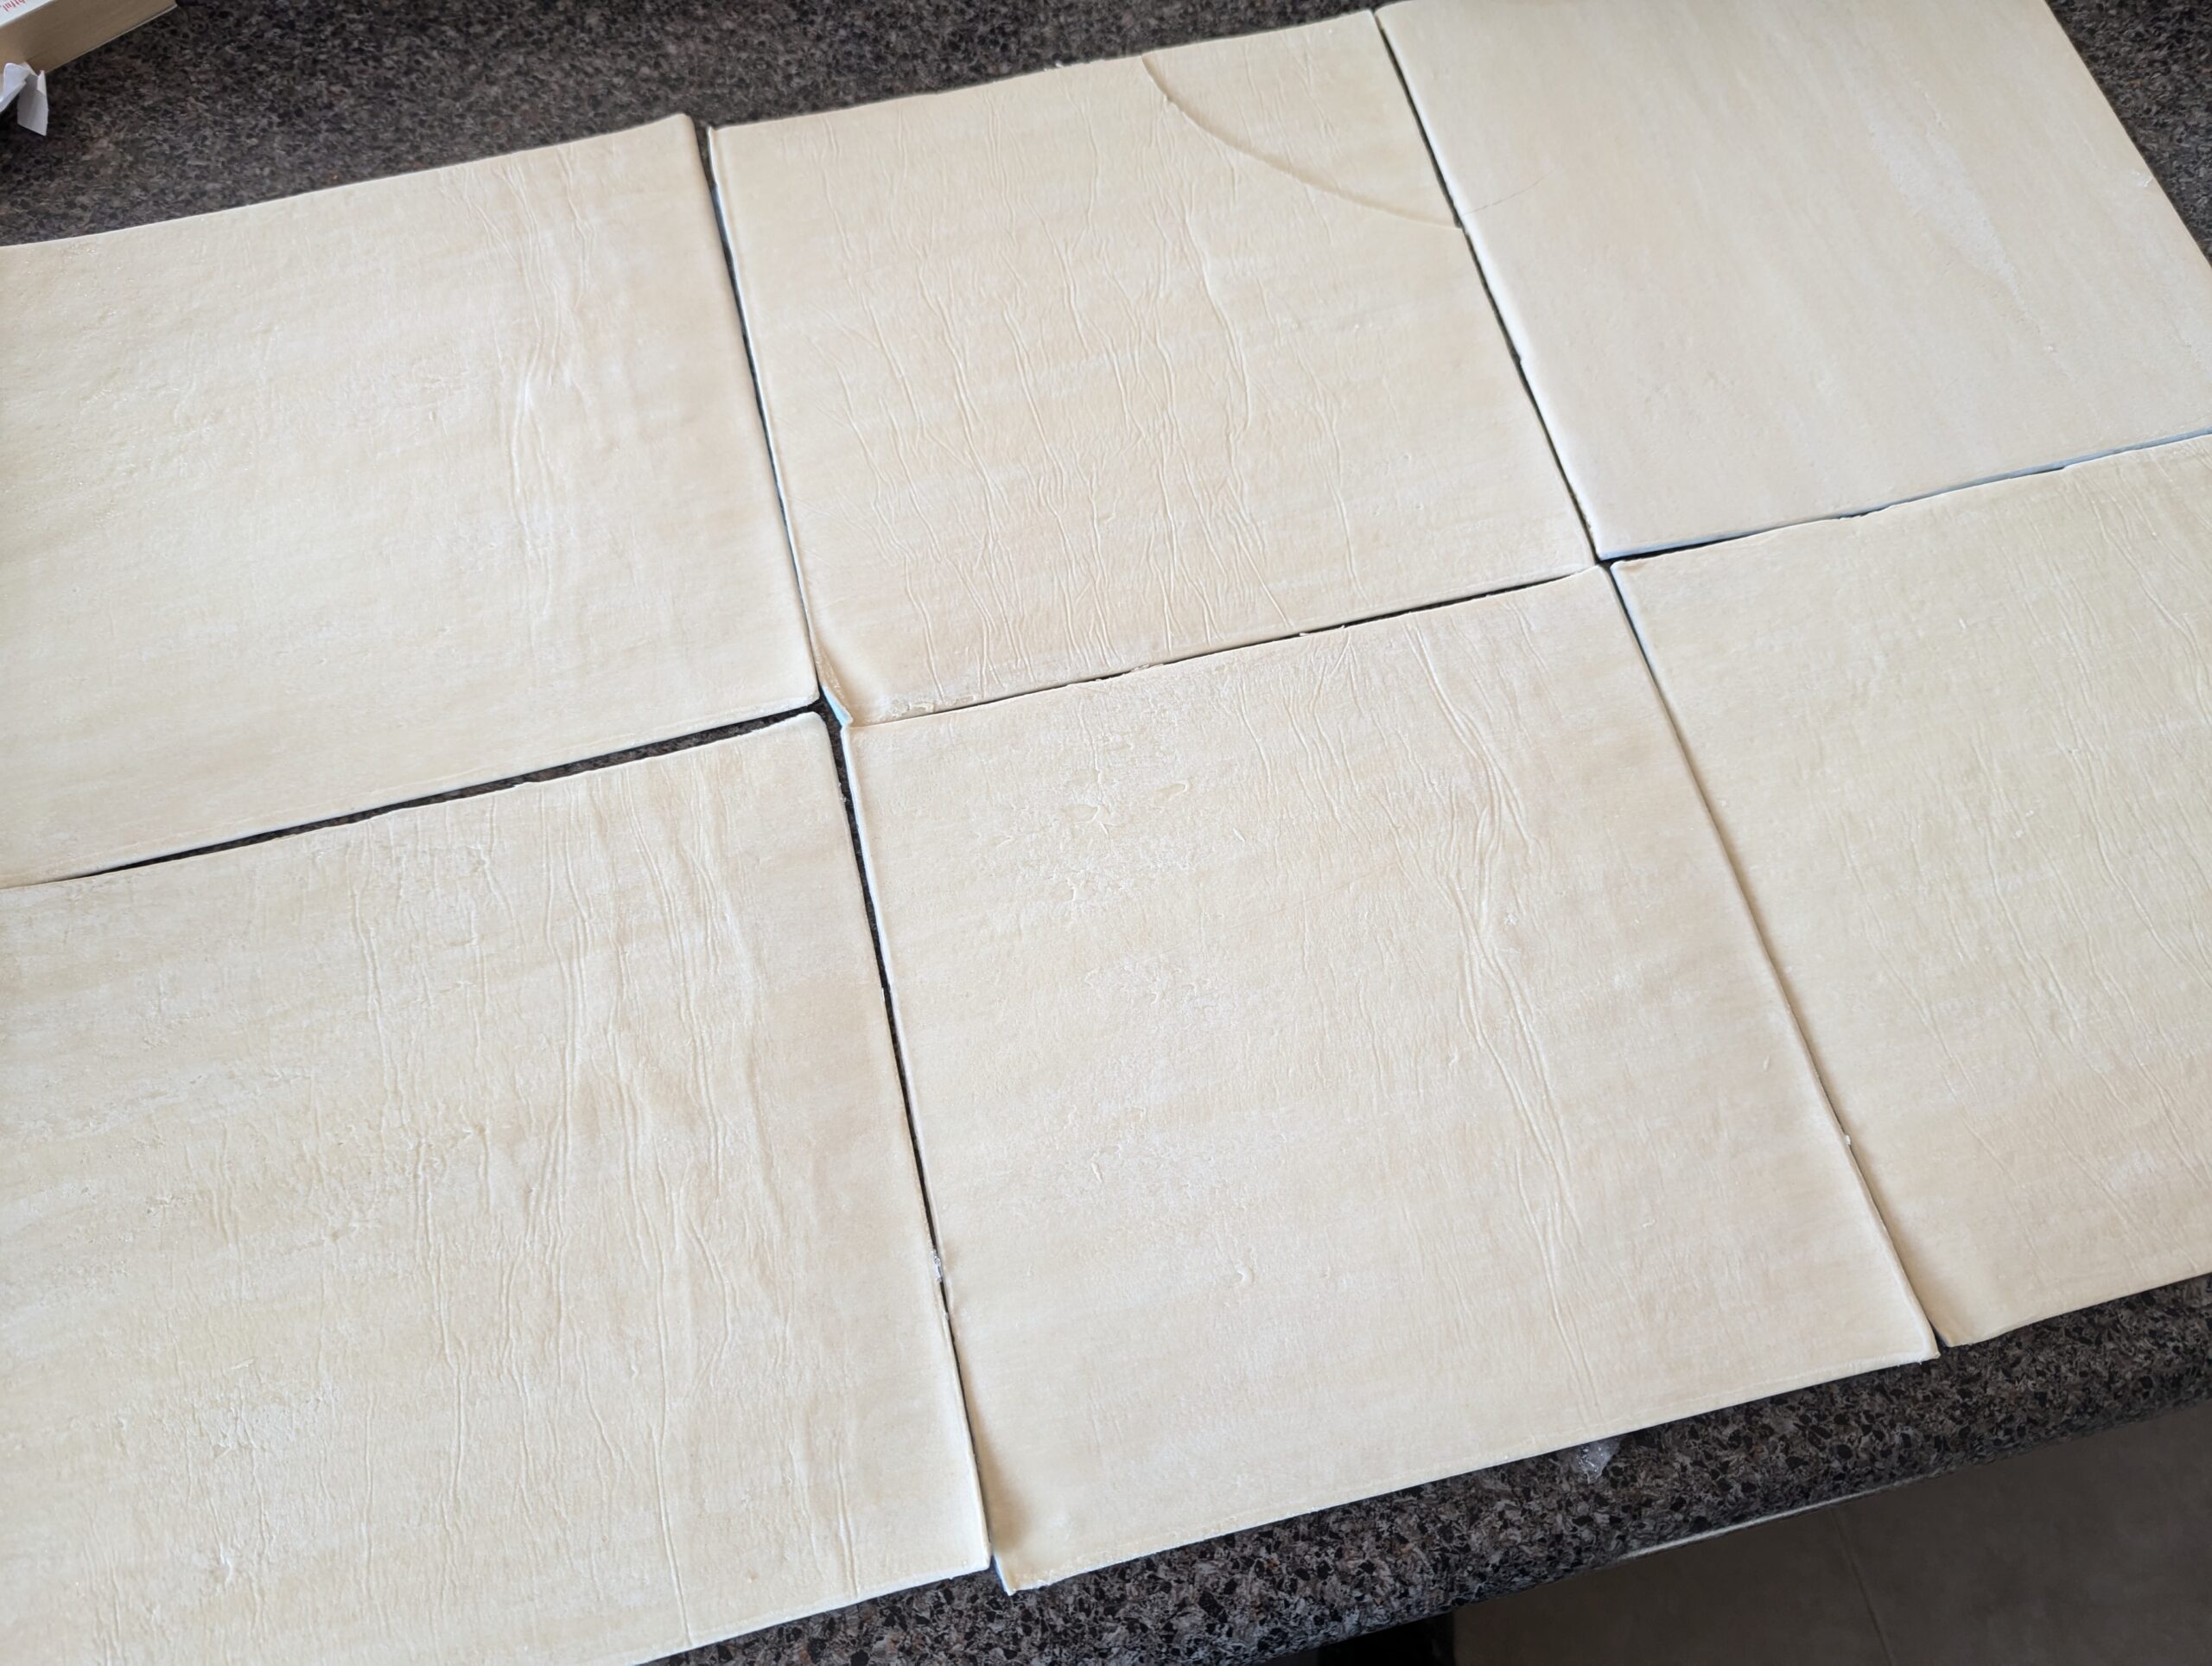
  6. Lay out six sheets of Puff pastry to allow to thaw so it can be worked with

  7. Cut each piece of pasty in half.
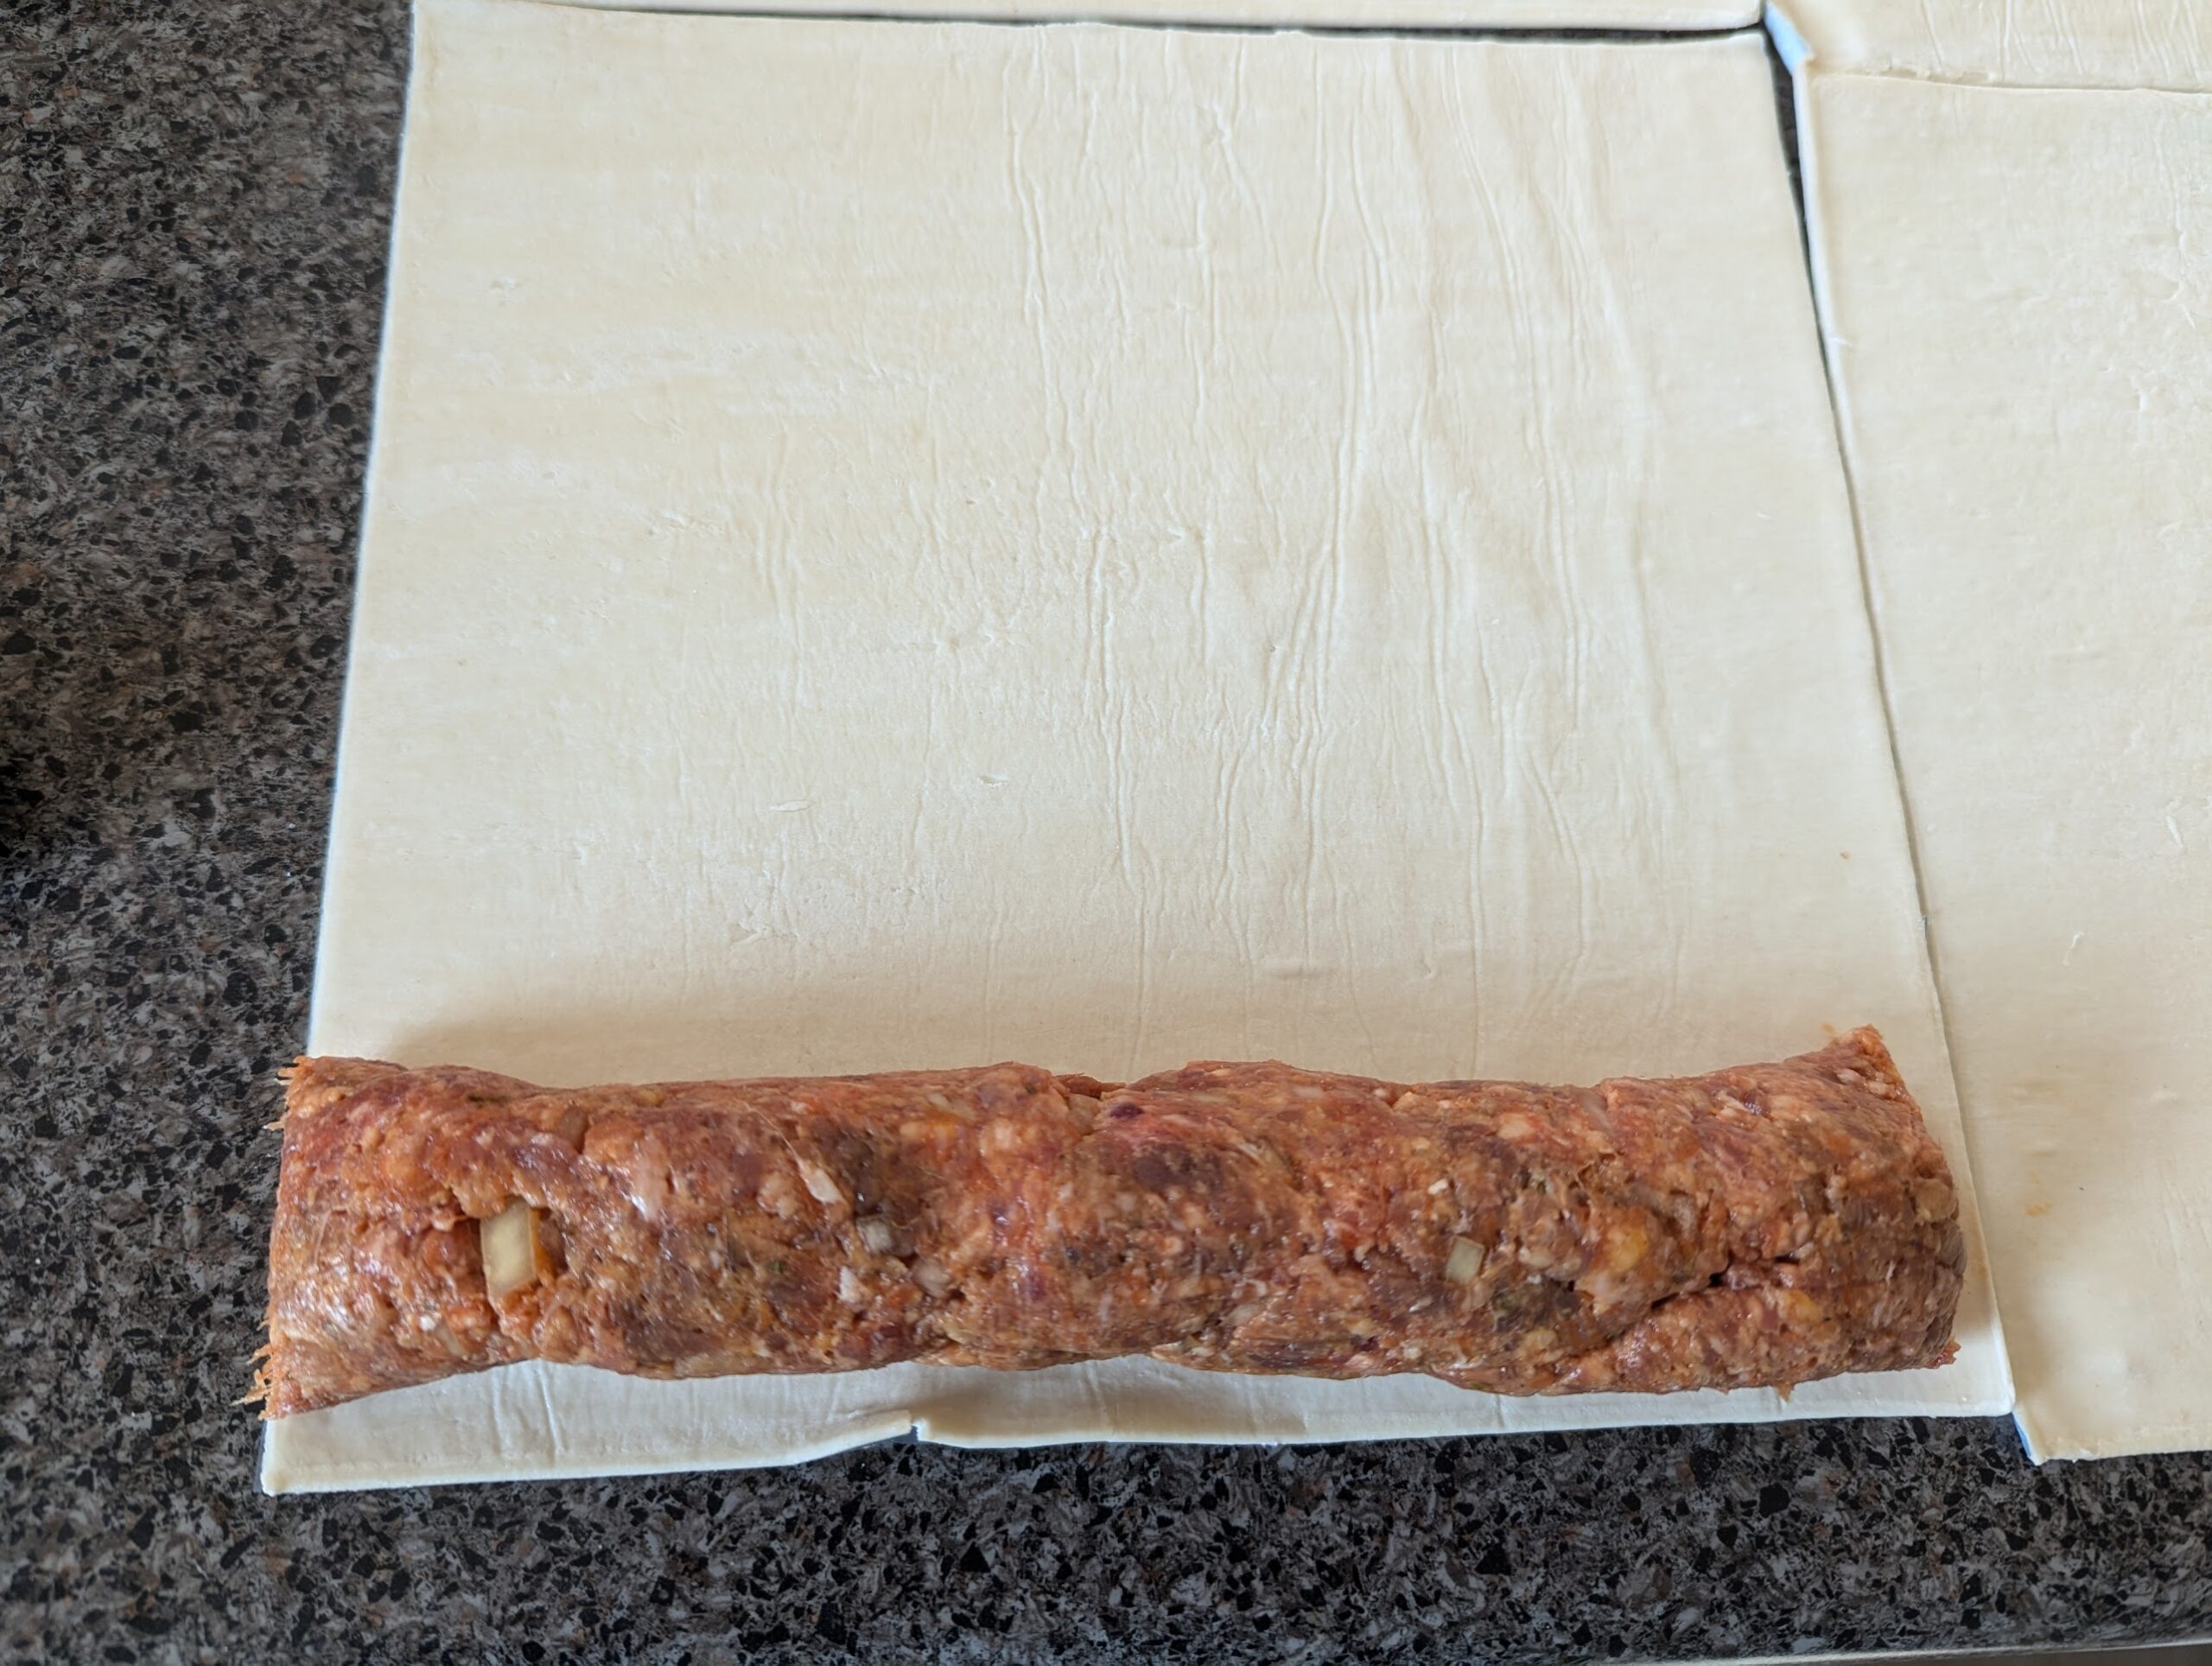
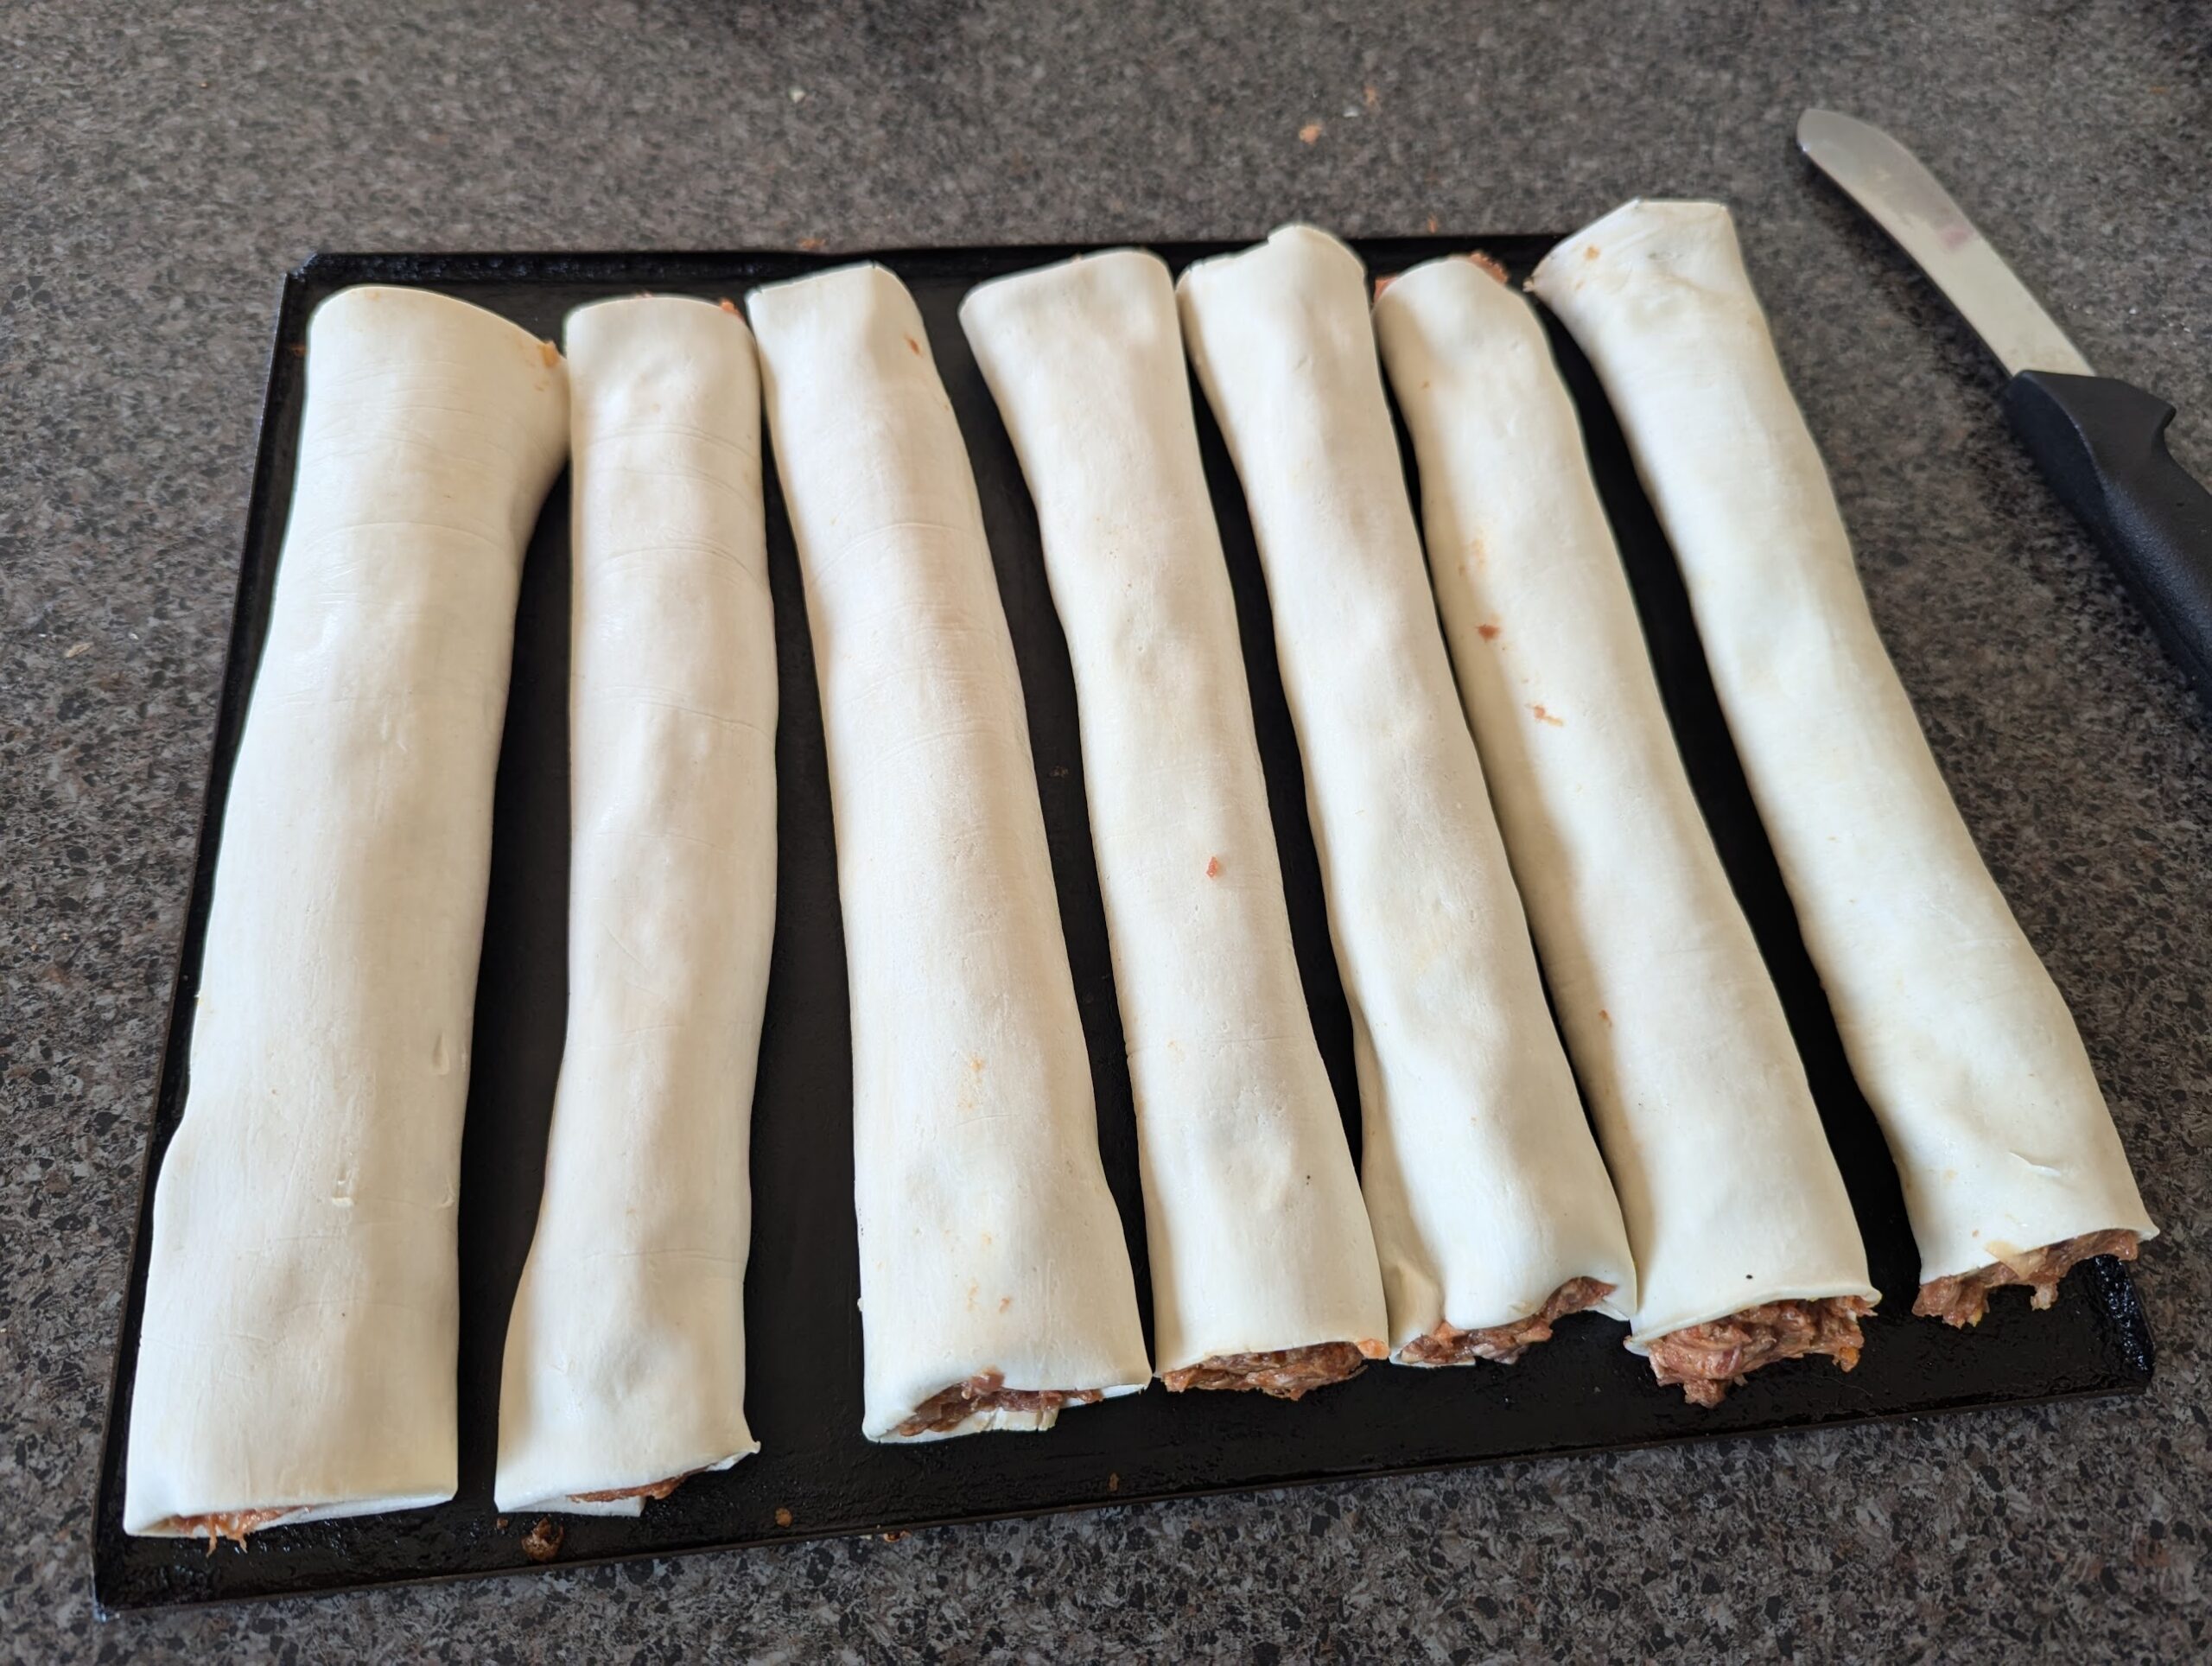
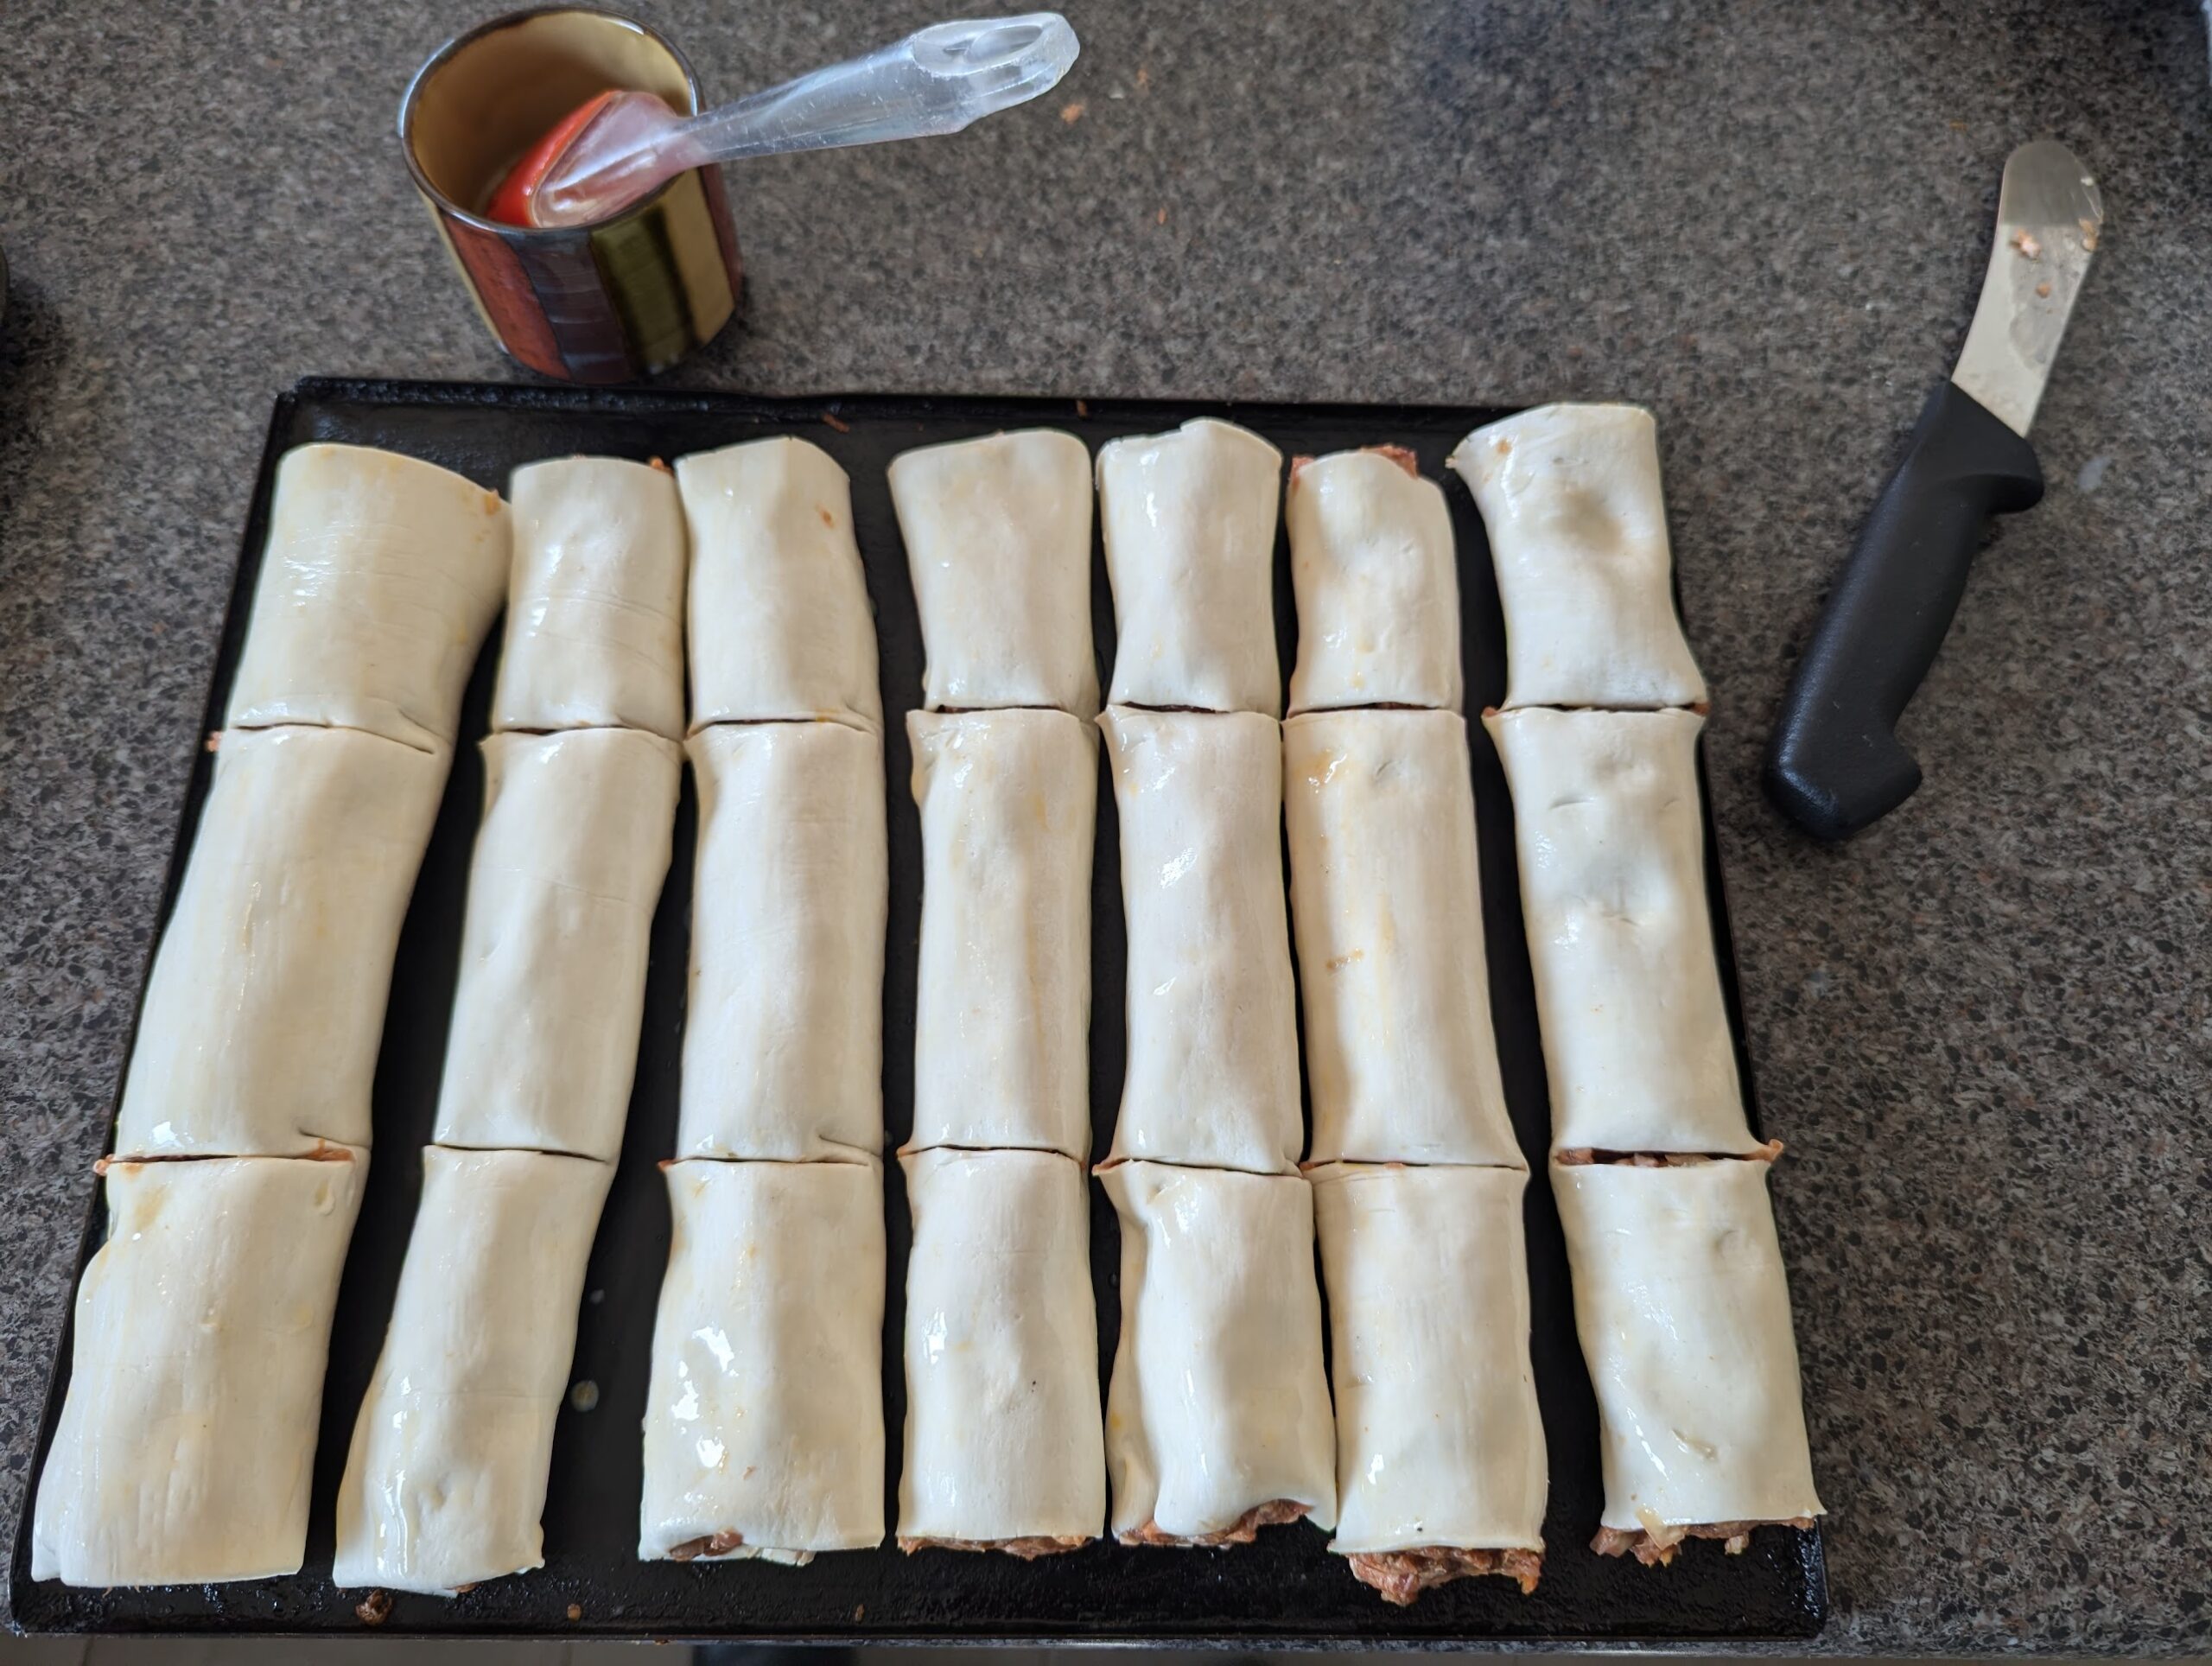
  8. Lay a line of mince along the long edge of the pastry. Roll the pastry over to form the sausage roll and place the finished sausage rolls on a greased (or baking paper lined) tray

  9. Score the sausage rolls in the size you like and glaze with a beaten egg and milk

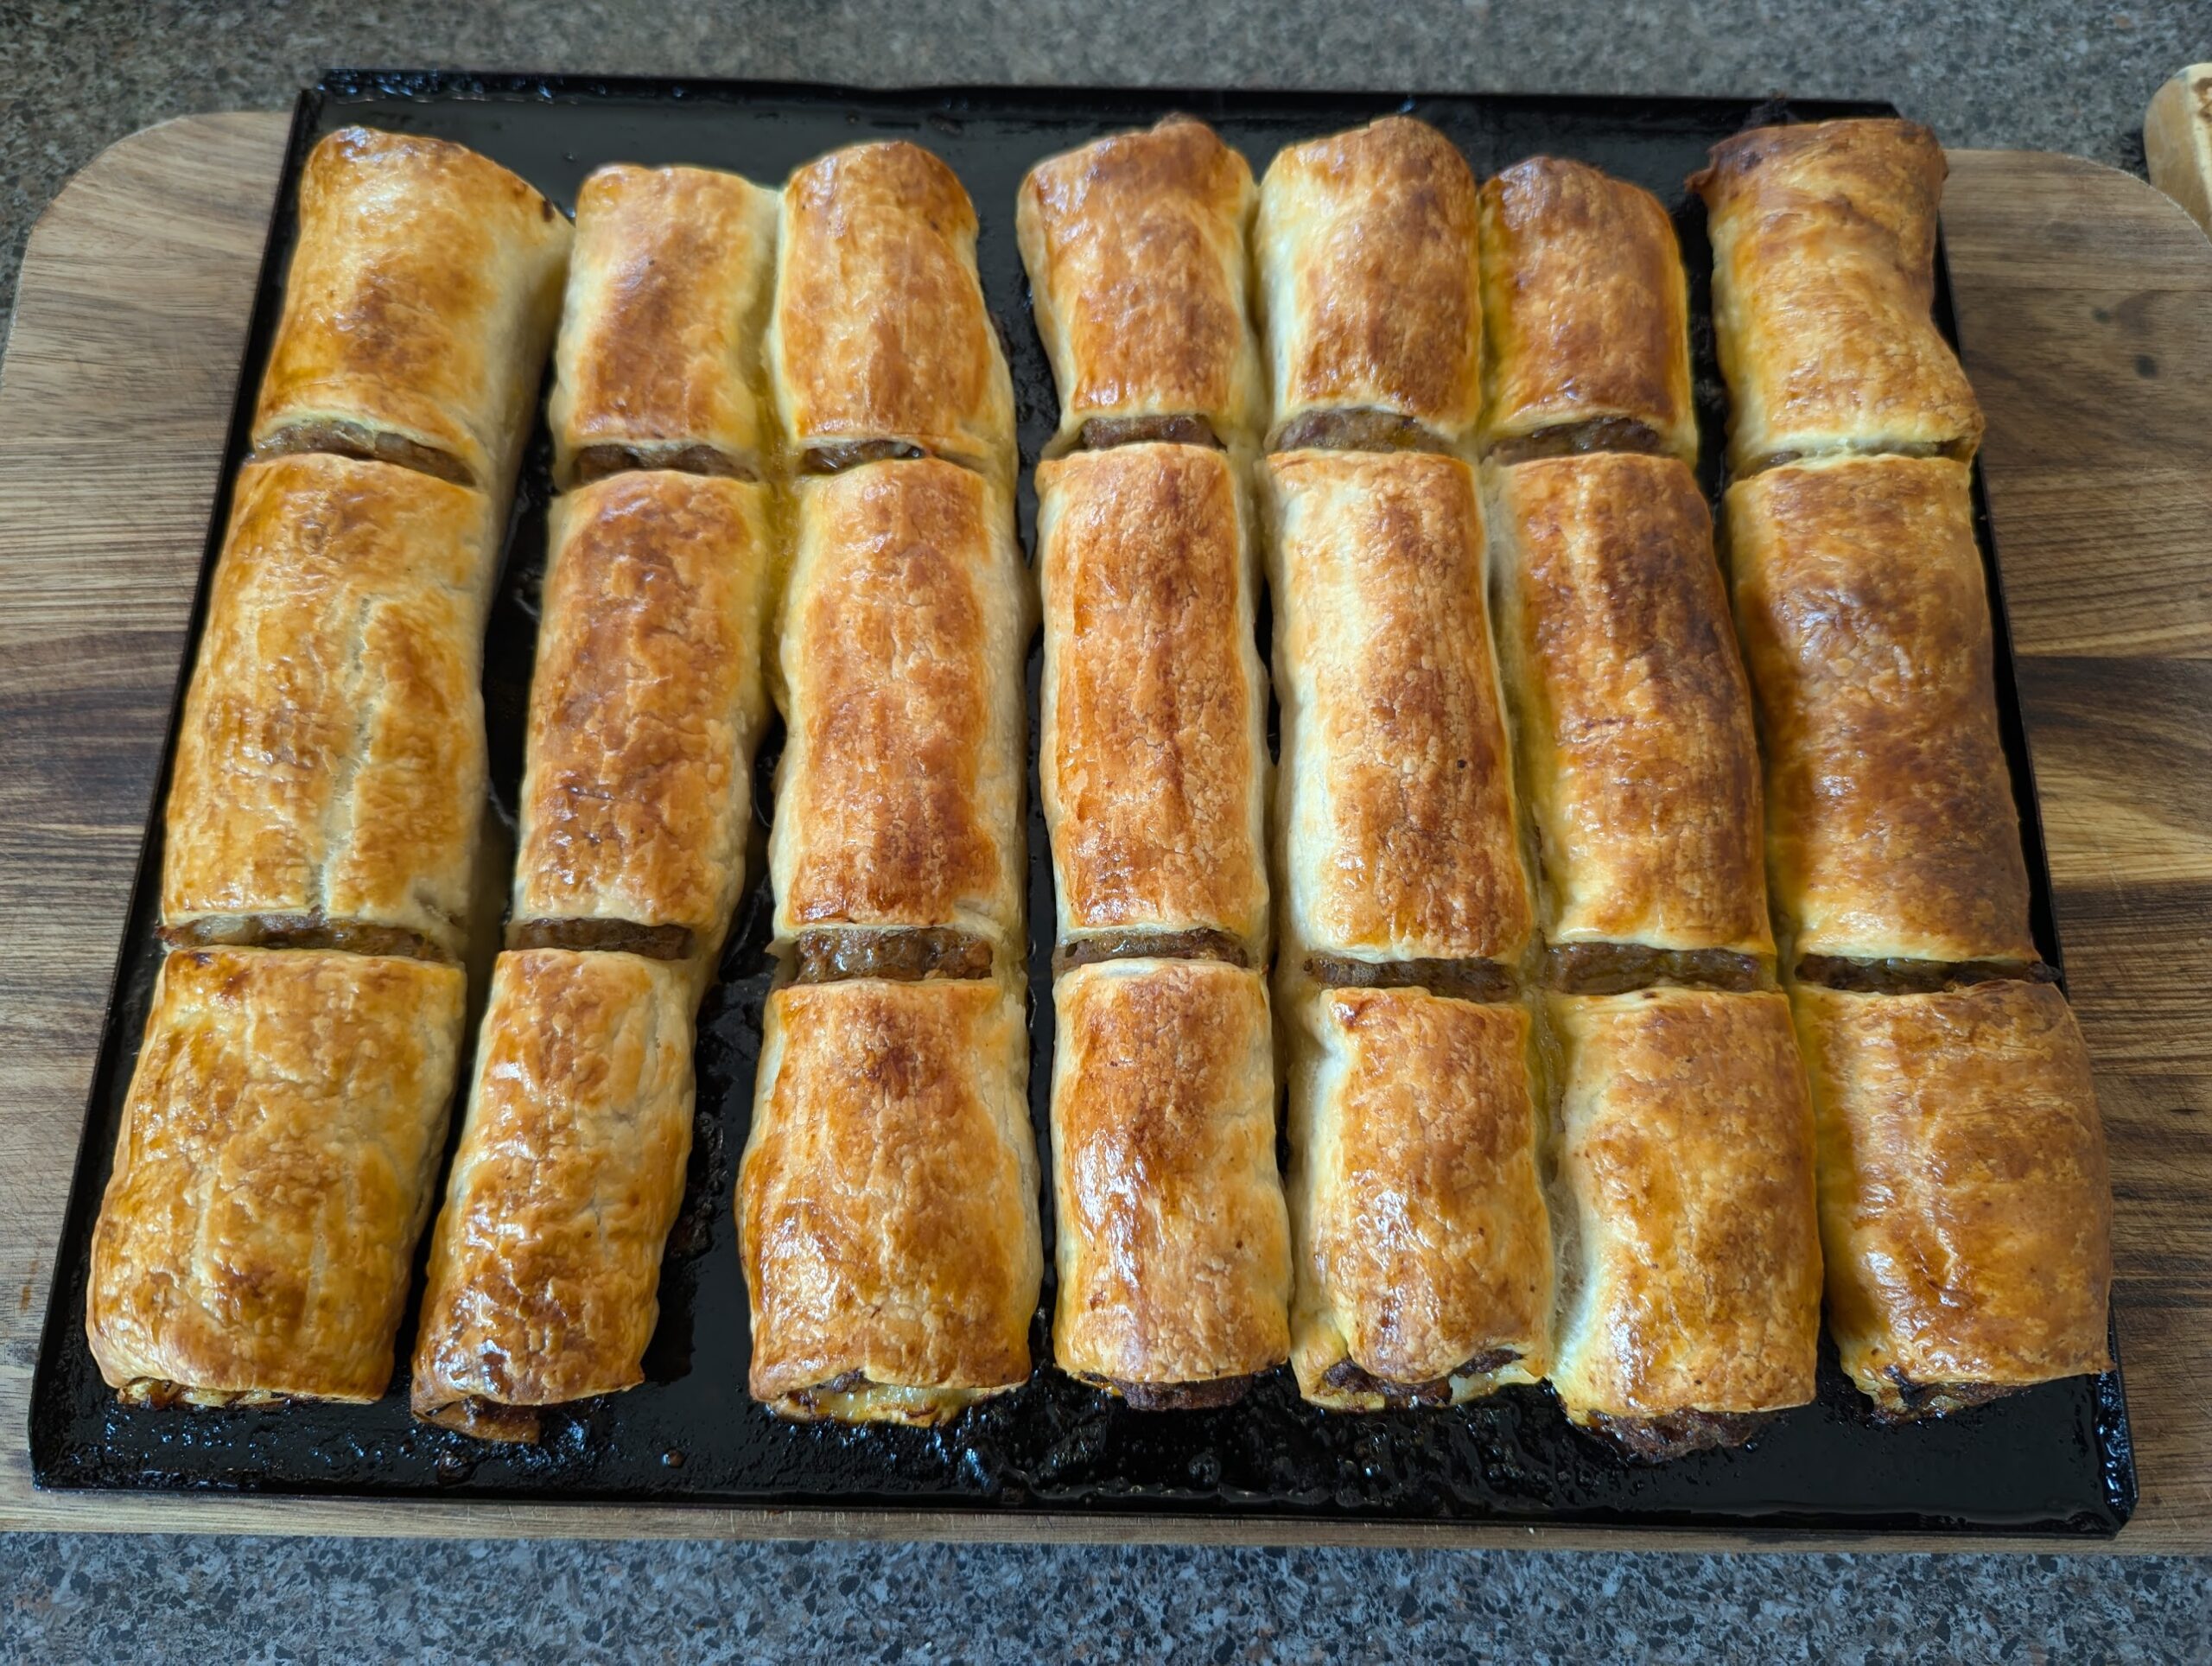
  10. Cook for 20 min and until the Sausage rolls are golden brown to your liking.

Notes

  • There is no salt added to this recipe. I think there is enough salt with the sauces and the pastry.

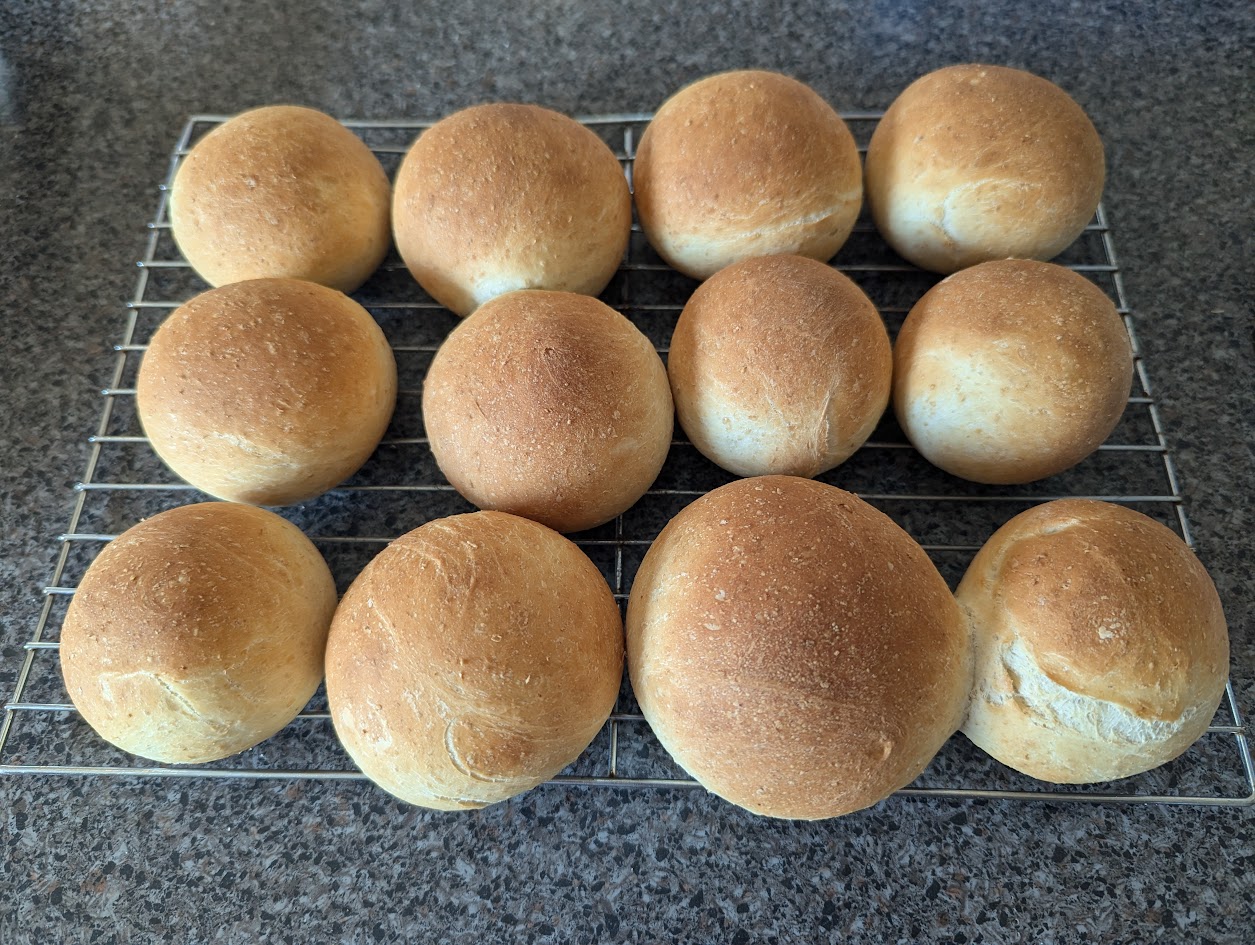
Mum’s famous (and not so secret) bread rolls

Throughout my childhood; Mum made her own bread rolls.

To us; they were just everyday, even mundane bread rolls.  They fed the family of five when money was tight.

To us they were nothing special; but to my surprise everyone outside of our family absolutely loved them.  My cousins could destroy a batch of bread rolls while they were still cooling on the rack before anyone else had a chance.  Still to this day it is a core memory for my cousin – Aunty Kerrie’s bread rolls.

I didn’t appreciate them until I was older and started cooking them myself.  Bread rolls are my party trick when having guests around for dinner and the guests are more than happy taking the remaining rolls home; if there are any.

But I am here to dismiss the mysticism of “Mum’s bread rolls”.  They are great; but there is no unobtainable magic in them, no exotic ingredients that need to be sourced from far away lands and no secret recipe that is passed down only to the oldest of the family. 

The recipe actually came that came from the instruction manual of the first bread machine that we purchased all those years ago.

But with a few simple technique improvements; these bread rolls can be taken up a notch from the default bread machine recipe.

So finally for all those people wondering “How”; this is how you make “Mum’s bread rolls.” Try giving them a go yourself.

Mechanical Assistance

For this recipe I use a bread machine. It is a device that my family has used for many years. I think Mum has burnt out three bread machines in her life; running them almost every day when we all lived at home.

I have used a bench mixer with a dough hook when making a double batch of bread rolls with success. The bench mixer can be noisy compared to the bread machine; especially if you have to kneed the dough for 30min. I also hand kneeded the dough while we were away on holidays. It is harder to develop the gluten than the bread machine or a bench mixer; but can be done.

The Recipe

Ingredients

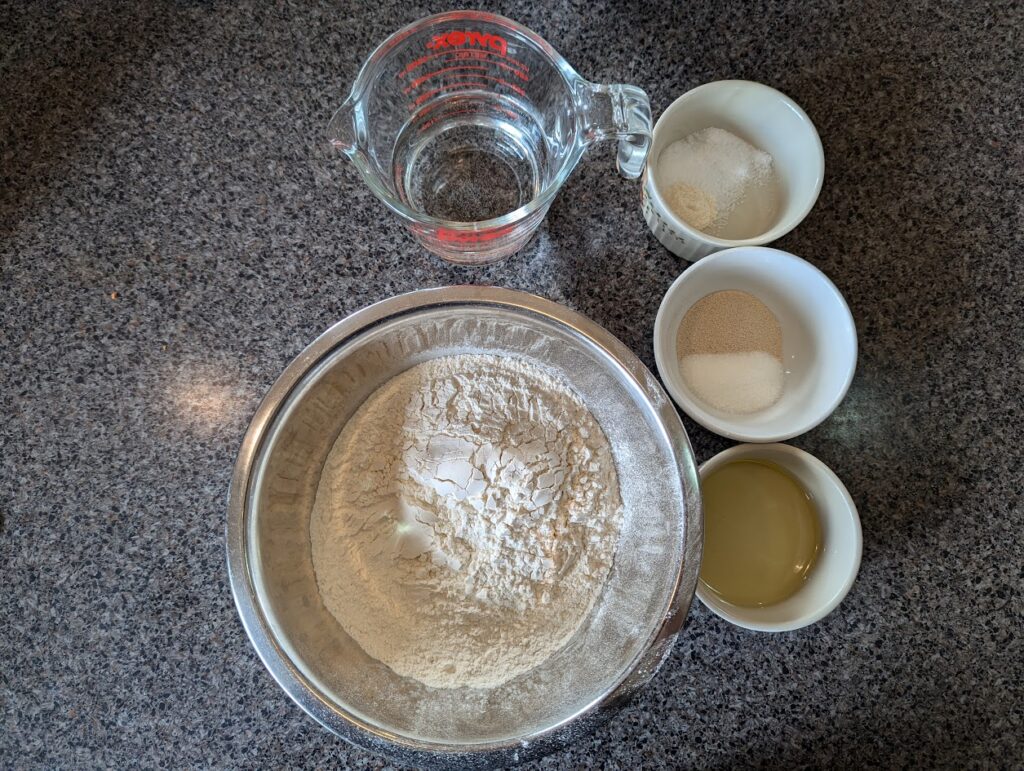
  • 330ml of warm water
  • 2tsp of dried yeast
  • 1tbs of white sugar
  • 1cp wholemeal flour
  • 2 1/2 cp strong baker’s flour
  • 1tsp of Bread improver or 1/4 tsp of ascorbic acid
  • 1tbs of olive oil (or a neutral cooking oil)
  • 1tsp salt

Method

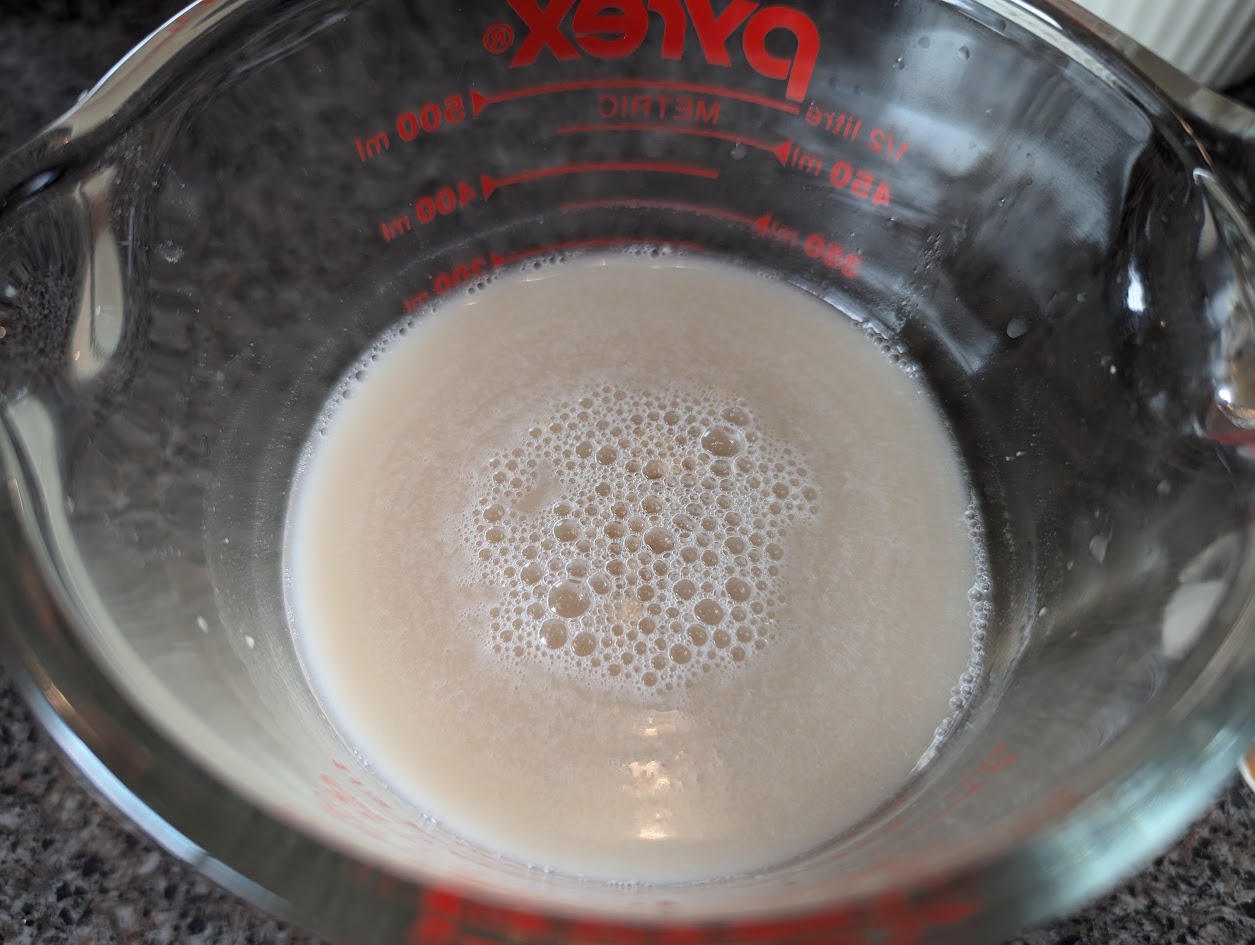
  1. Dissolve the sugar in warm water. Mix in the yeast. Leave for 10min in a warm spot to allow the yeast to activate


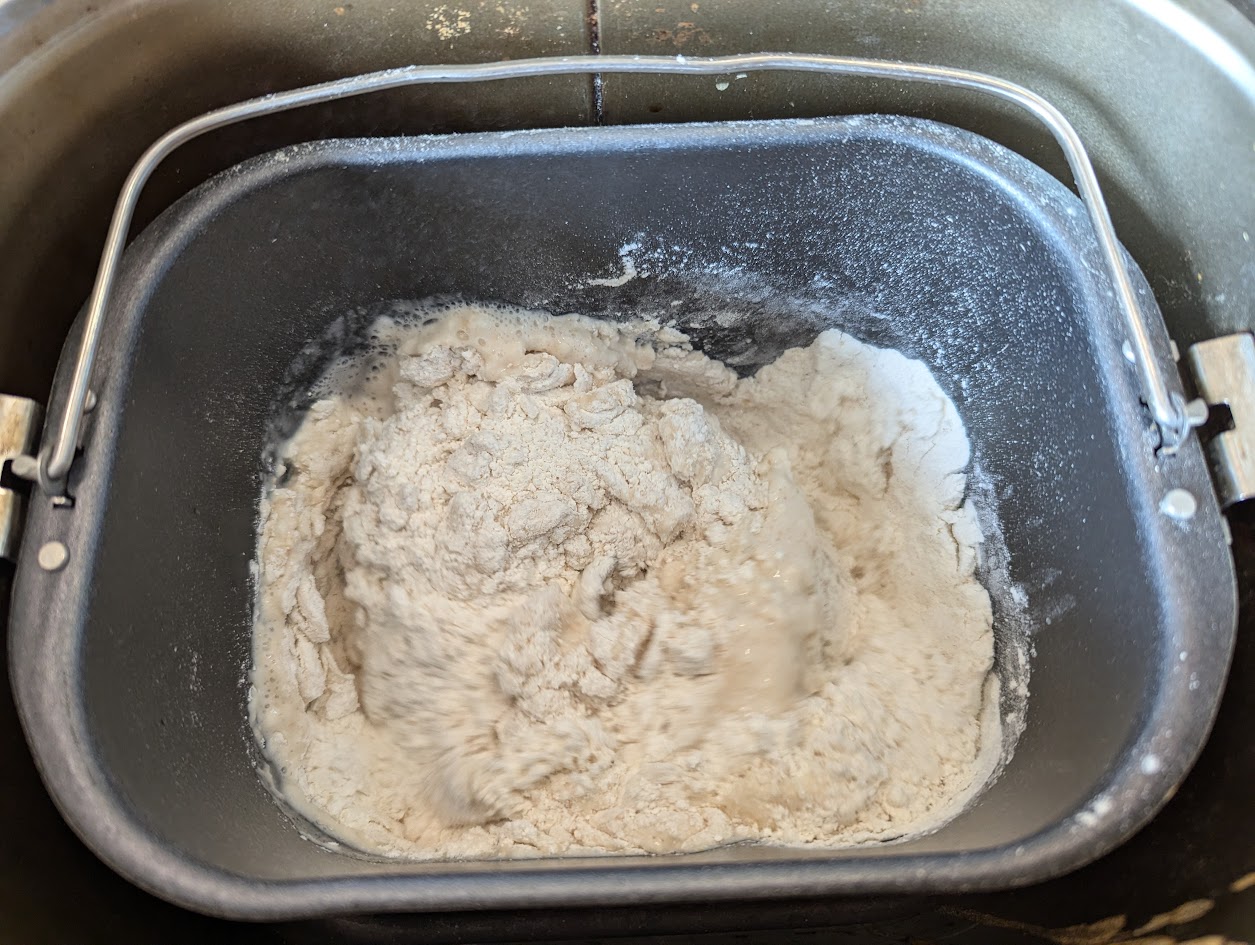
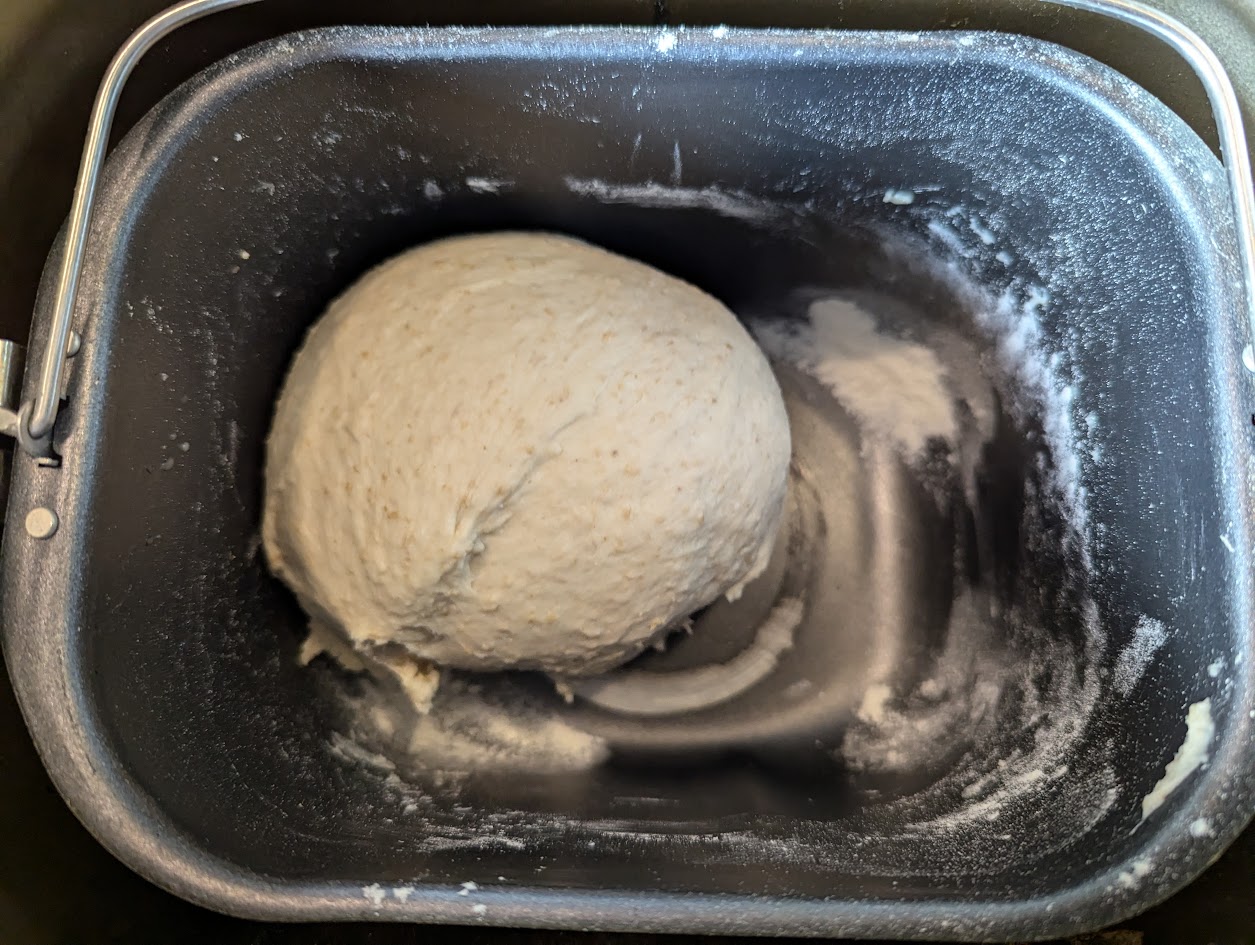
  2. Add all the ingredients in the bread machine and start it on the “dough” setting. Watch for the first 10 minutes to ensure the ingredients combine correctly. You are looking for a smooth dough that only just slightly catches to the side of the bread machine. If it is too sticky; add extra baker’s flour teaspoon by teaspoon. If the dough is too dry and not forming together; add water teaspoon by teaspoon. Allow time for the water to get mixed in because it is very easy to overdo it.


  3. Allow the dough to kneed for 30minutes.
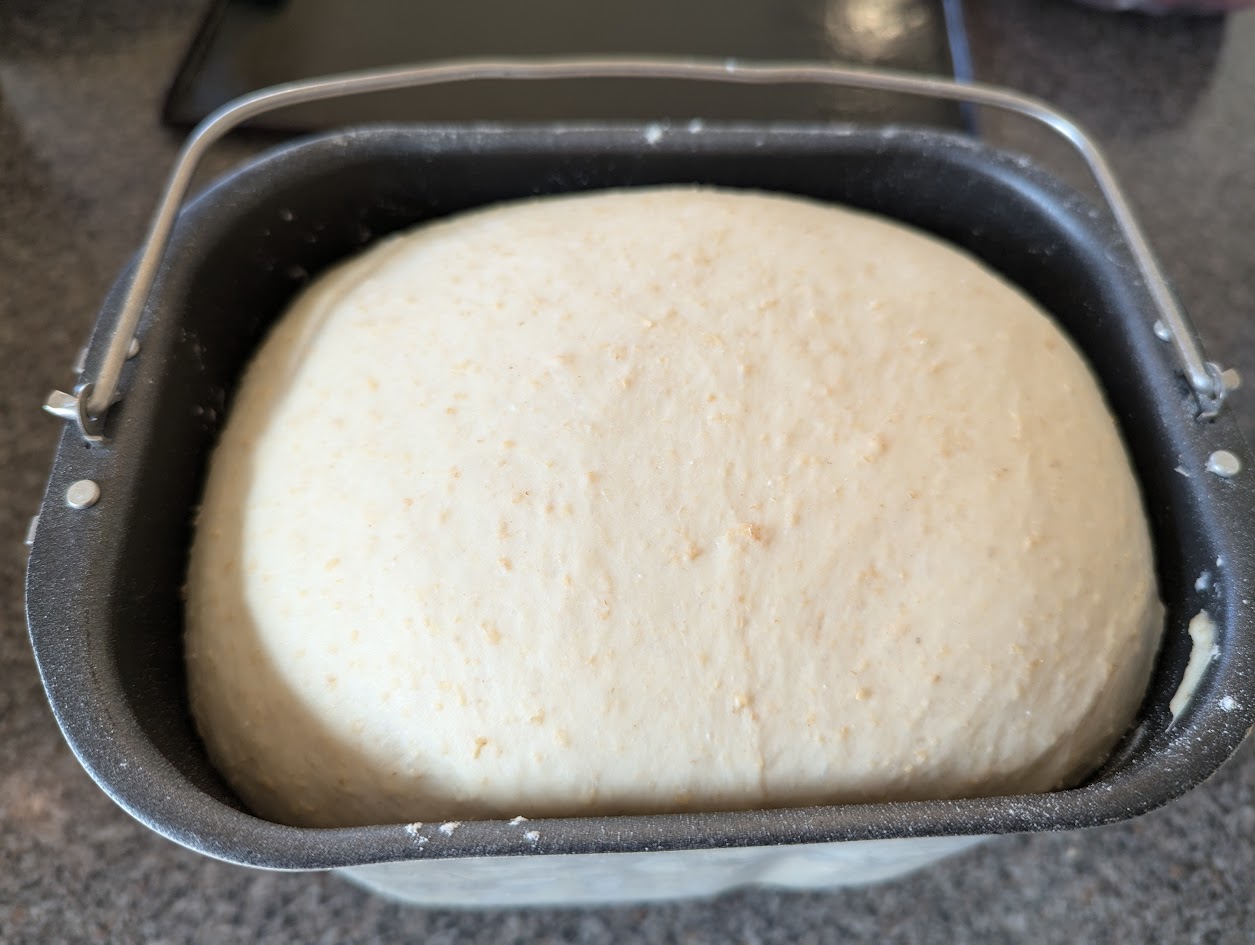
  4. After kneeding; allow the dough to rise for an hour in a warm spot.


  5. Punch the dough down and turn the dough out on a floured surface. Kneed for a few minutes to release any large air pockets and shape the dough in a rough log shape


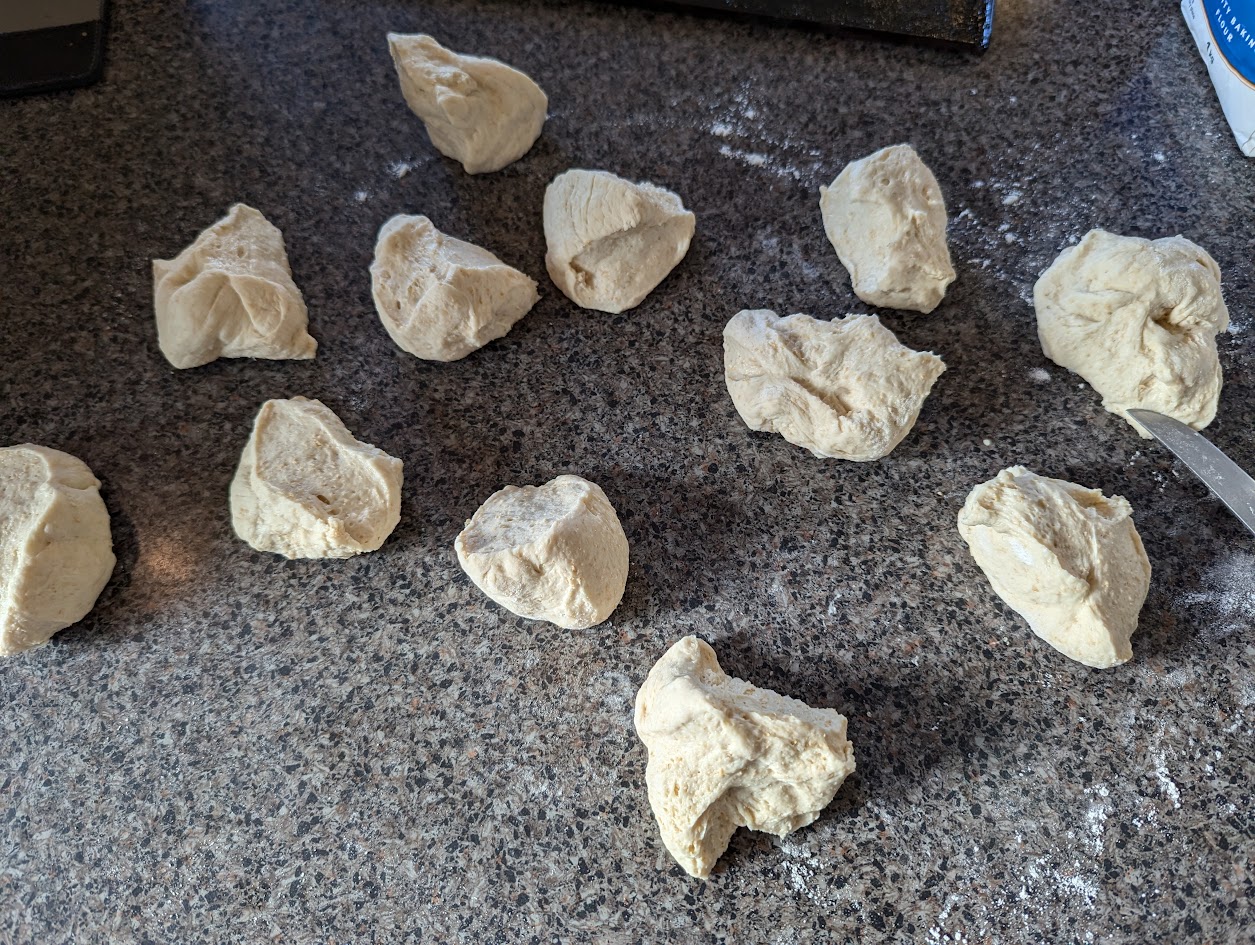
  6. Divide the dough up into individual rolls. Typically I divide the dough up into 12 bread rolls. 16 is good if you are feeding kids and 8 is good if you are making rolls as the feature part of a meal (e.g. a schnitzel sandwich)


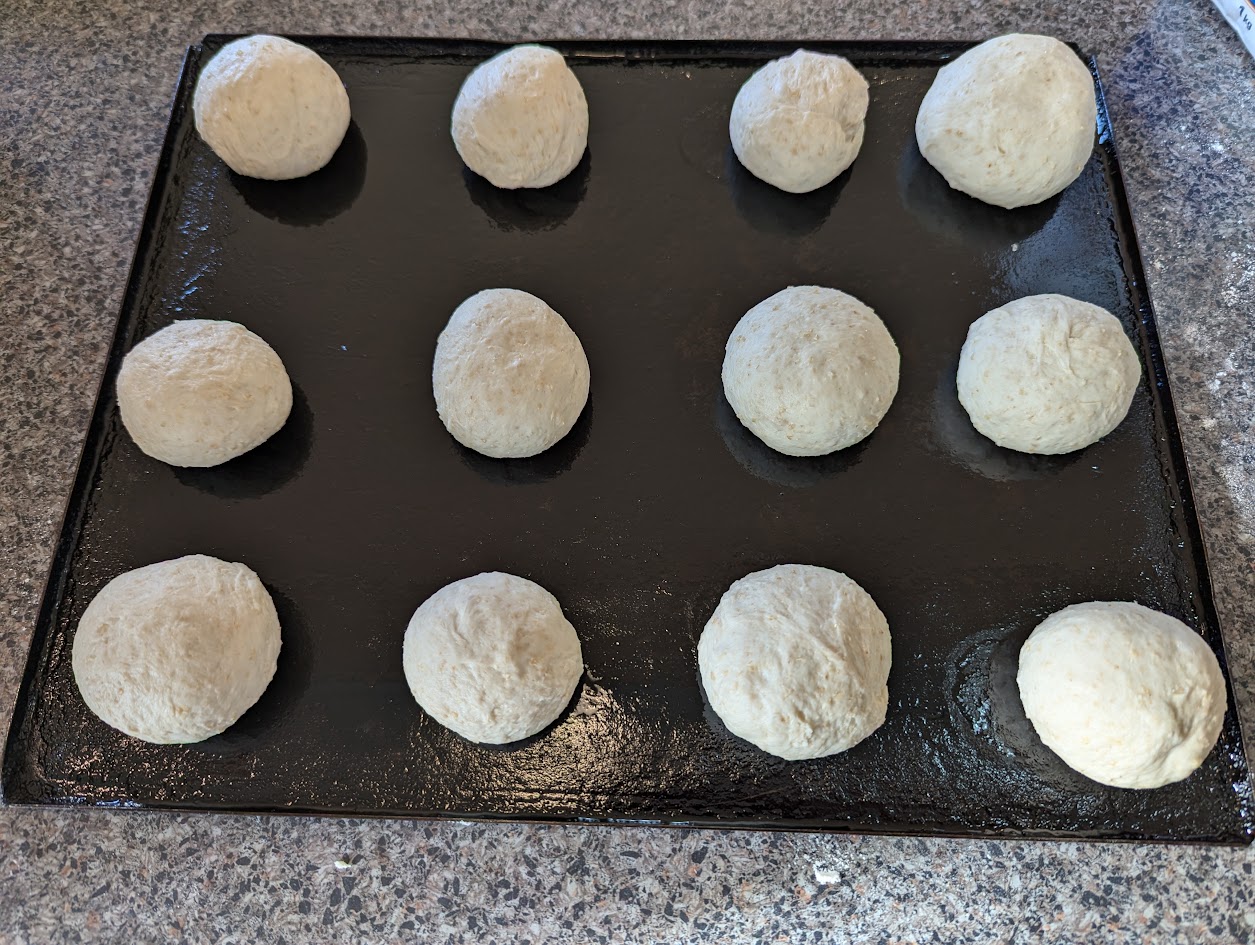
  7. To shape the rolls (I’ll do my best to describe the method). Find a un-floured spot on the bench. You need the dough to ever so slightly stick to the bench top. Ppress down on the clump of dough with the palm of your hand. Make circular motions with your hand to move the dough around and slowly raise it while bringing in your fingers. This will shape the dough into a bread roll.
  8. Add the bread rolls to a lightly oiled heavy baking tray.


  9. Place the bread rolls in a warm spot and allow them to rise for about 40 minutes; or double in size. Rising time will depend on your ambient temperature; in the colder months I have to position a tray over a heater vent to encourage the bread to rise
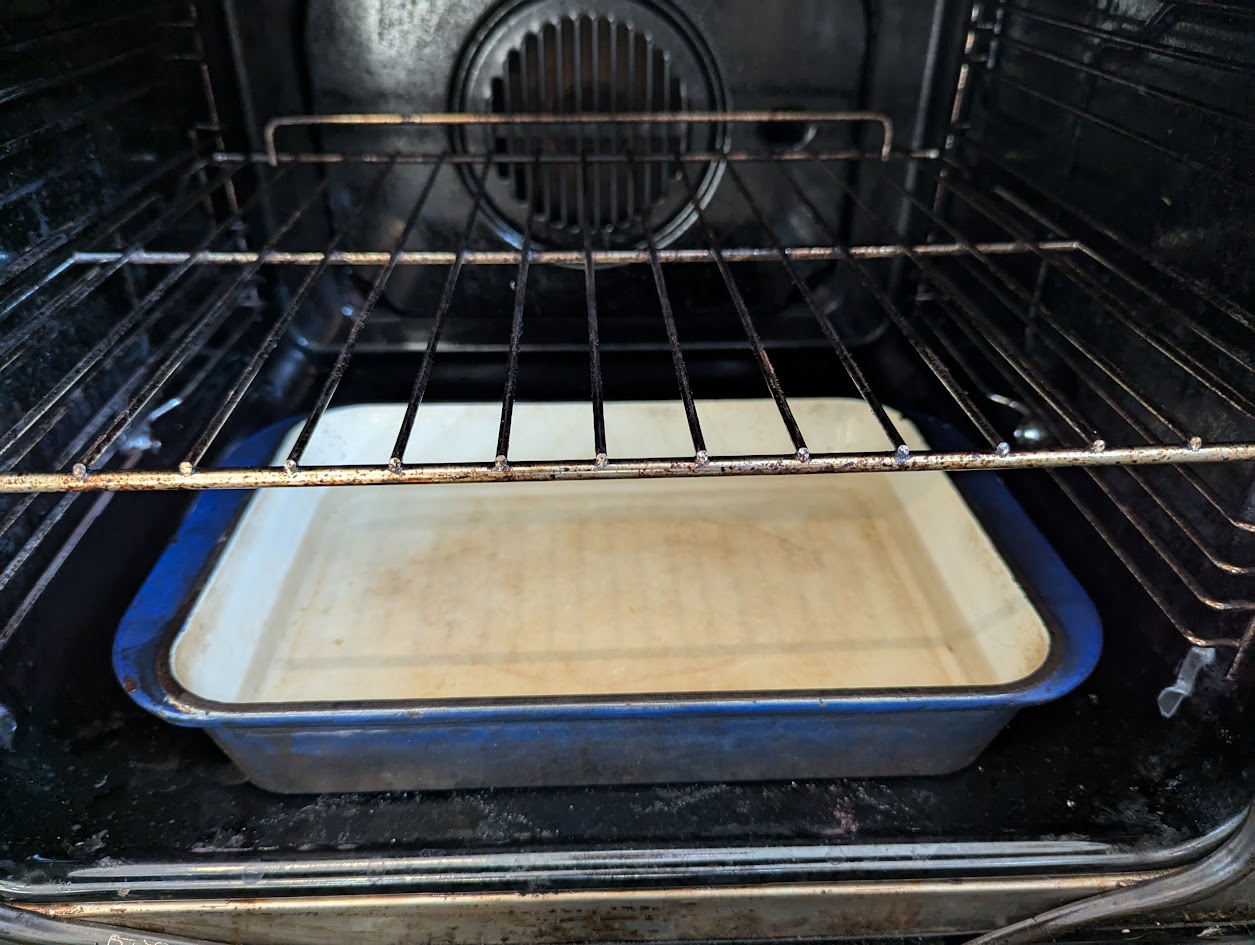
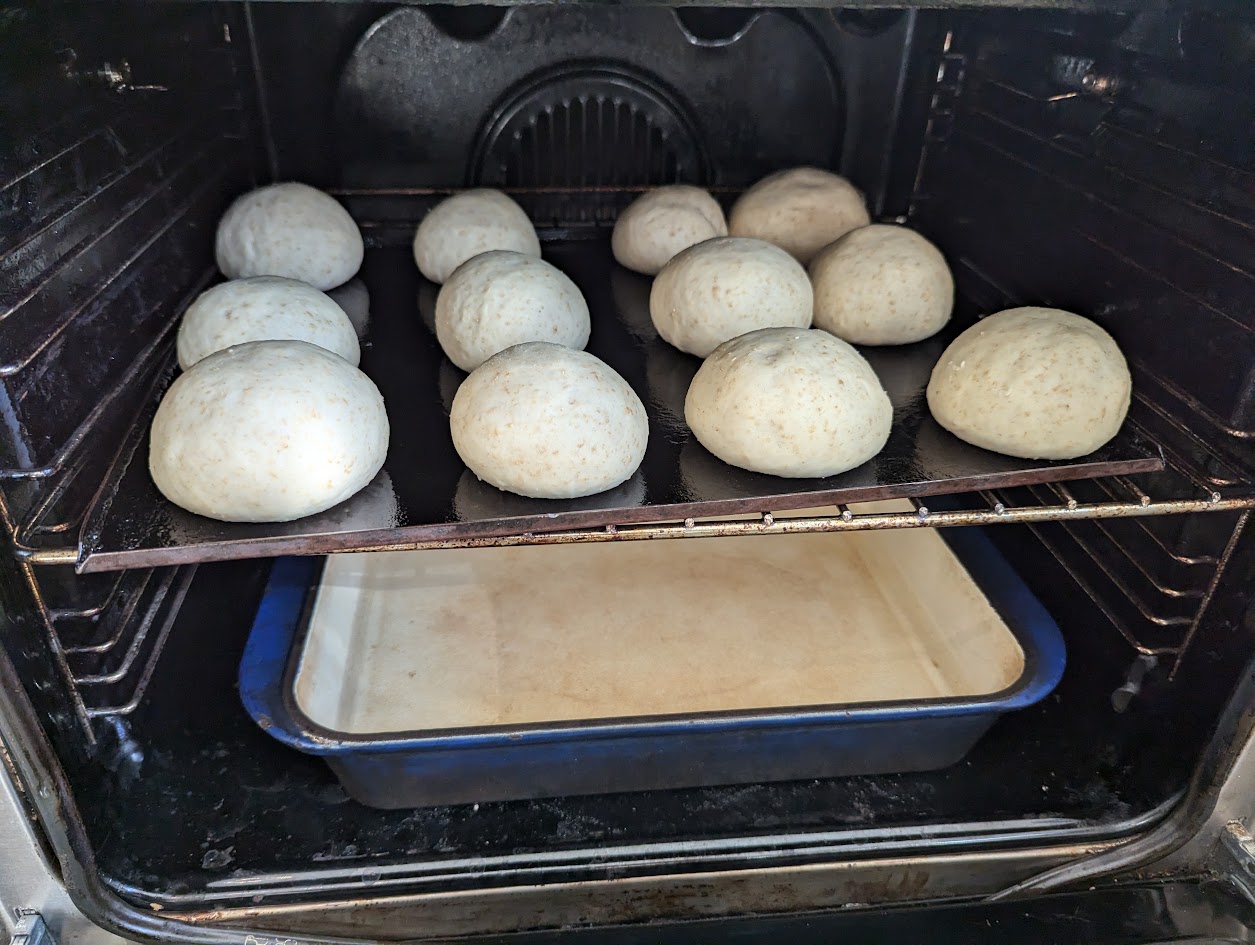
  10. Ten minutes before the bread rolls have completed rising; preheat a oven to 180c. Carefully place a heatproof pan at the bottom of the oven half filled with boiling. This will create steam for the bread rolls to improve the crust on them.


  11. Position the bread rolls in the middle of the oven and bake for 10 minutes. Rotate the tray and cook for another 3 minutes; or until the bread rolls achieve the crust that you want.


  12. Turn onto a wire rack and cool.


  13. Try and keep cousins, children, wife, friends etc from sneaking bread rolls until they are cool enough to eat.

How to make Toffee Apples (Dentist’s nightmare)

Our kid had his seventh birthday party coming up.

My wife wanted to invite the whole prep class to his party; with the ulterior motive that all the kids in the class will be invited to at least one party for the year.

The sentiment was nice – but the reality was that we had 40+ kids at a party.

I was given the task of making a gift bags.

I wanted to do something different from the usual gift bags that we get in Australia so after a family discussion we decided this is what will be the base of the gift bags:

  • Pokemon cards (you can buy bulk lots on ebay)
  • A custom Geocache location as a treasure hunt
  • Seed bombs
  • A toffee apple

Dangers of Sugar Napalm

Deep frying and molten sugar scares me.  Any liquid that can be heated up hotter than boiling water in my mind is very dangerous (I was burnt by hot soup when I was a kid)

A good YouTube video had some good safety instructions:

  • Wear long pants and shirt
  • Wear enclosed footwear 
  • Have a large container of water on standby so if you get molten sugar on you; you plunge the affected area in the water as quick as possible
I would also keep kids at a safe distance until an appropriate age to help out.

Recipe

Based off the following video with a few modifications

  • I didn’t use cinnamon hard lollies 
  • Added Raspberry essence   

Ingredients

Makes about 20 small toffee apples

  • 20 small “Snacking” Granny smith apples
  • 850g of white granulated sugar
  • 340ml of water
  • 170g of Glucose syrup 
  • 10 drops of red food colouring
  • 10 drops of Raspberry essence (note this might need to be experimented with depending on the strength of the essence  
  • Sturdy sticks for the handle


Method

Night before

  1. Wash the apples in very hot water to remove the wax coating
  2. Push the sticks in the base of the apple and ensure they are solidly in place 
  3. Place in fridge overnight to chill

On the day

1. In a heavy based spotlessly clean saucepan; mix together the sugar, water and syrup. 

Pro tip – put the saucepan on the scales and pour the syrup directly in.  If you measure the syrup out in an individual container – you will be forever struggling with a sticky mess of transferring syrup from one container to another 

2. Stir the contents very well to ensure all the water and sugar is mixed thoroughly together

3. Place pan on medium heat on the stove and bring to the boil.  Cover pan with the lid and allow to boil gently for 5 minutes

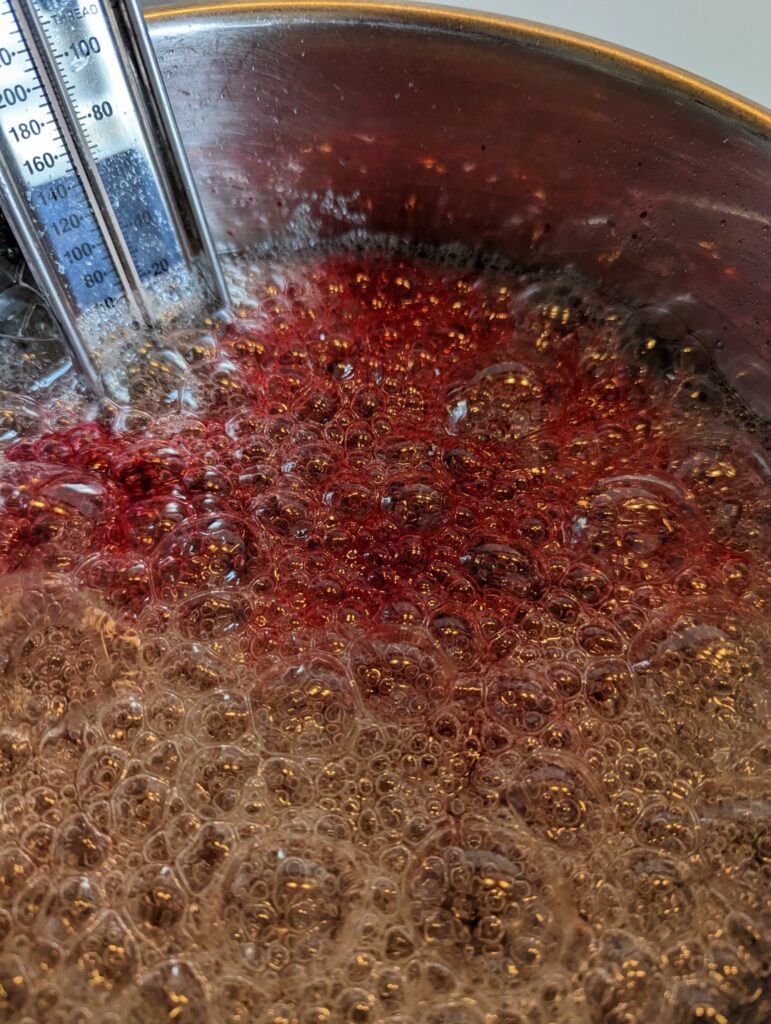
4. Uncover the pan and insert the sugar thermometer in the pot.  Boil without stirring until the temperature reaches 138°C (280 F)

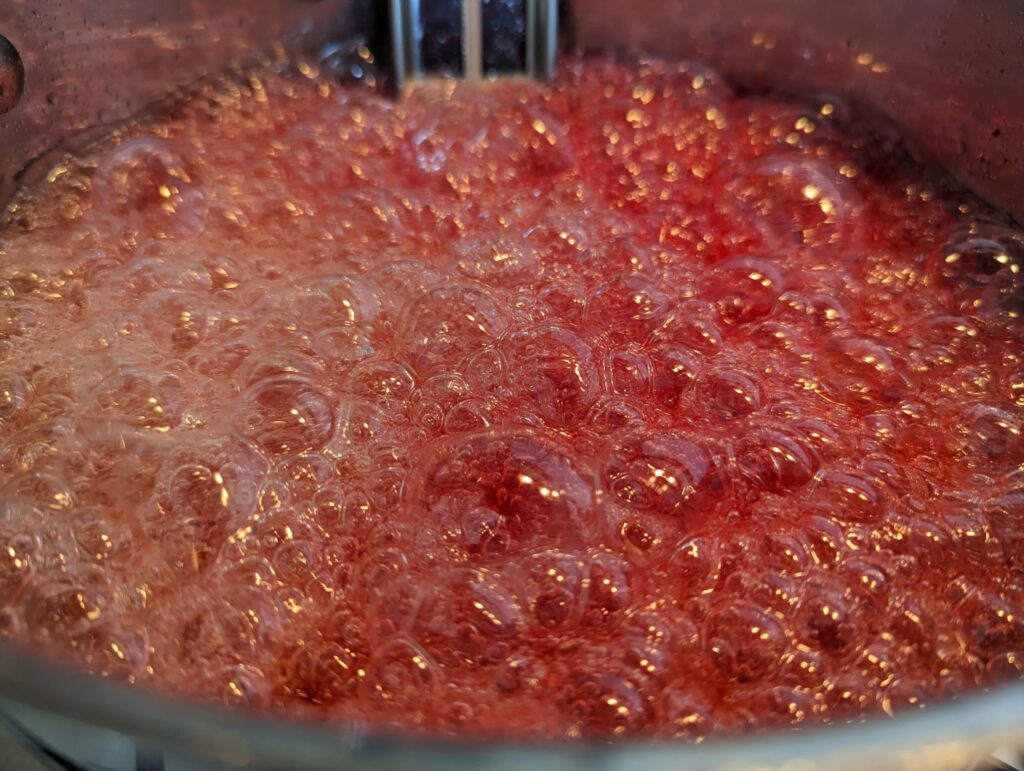
This step might take a while as first the water have to boil off.  This is why the temperature will stall at 100°C for a while as the water evaporates.  Once all the water has boiled off – the bubbles will change into lager and slower bubbles.

Don’t leave the pot unattended as the temperature rise will happen without warning.

5. When the temperature reaches 138°C; add in the food colouring and Raspberry extract drops.  Distribute the drops in different locations so it is easier for the boiling sugar to mix through.

6. While waiting for the sugar to reach the correct temperature:

  • Take the apples out of the fridge and dry off the condensation.
  • Prepare some trays to put the finished toffee apples on.

7. Once the temperature reaches the “hard crack” stage of 150°C (300 F); remove the pan from the heat.  Wait a short while for the bubbles to subside.

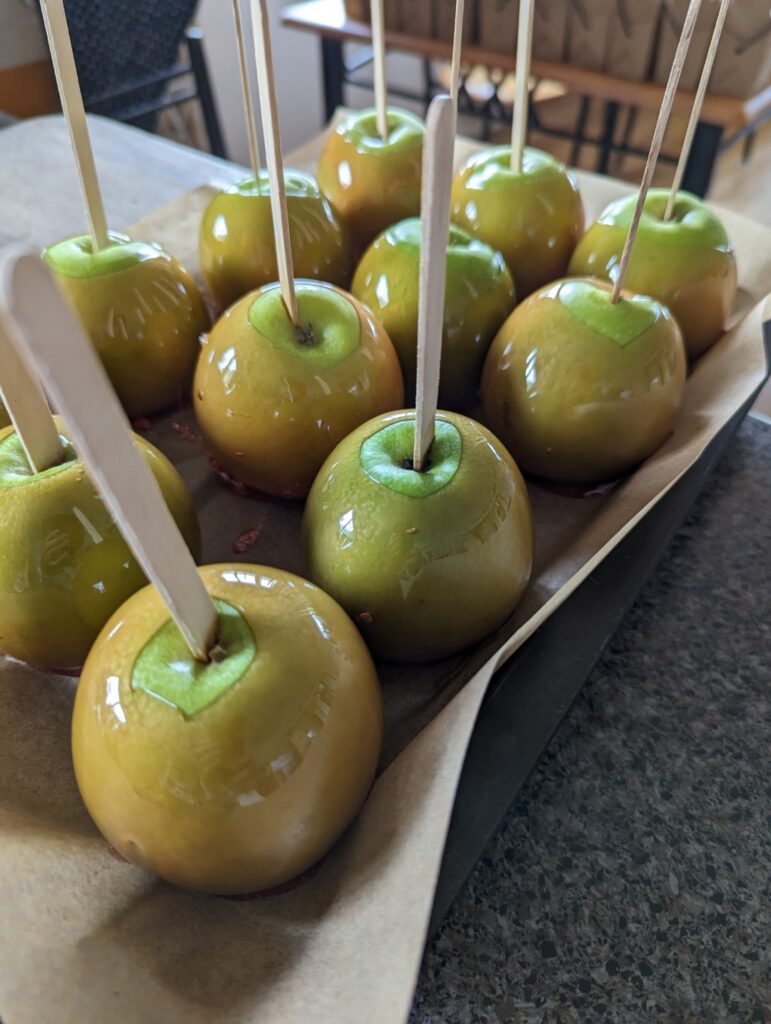
8. Dip an apple in the sugar syrup and quickly but carefully turn it to get the thinnest coat possible on the apple. Allow the toffee apple to drain the excess liquid off before placing it on the prepared tray.

Whether you go right up to the stick or leave a little gap at the top is the dealer’s choice.  

If the sugar syrup is staring to get too sticky – reheat on the stove again to bring it up to temperature

8. Wait until the toffee is cool (should be quick with cold apples) and enjoy.

Notes

  • I think the kids enjoy it as a novelty of something different.  It also brings back nostalgia memories in the older generation.
  • The recipe scales well.  I did a half recipe as a tester and then to make 40 toffee apples we doubled the recipe.
  • A “Candy” thermometer is indispensable for someone starting off making sugary treats.  Well worth the $20 investment
  • To clean the pot afterwards – fill it up in water and bring it to the boil to remove the stuck sugar
  • Once the toffee apples are cooled down and no longer sticky – bag them up or put them in an air tight container.  They should last a couple of days depending on the temperature and humidity – five days is starting to push it.
  • The Glucose syrup can be substituted with honey – although I haven’t tried
  • You can try different flavourings for the sugar syrup – such as almond, strawberry.  I even saw a “Toffee apple” essence in shop that I brought the Raspberry essence from.

Jazzing up a Women’s Weekly slow cooker recipe

Since we have a “No Junk Mail” sticker on our mailbox – we’re deprived of the weekly “Aldi Specials” catalogue.

On the downside – we miss all the Aldi deals of items we didn’t think we would ever need.

On the plus side; when we do venture into Aldi – there is always a nice surprise to find what ludicrous bargains await us.

Recently there was a “Women’s Weekly Complete Slow Cooker Recipe” that I impulse bought for the tempting price of $20.

The recipes are inspirational; but not really refined.  Most of them follow the formula of; “Bung everything into a slow cooker & cook for eight hours.”

So as a challenge and a learning and teaching exercise; my wife picked out a recipe and keeping to the original ingredient list – I tried to bring out the best in the recipe.

Our base recipe #69: "Beef and Vegetable Soup"

Ingredients

  • 1kg Gravy beef – trimmed and cut into 2.5cm pieces
  • 1 garlic clove, crushed
  • 1 medium brown onion cut into 1cm pieces
  • 2 stalks of celery, trimmed, cut into 1cm pieces
  • 2 medium carrots, cut into 1cm pieces
  • 2 medium potatoes, cut into 1cm pieces
  • 400g canned diced tomatoes
  • 1L water
  • 2 cups of beef stock
  • 2 dried lay leaves
  • 1 cup of frozen peas
  • 1/3 cup coarsely chopped flat leave parsley 

Method

  1. Combine beef, garlic, onion, celery, carrot, potato, tomatoes, the water, stock and bay leaves in a 5-litre slow cooker.  Cook, covered on low, about 9 hours.
  2. Add peas to cooker, cook, covered, a further 30 minutes.
  3. Discard bay leaves.  Season to taste.
  4. Serve soup sprinkled with parsley.

Improving the recipe

There are three opportunities to add additional flavour to the recipe:

  1. Browning the meat
  2. Caramelising the onions
  3. Managing the cooking time of the other vegetables.

Browning the beef

This is the most obvious improvement; browning the meat before adding to the slow cooker.  Many slow cooker recipes call for the browning meat step; the Maillard reaction adds extra depth of flavour to the beef and the wider dish. 

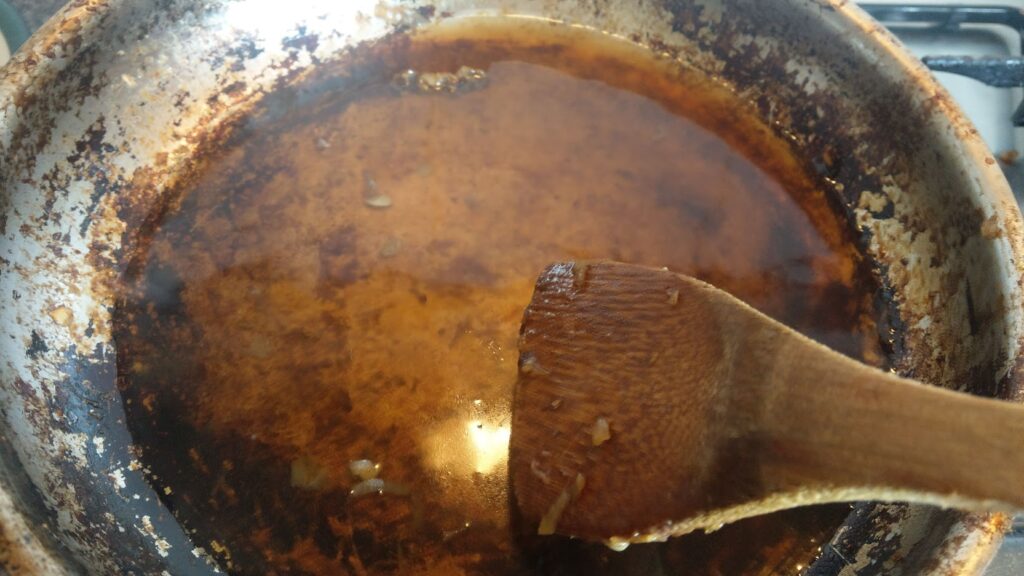
So with care I browned the beef cubes in batches well in a fry pan over medium/medium-high heat.  Leave the burnt caramel bits in the bottom; we will use that for later.

Tackling the Onions

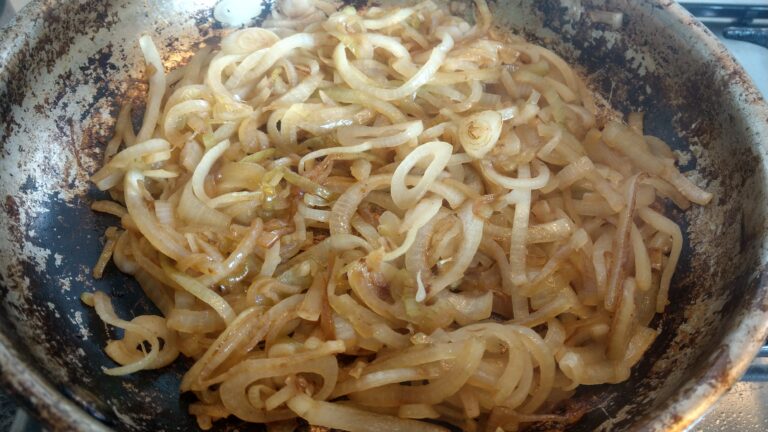
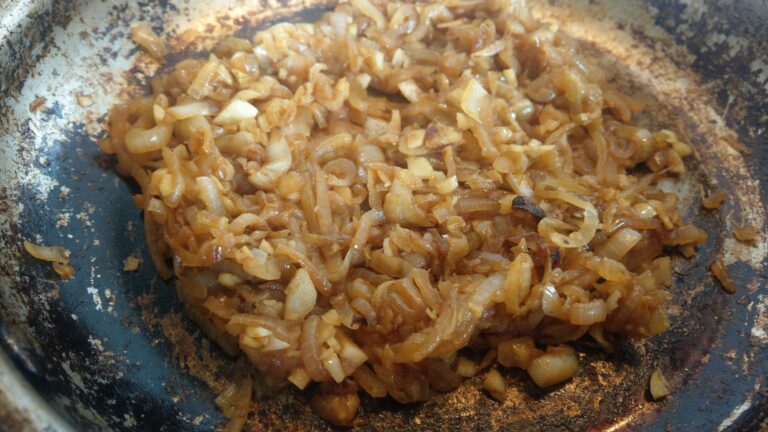
The onions are another chance to enrich the flavour of the soup.  Taking a cue from “French onion” soup; the idea is to slowly cook the onions to a rich caramel onion flavour.
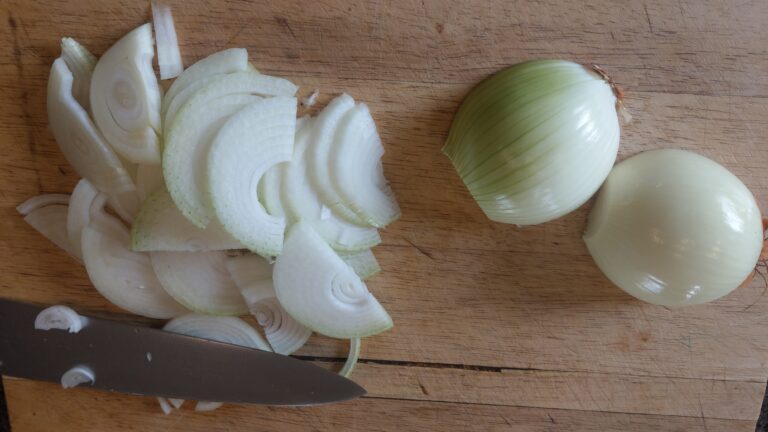
Slice the onions thinly and then slowly brown them in the pan on a low heat.

Stir around to lift off any brown bits from the bottom to start forming a beef fond with the sweating of the onions and keep slowly cooking until it is a deep rich brown colour.

If the onions start to stick and threaten to burn; add a bit of water to loosen them off the bottom of the pan.

When the onions are almost done; add in the minced garlic and cook the raw edge off the garlic.

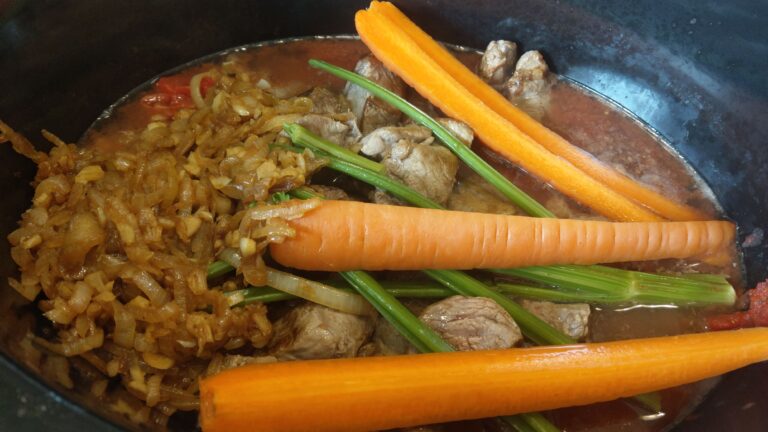
Add the caramel onion and garlic mixture to the slow cooker pot and then de-glaze the pan with a cup of beef stock.

Sacrificial stock vegetables

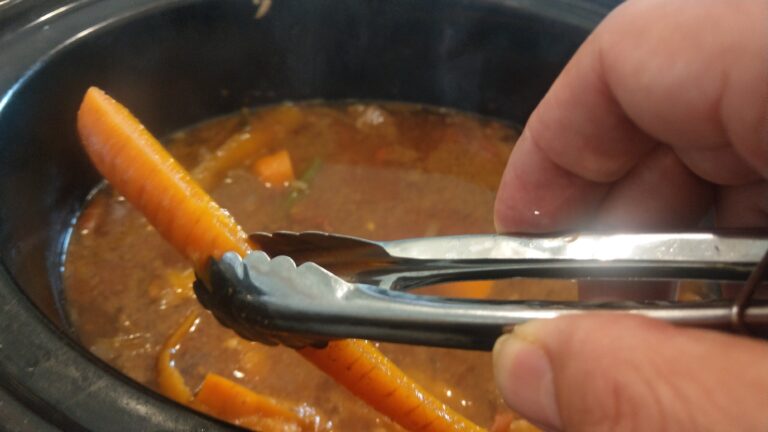
To preserve the texture of the carrots, celery and potatoes for the end and not cook the vegetables to a pulp; we’re going to use half of the carrots and celery as “sacrificial vegetables” to flavour the soup and then remove at the end; the same when making a stock.

You could when the cooking time is almost over; remove the cooked beef and blend the pulpy vegetables with a stick blender.

But this time I decided to give our worm farms a treat with cooked carrots and celery.

At the end – add freshly cubed potatoes, cook for 10min and then add cubed celery and carrots.

Cook until the vegetables are just cooked through – or until personal preference.

Add the peas right at the end to warm through.

In the end - is it worth it?

The soup was robust, tasty and put a smile on the family’s face.

But how much tastier than the base recipe – I couldn’t say.  I should have cooked the original recipe as a control; but couldn’t bring myself to throw beef into a slow cooker that hasn’t been browned.

One thing that was a standout was the time it took to prepare.  If preparing the original recipe; it could have been done within ten minutes. 

And that’s one of the key advantages of a slow cooker – throw ingredients quickly into a pot, let it run through the day and you have a tasty comforting meal in the evening time with little effort.

With my browning the meat in batches, the sweating and caramelising the onions; all of a sudden that 10min prep ballooned out to an hour. 

Is that extra 50min worth the extra taste; worth the time and effort invested?

I’ll leave it up to you dear readers to cook the recipe and find out yourself.

Salad Jars: You don’t make friends with them

Work Lunches.
 
For ages I never really got a pattern with them.
 
To begin with – I use to take left overs from meals to work and heat them up in the office. 
 
It wasn’t the best solution as sometimes I wouldn’t cook enough the night before and left short and quite often buying lunch out. 
 
With a decent lunch in South Eastern Australia is over $10; this hits the wallet for been unprepared. 

The Salad Jar Idea

Flicking through a recipe book section of a market while on holiday; I came across a book on “Salad Jars”; where you assemble a salad in a mason/preserving jar. Unfortunately I can’t remember the book’s name as I didn’t purchased the quite expensive book.
 
But flicking through the pages – I got the gist of the recipe.  
 
Fast forward a couple years and I have made hundreds of them; assemble the jars on Sunday and then they are ready in the fridge to take to work.
 
They are not glamorous and you won’t make many friends with them; but at least your health and budget might like you.

The basic principle

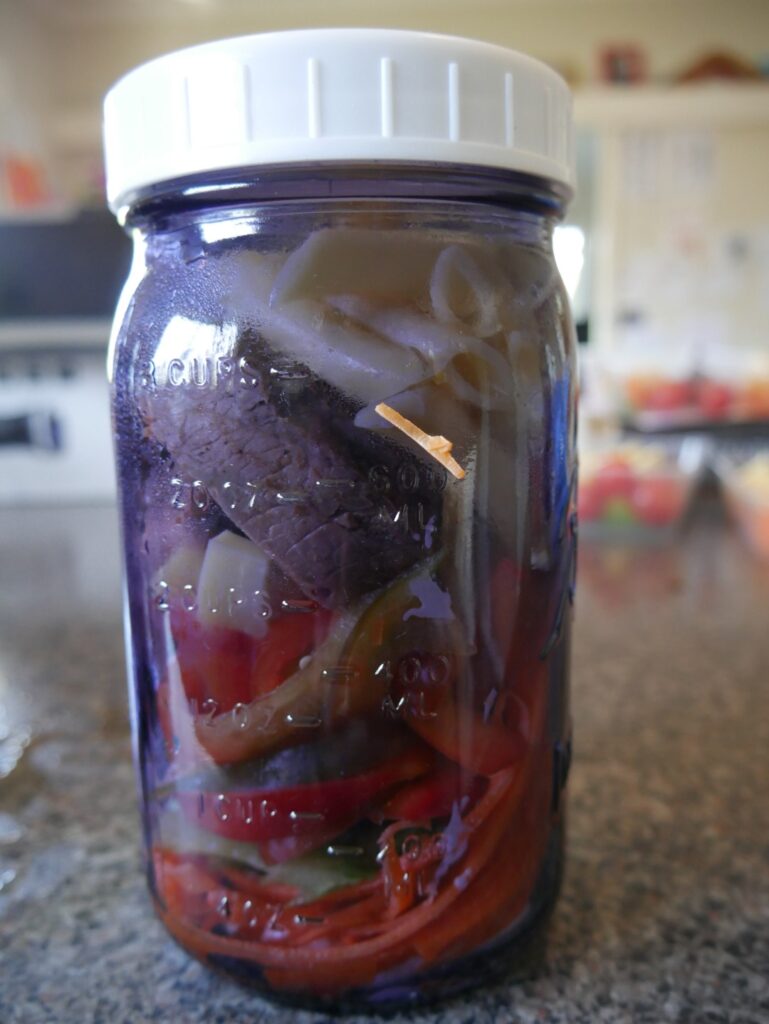
The idea of a salad jar is to layer salad ingredients in container in a particular order.  When it is time to eat; give the jar a shake to mix the dressing and ingredients together.

With a normal salad; the dressing goes on last so not to leave the ingredients soggy after a period of time.

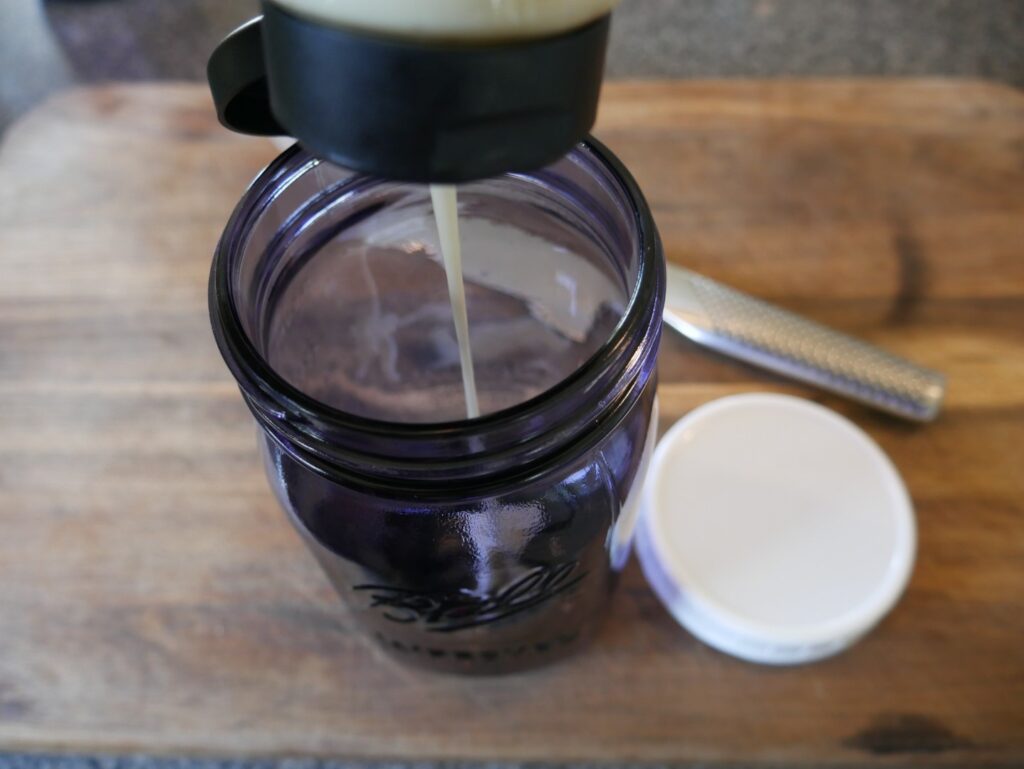
With salad jars; the dressing goes in first at the bottom of the jar.  

After the dressing – the jars are layered with the rest of ingredients; working from hard vegetables like carrot, capsicum, celery and then moving up to more delicate ingredients.

At the top should be delicate ingredients like lettuce and crumbly feta.

The idea that the dressing can “pickle” your harder vegetable and this layer of vegetables serves as a barrier to the other ingredients.

The Jars

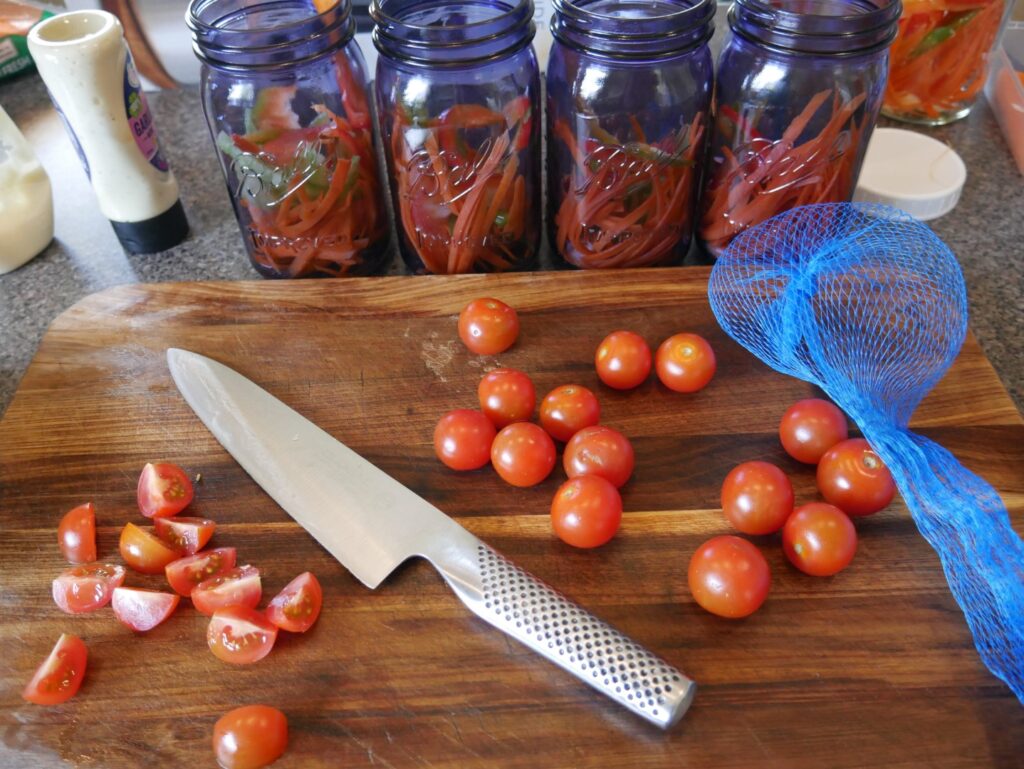
Any jars or containers with a tight lid will do.  After some iterations of different jars; I came to like these squarish mason preserving jars that I found on ebay:

These jars tick a couple of boxes:

  • The right size for a lunch
  • Relatively solid – can survive a few knocks
  • With the jar’s square shape; it packs more efficiently in the fridge compared to round jars

I also brought some plastic lids instead of using the canning lids that came with the jar; as the dishwasher was tearing the protective layer off the metal lids.

A sample assembly

Start off with a couple of tablespoons of a dressing at the bottom. 

I have several bottles of salad dressing in the fridge to use in different jars for the week to break up the monotony.

Also in this layer you can add ingredients to enhance the dressing; such as seasoning, herbs, pickled jalapenos or capers.

Add in your hard vegetables. 

Examples can be:

  • Carrots
  • Capsicums
  • Celery
  • Radishes 
  • Raw beetroot 

These will pickle in the dressing and add as a protective barrier to the other ingredients.

Carrots is one of the cheapest vegetables in South East Australia so I usually use a whole carrot to a jar.

Next layer is the softer vegetables and ingredients; such as:

  • Tomatoes 
  • Hard cheeses
  • Roasted potatoes
  • Cold pasta 
  • Cooked mushrooms
  • Canned black beans 
  • Canned lentils 

For protein in this instance I have a topside roast beef that I thinly sliced.  Other suggestions:

  • BBQ chicken from the shops
  • Smoked chicken
  • Poached and shredded chicken breast
  • Greek butterflied lamb
  • Cooked and sliced sausages
  • Cooked and sliced rissoles 
  • Boiled and peeled eggs

Finally the last layer is where you have your delicate ingredients.  For instance:

  • Softer cheeses
  • Lettuce
  • Avocado
  • Roasted pumpkin
  • A mini quiche 
  • A breadroll (that you can pull out before mixing up your salad)

In the end - How many friends?

An advantage of the salad jars is the range of combinations you can make.

With a little work; salad jars can be rarely monotonous when you can combine different dressings, vegetables, cheeses and meats.  You can have a different jar for each day.

A trip to your local grocers, farmer’s market or what’s currently seasonal in the garden can inspire you on what combination you will make that day.

Give them a try – but save a day in your week to buy hot chips to share with your friends. 

You make friends with hot chips.

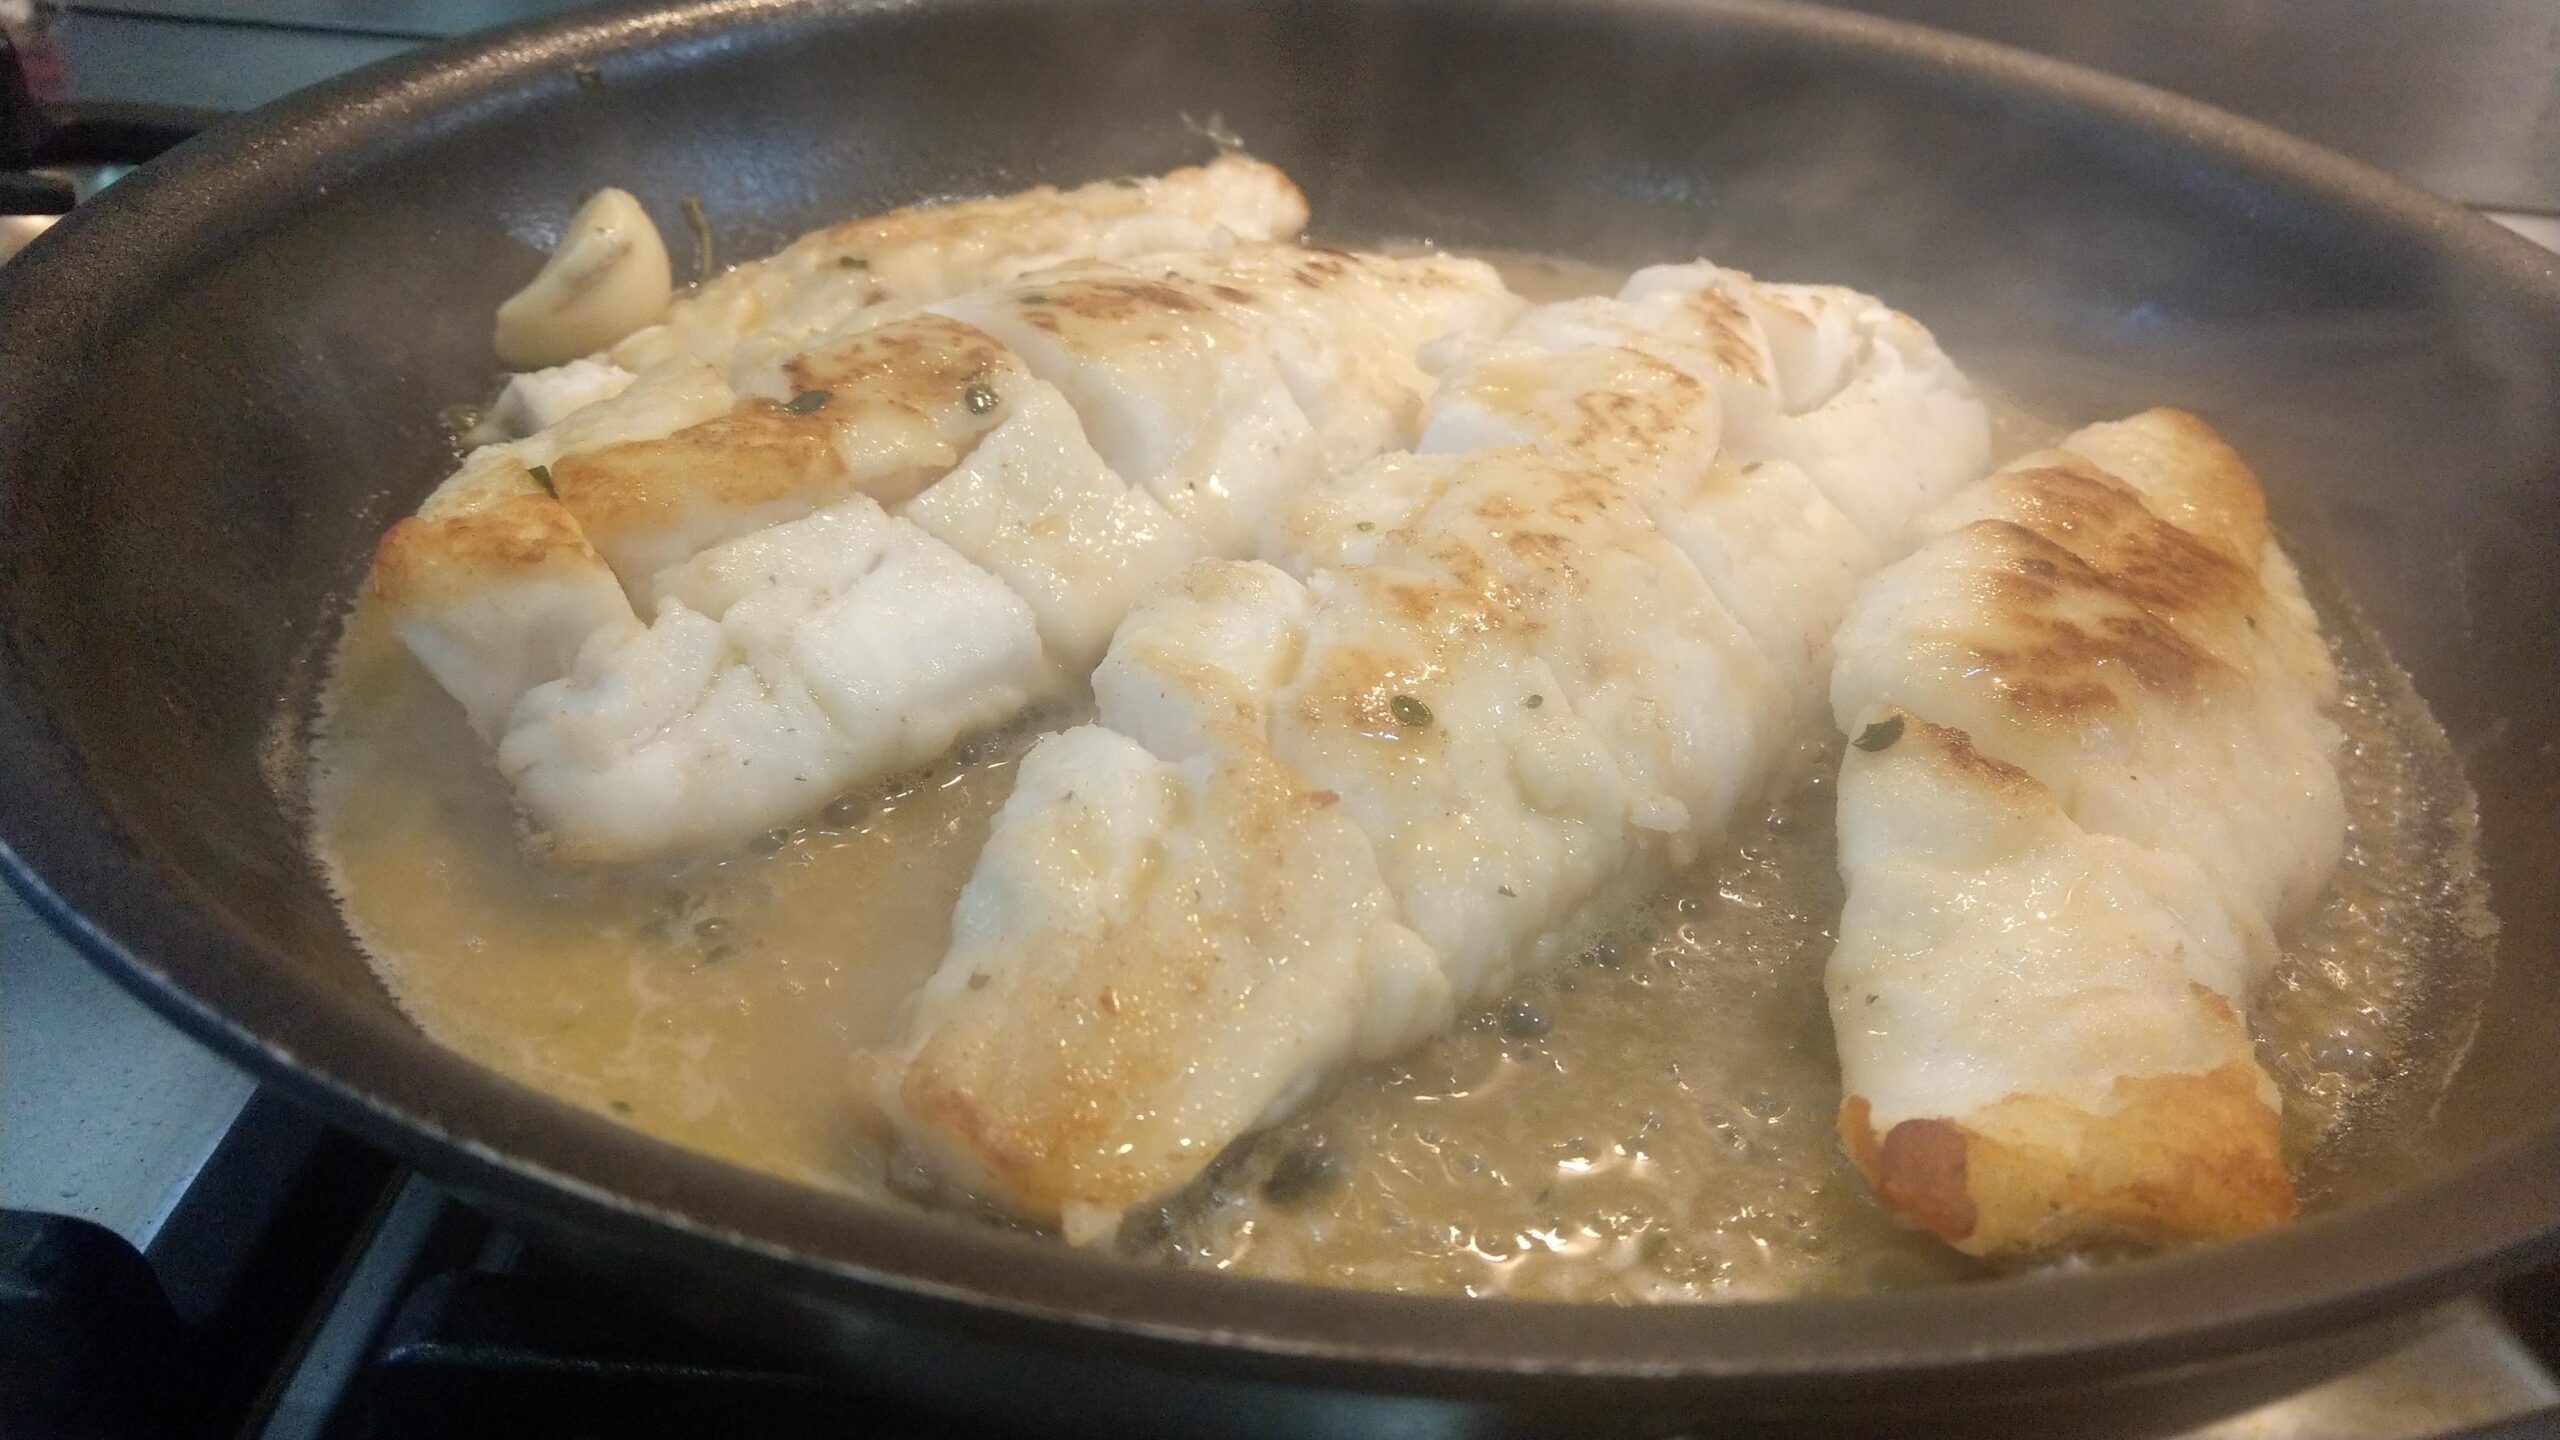
Coral Trout with Pale Ale butter sauce

I am not a fisherman by nature – more inclined to drown a few worms, get eaten by mozzie and then find something more exciting to do.

So I got a huge shock when fishing off a jetty with my little family and brother I caught a fish! And according to my shocked angler brother – an excellent eating fish.

“Ummm. It is a fish. What do I do now?”

Now to find a recipe.

I don’t cook seafood often as I was brought up in inland Australia, so my experience is limited.

My thought process was not to overpower the flavour. Googling recipes I saw some SE Asian inspired recipes overloaded with mammoth flavours like ginger, lemon grass, chilli etc – but I decided to try a more subtle route.

Ingredients

(Guestimates)

  • 1 Coral Trout (Or any other firm white fish) filleted with skin on
  • 1/2 cp of plain flour
  • 1 tsp salt
  • 375ml of a light but tasty Pale ale
  • 5 tbs of butter – cut into chunks and chilled
  • One clove of garlic
  • Sprig of lemon thyme
  • Canola oil for frying
  • Extra salt for seasoning
  • Lemon wedges to serve

Method

  1. Heat a large frypan on medium.
  2. Assess the thickness of the fish fillets. If quite thick; score the flesh side of the fish with a knife every 2cm to allow for more even cooking.
  3. Dry the fillets with kitchen towl to remove excess moisture.
  4. Season the fillets with salt.
  5. On a plate – mix the flour with the tsp of salt. Dust the fillets liberally with the seasoned flour and shake off the excess.
  6. Heat the oil and add the fish skin side down. Cook for a couple of minutes until the fish is half cooked through.
  7. Carefully turn the fish a cook until the fish is almost cooked though. Remove the fish to a plate.
  8. Add the ale, lemon thyme and whole garlic clove to the pan. Bring to a simmer and reduce the heat.
  9. Add one piece of butter and stir until it completely emulsify into the liquid. Repeat with the other chunks of butter – one by one.
  10. Remove the thyme and garlic.
  11. Taste the sauce. Adjust the seasoning if needs.
  12. Add the fish back to the pan to warm through. Spoon the sauce over the fish.
  13. Serve with the buttered sauce and lemon.

Notes

  • Serving suggestions – simple blanched or steamed greens
  • I was constrained by what ingredients I had on hand. Some modifications can be:
    • A white wine Iike a riesling
    • Tarragon instead of thyme
  • When tasting if the ale has made the sauce too bitter – add a bit of sugar.
  • If I had the right ingredients I would have probably made the following recipe from Neil Perry.

The Story of the Coral Trout catch

Theory

My brother was shocked that such a large Coral Trout was caught off an estuary jetty as they are usually found on the reef.

His angler friend’s theory was the particular jetty we were fishing off. It is a jetty where fishing vessels dock to transfer their catch. The vessels would catch Coral Trout on the reef and bring them back alive. They then will measure for size and throw the undersize fish off the jetty.

Our fish probably hung around under the jetty after being released and grew to its final 50cm size.

A pretty Good Bolognese

There is no such thing as a recipe for “The Best Bolognese”.  The best Bolognese recipe is the one that you cook and you like. This is my favourite over 20 years (geeze – I feel old now) of experimenting with all different variations that I have gleaned from different recipes and friends. Remember – don’t be afraid to experiment and try something new.

Ingredients

Serves about 6

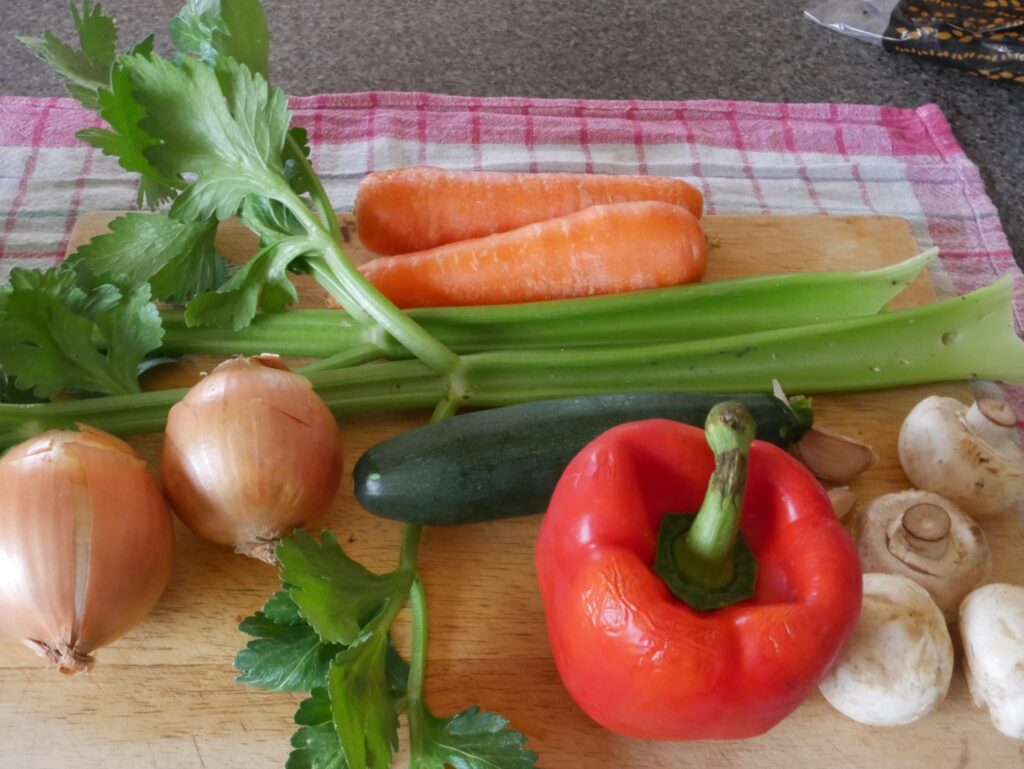
Vegetables (Add more or less as you desire)

  • 2 brown onions – diced
  • 2 stalks of celery – diced
  • 2 carrots – diced
  • 1 red capsicum – diced
  • 2 zucchini – diced
  • Handful of Button mushrooms – diced (optional)
  • 2-8 cloves of garlic to taste – minced

The rest

  • 1kg beef mince
  • 1L beef stock (extra points for home made beef stock)
  • 750gms Passata
  • 2tbs Worcestershire sauce
  • 2 bay leaves
  • 2tsp dried oregano
  • 1tsp dried thyme
  • Pepper
  •  500gms dried pasta
  • 4tbs of cooking oil (vegetable/canola/olive oil)
  • Cheese to serve –  parmesan for the traditionalists/any other hard cheese of choice for the commoner

Method

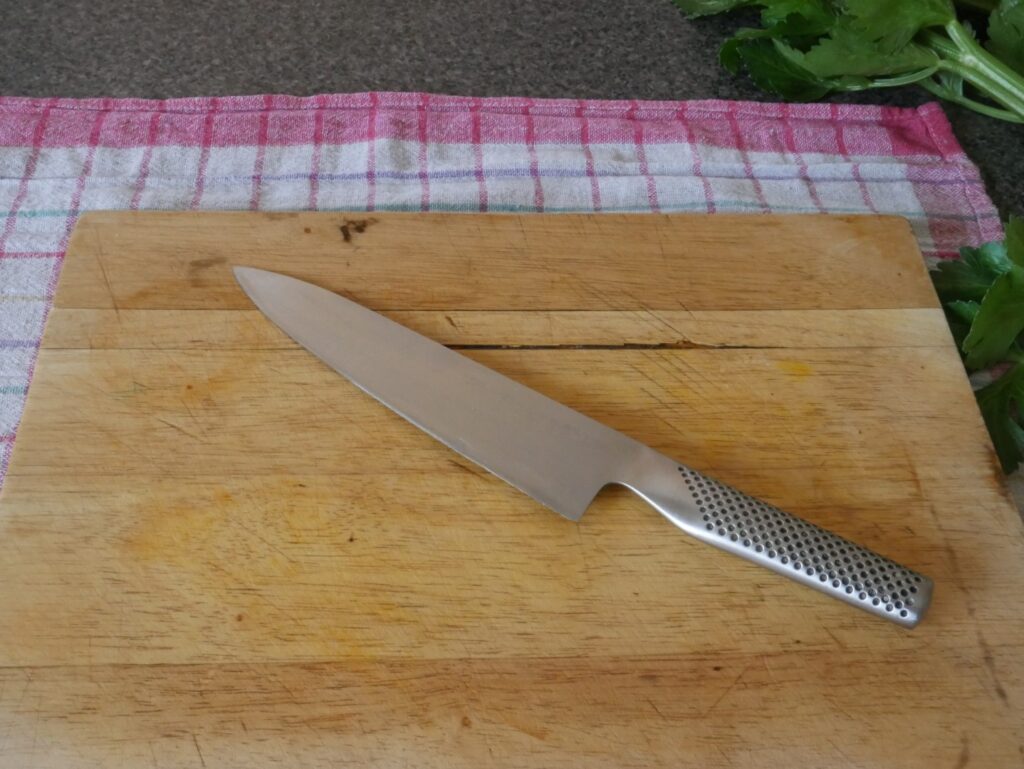
Clean bench, sharp knife, stable cutting board – let’s go:


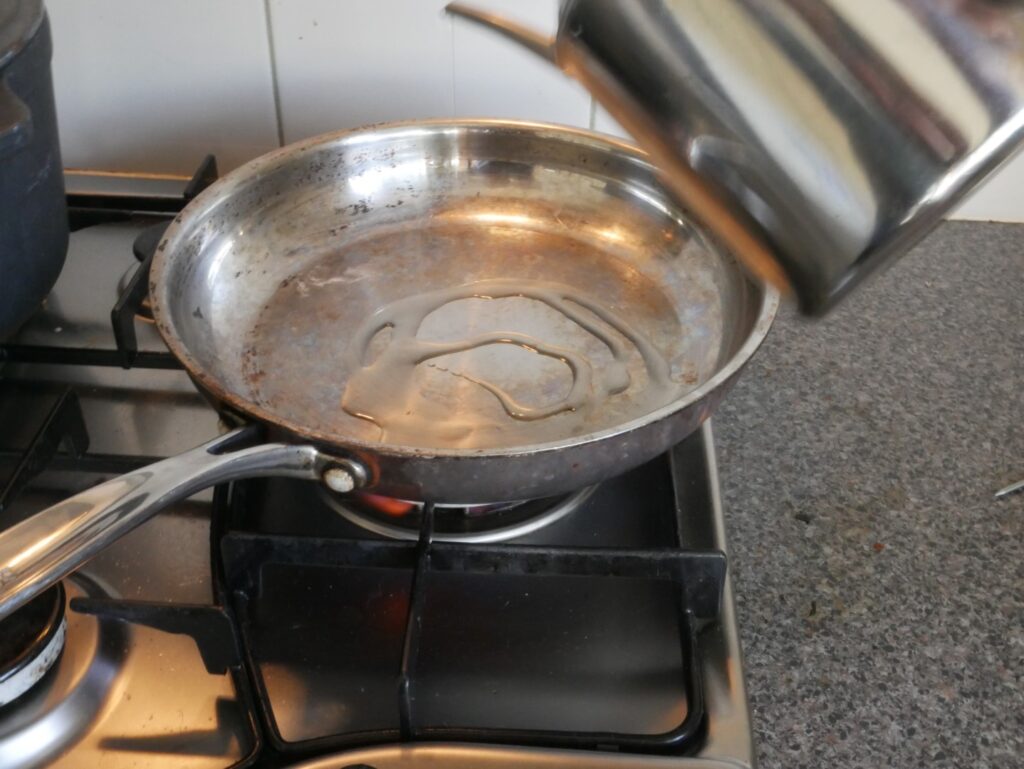
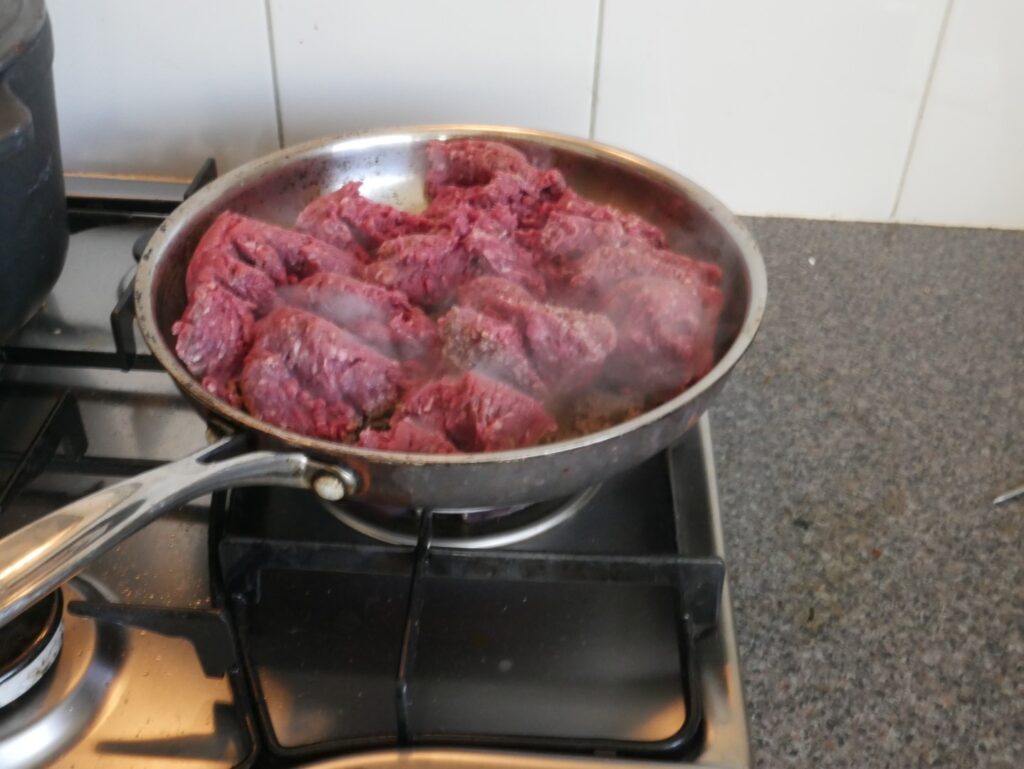
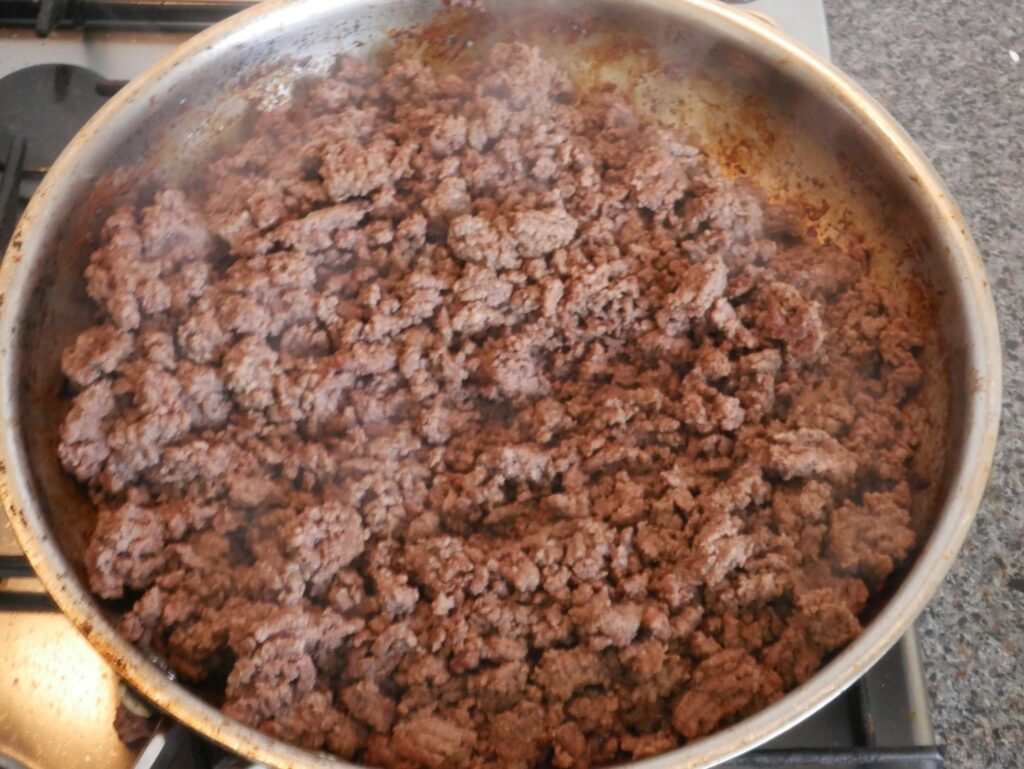
1. Heat 2tbs of the oil in a large fry pan on medium high.  Add the mince and break apart the lumps.  Cook stirring occasionally until the beef is dry and crumbly, starting to catch at the bottom and smell like cooked steak.  If this step is done before the vegetables are soften; turn off the heat


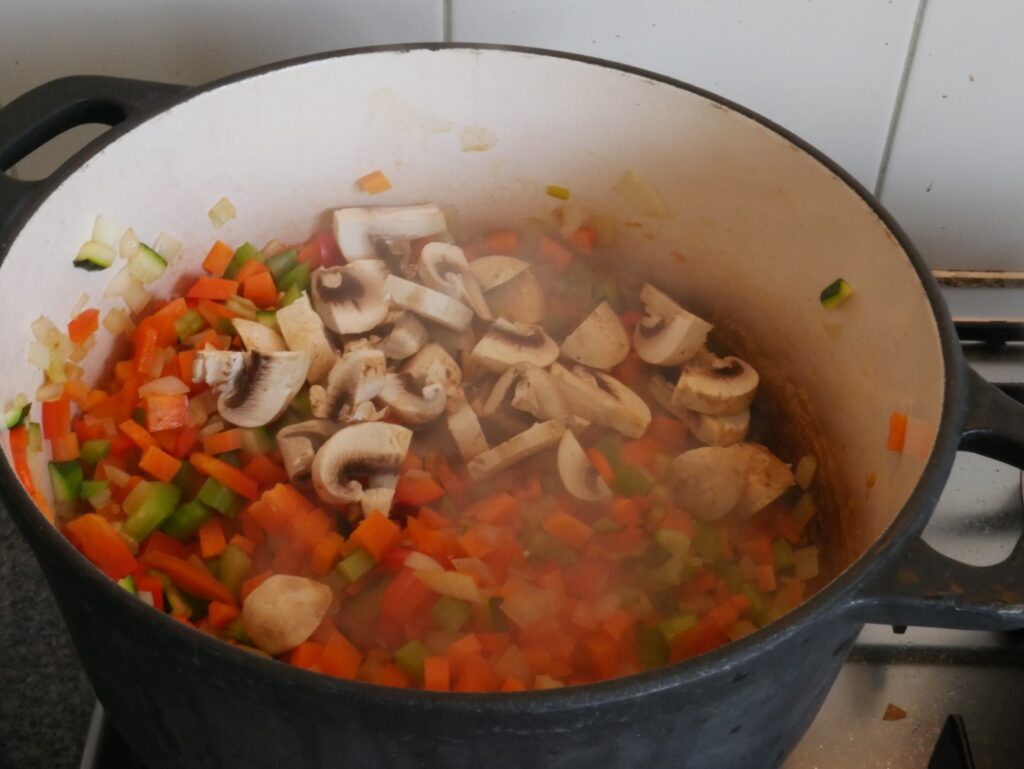
2. In a large pot; heat to medium heat and add the remaining cooking oil.  Add all the vegetables; except for the garlic and fry until the vegetables are soft and the onion is translucent.  Add the garlic and fry for another two minutes.


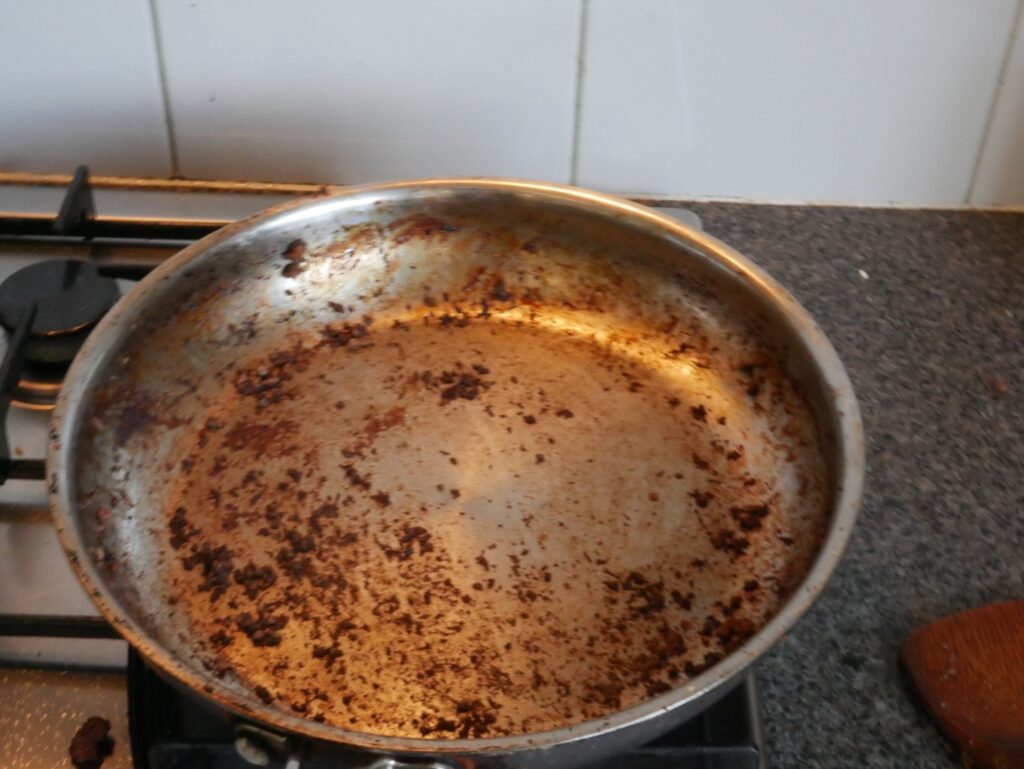
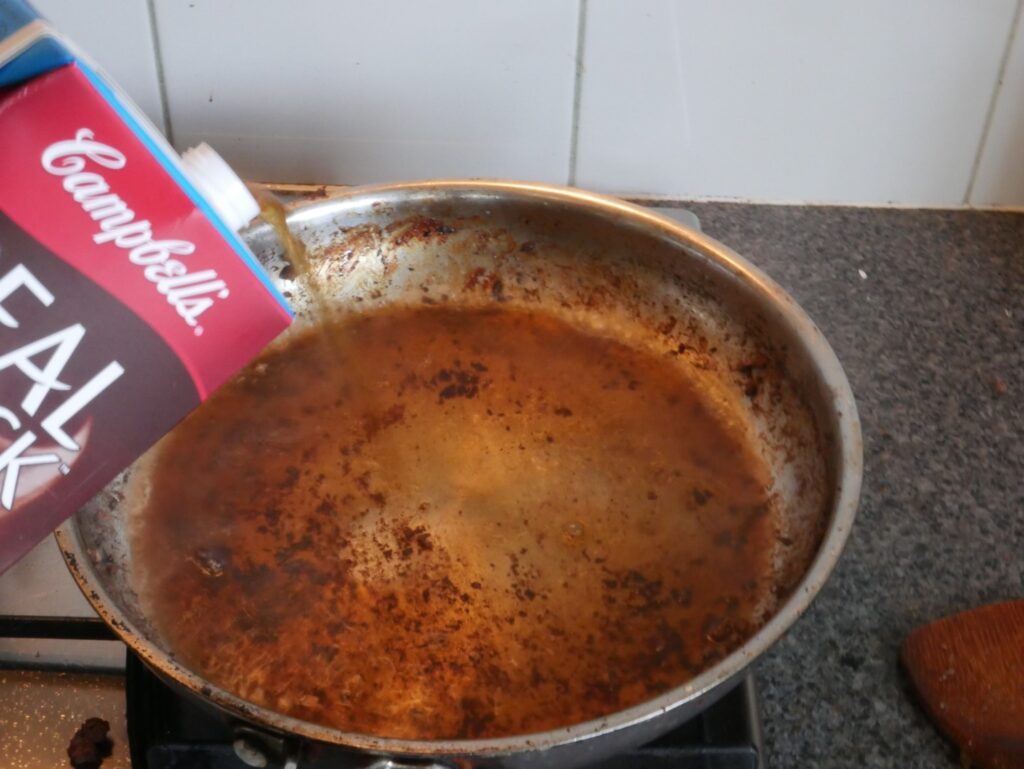
3. Add the browned mince to the large pot of vegetables.  Deglaze the fry pan with a cup of beef stock.  Add the liquid into the large pot.


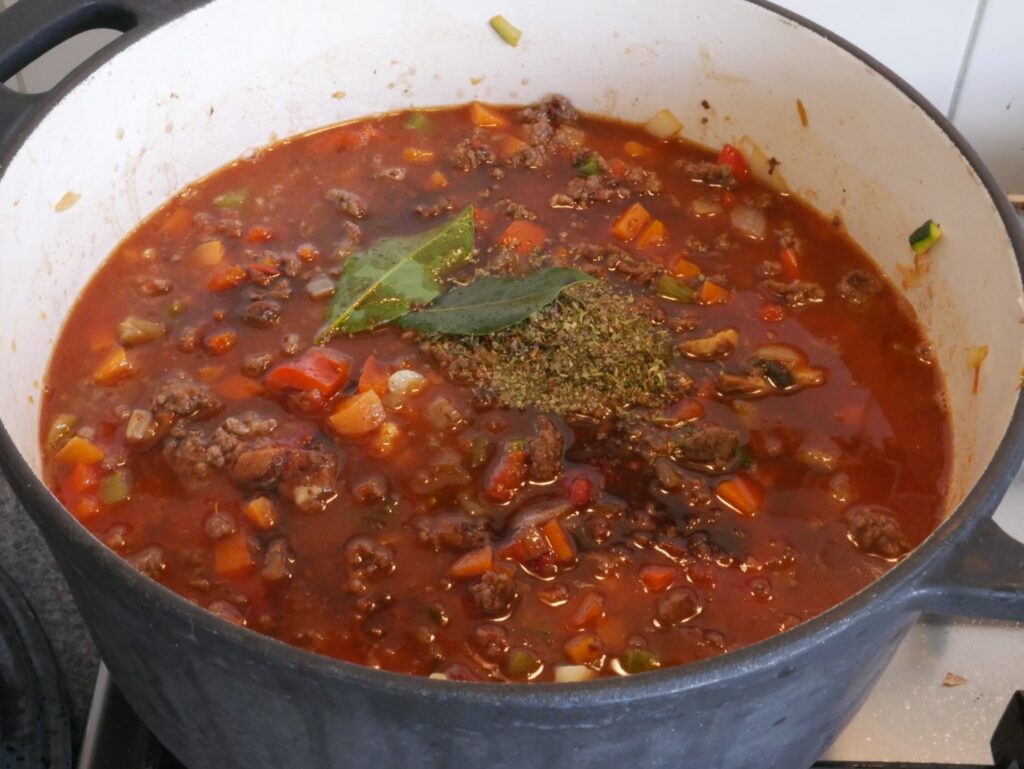
4. Add the beef stock, passata, Worcestershire sauce, bay leaves, dried herbs and pepper to the large pot and bring to a boil.  The mixture will appear very watery; almost like a soup.

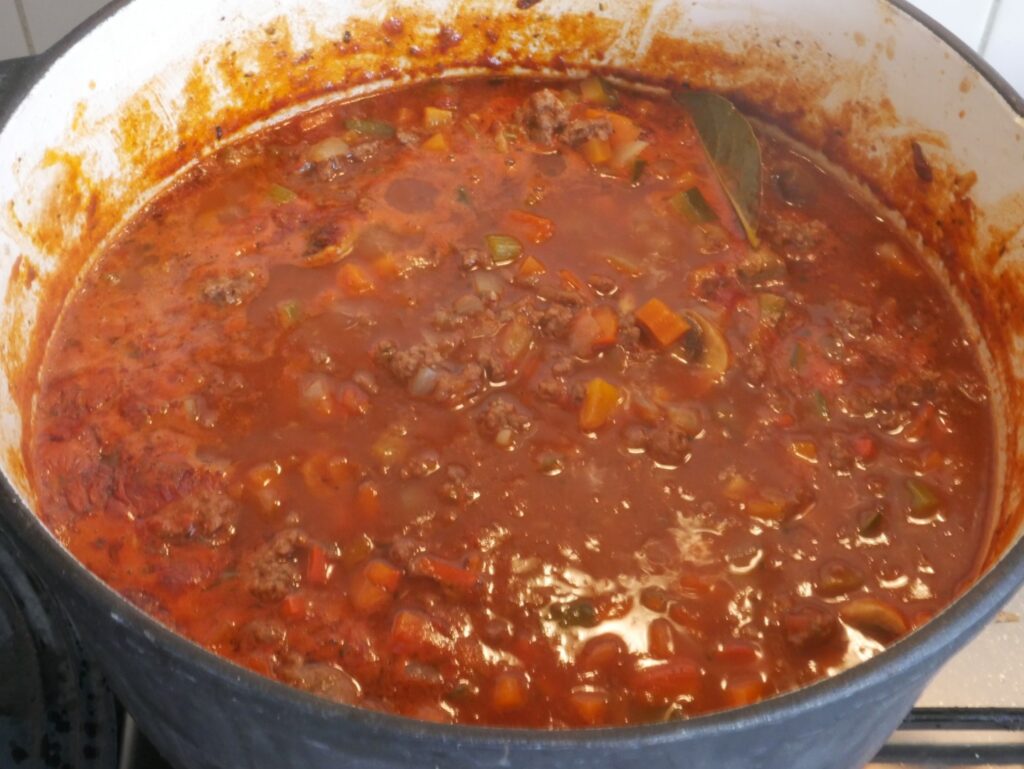
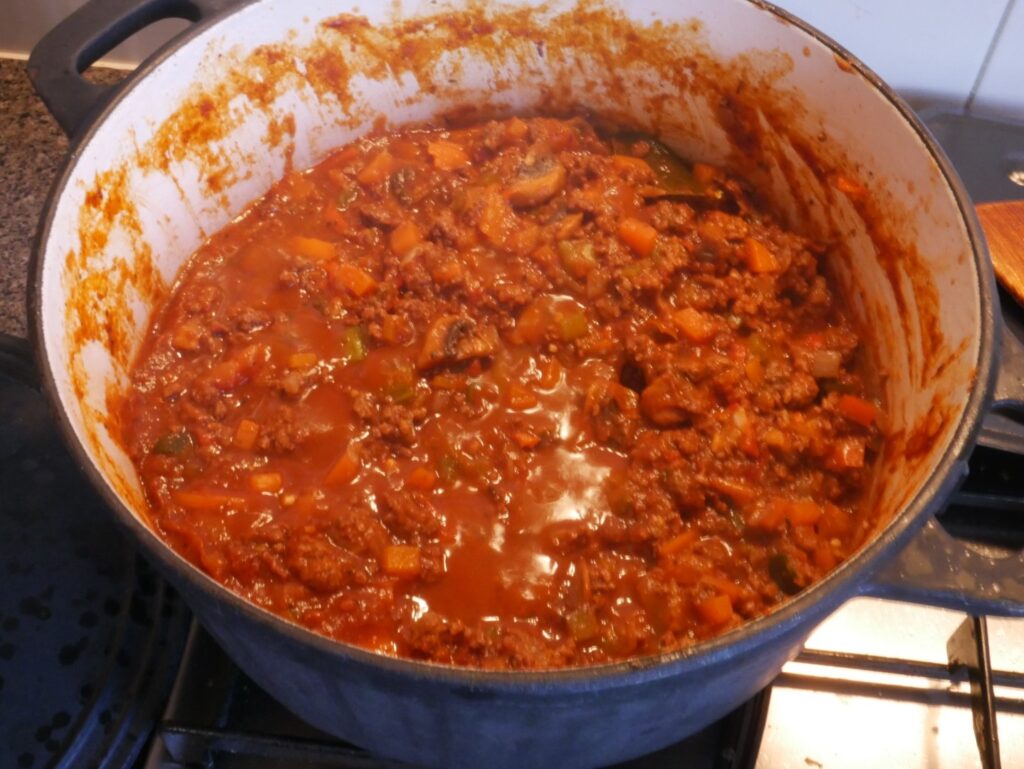
Turn down the heat to a very low simmer and cook for 3 – 6 hours stirring occasionally.  Adjust the heat and liquid levels depending on how long you want to cook it for.

Hold off on seasoning with salt until the end as the amount of salt you will need depends on the amount of salt that was in the beef stock and passata.


5. When getting close to the right consistency; cook the pasta as per the packet instructions.

Way to serve – fancy way

  1. Undercook the past by a couple of minutes in step 5
  2. Heat up a large pot to medium heat and add in the well drained pasta
  3. Add some of the Bolognese sauce into the pot.
  4. Cook for a couple of minutes until the pasta is cooked through.
  5. Serve with chese

Way to serve – to the point way

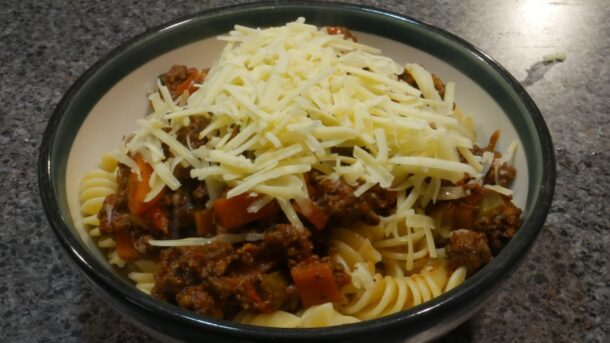
  • Pasta in the bowl
  • Bolognese sauce on top
  • Cheese on top

Notes

There are many/many variations of Bolognese out there and I have tried and honed my favourite recipes over many years.

It all comes down to what you like – that is the best Bolognese recipe

To me a good Bolognese has the key balance between tomatoes and meat flavour.

I have tried some popular variations and added some notes:

Wine

A popular addition is to add wine to the recipe.  This radically changes the flavour profile.

I’m not a big fan of it.

I suspect that it is because I usually have strongly flavoured Australian Shiraz or Cabernet sauvignon on hand.  Maybe a lighter red wine would be a suitable match.

Meat

Minced beef is the most popular ground beef in our region so that’s what I tend to use.

Veal and pork is a more traditional choice.  If this is what you want to try; see if you can get some pork or veal stock.  This will create a lighter sauce and better match for the meat combination.

Some people also add bacon or speck to their Bolognese recipe.  This drastically alters the flavour and I am not a fan of it.  But if not sure; give it a go as an experiment

Milk?

I have seen recipes where you add half a cup of milk to the Bolognese sauce.  The theory is the the enzymes in the milk further tenderises the meat.  I have tried it but felt it made no noticeable difference

Sugar

Some recipes add a couple of teaspoons of  sugar to the sauce to balance out the acidity of the tomatoes.  I think it depending of the quality of the passata and your own personal preference.  Taste the sauce at the end of the cooking process and assess the taste profile of the tomatoes to see if it needs some sweetening.

Extras

  • Dried red lentils gives the recipe a nuttier taste and stretches the recipe further.  Well worth it if you have more mouths to feed on a budget.
  • You can add more or less vegetables as you wish.  If you add more vegetable; or grate them up finer to hide them from kids – you will compromise on the meat and tomato flavour.
Happy cooking