October 2022

Jazzing up a Women’s Weekly slow cooker recipe

Since we have a “No Junk Mail” sticker on our mailbox – we’re deprived of the weekly “Aldi Specials” catalogue.

On the downside – we miss all the Aldi deals of items we didn’t think we would ever need.

On the plus side; when we do venture into Aldi – there is always a nice surprise to find what ludicrous bargains await us.

Recently there was a “Women’s Weekly Complete Slow Cooker Recipe” that I impulse bought for the tempting price of $20.

The recipes are inspirational; but not really refined.  Most of them follow the formula of; “Bung everything into a slow cooker & cook for eight hours.”

So as a challenge and a learning and teaching exercise; my wife picked out a recipe and keeping to the original ingredient list – I tried to bring out the best in the recipe.

Our base recipe #69: "Beef and Vegetable Soup"

Ingredients

  • 1kg Gravy beef – trimmed and cut into 2.5cm pieces
  • 1 garlic clove, crushed
  • 1 medium brown onion cut into 1cm pieces
  • 2 stalks of celery, trimmed, cut into 1cm pieces
  • 2 medium carrots, cut into 1cm pieces
  • 2 medium potatoes, cut into 1cm pieces
  • 400g canned diced tomatoes
  • 1L water
  • 2 cups of beef stock
  • 2 dried lay leaves
  • 1 cup of frozen peas
  • 1/3 cup coarsely chopped flat leave parsley 

Method

  1. Combine beef, garlic, onion, celery, carrot, potato, tomatoes, the water, stock and bay leaves in a 5-litre slow cooker.  Cook, covered on low, about 9 hours.
  2. Add peas to cooker, cook, covered, a further 30 minutes.
  3. Discard bay leaves.  Season to taste.
  4. Serve soup sprinkled with parsley.

Improving the recipe

There are three opportunities to add additional flavour to the recipe:

  1. Browning the meat
  2. Caramelising the onions
  3. Managing the cooking time of the other vegetables.

Browning the beef

This is the most obvious improvement; browning the meat before adding to the slow cooker.  Many slow cooker recipes call for the browning meat step; the Maillard reaction adds extra depth of flavour to the beef and the wider dish. 

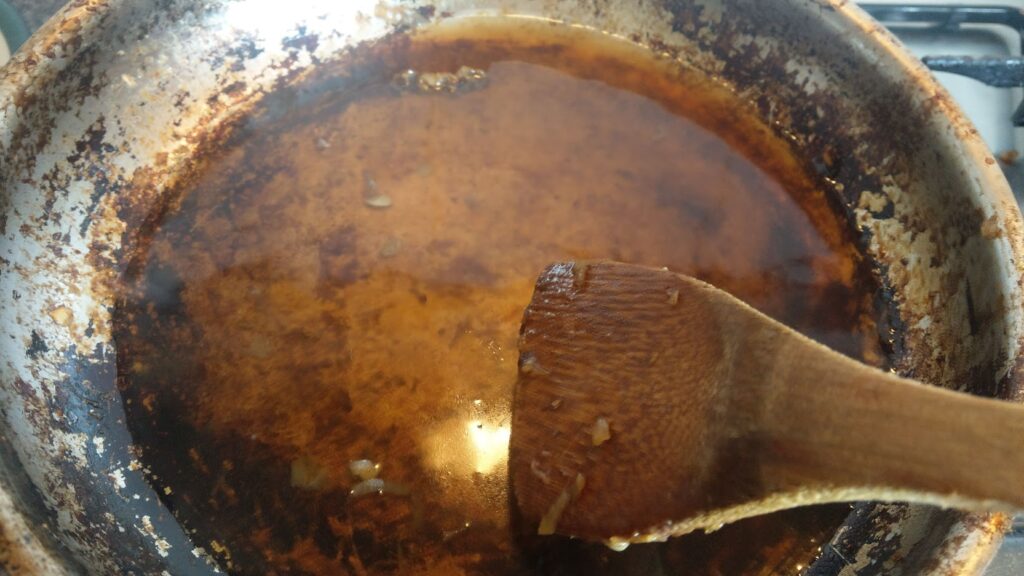
So with care I browned the beef cubes in batches well in a fry pan over medium/medium-high heat.  Leave the burnt caramel bits in the bottom; we will use that for later.

Tackling the Onions

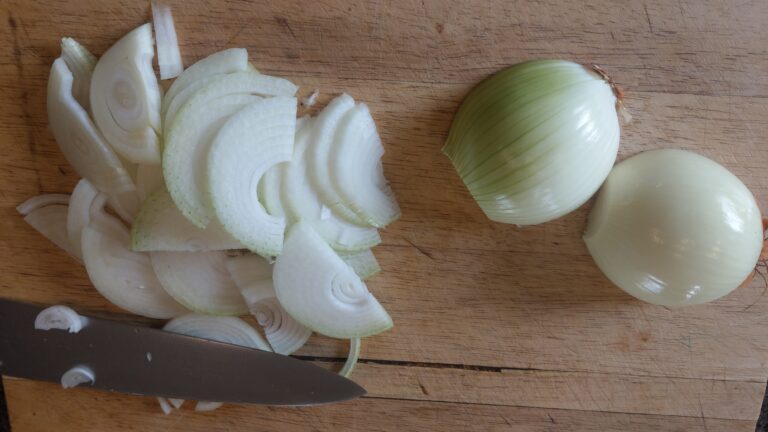
The onions are another chance to enrich the flavour of the soup.  Taking a cue from “French onion” soup; the idea is to slowly cook the onions to a rich caramel onion flavour.

Slice the onions thinly and then slowly brown them in the pan on a low heat.
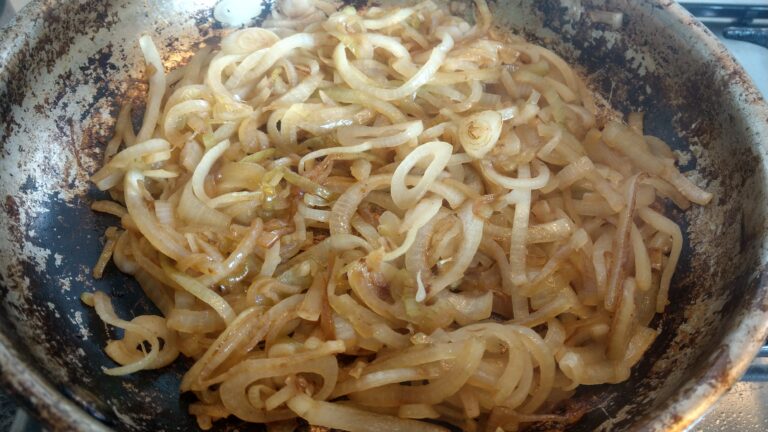
Stir around to lift off any brown bits from the bottom to start forming a beef fond with the sweating of the onions and keep slowly cooking until it is a deep rich brown colour.

If the onions start to stick and threaten to burn; add a bit of water to loosen them off the bottom of the pan.
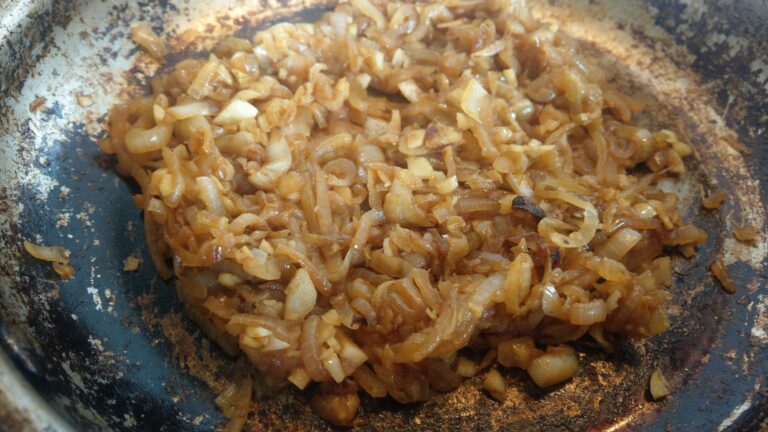
When the onions are almost done; add in the minced garlic and cook the raw edge off the garlic.

Add the caramel onion and garlic mixture to the slow cooker pot and then de-glaze the pan with a cup of beef stock.
Sacrificial stock vegetables

To preserve the texture of the carrots, celery and potatoes for the end and not cook the vegetables to a pulp; we’re going to use half of the carrots and celery as “sacrificial vegetables” to flavour the soup and then remove at the end; the same when making a stock.
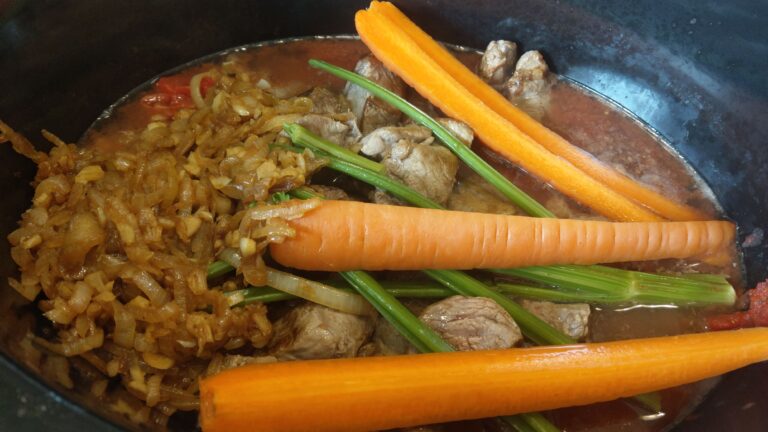
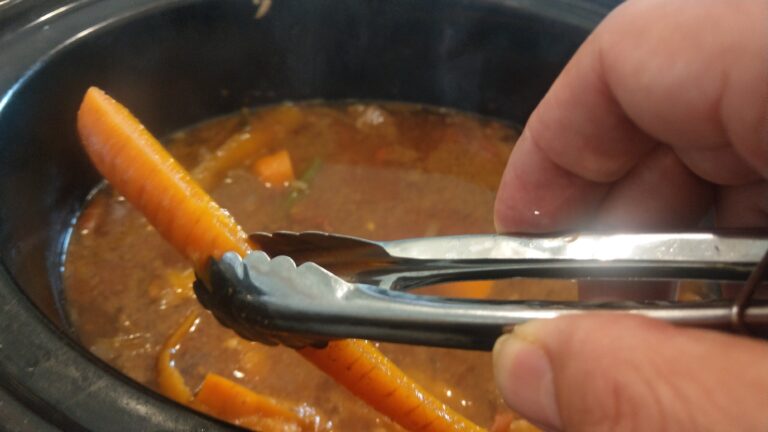
You could when the cooking time is almost over; remove the cooked beef and blend the pulpy vegetables with a stick blender.

But this time I decided to give our worm farms a treat with cooked carrots and celery.

At the end – add freshly cubed potatoes, cook for 10min and then add cubed celery and carrots.

Cook until the vegetables are just cooked through – or until personal preference.

Add the peas right at the end to warm through.

In the end - is it worth it?

The soup was robust, tasty and put a smile on the family’s face.

But how much tastier than the base recipe – I couldn’t say.  I should have cooked the original recipe as a control; but couldn’t bring myself to throw beef into a slow cooker that hasn’t been browned.

One thing that was a standout was the time it took to prepare.  If preparing the original recipe; it could have been done within ten minutes. 

And that’s one of the key advantages of a slow cooker – throw ingredients quickly into a pot, let it run through the day and you have a tasty comforting meal in the evening time with little effort.

With my browning the meat in batches, the sweating and caramelising the onions; all of a sudden that 10min prep ballooned out to an hour. 

Is that extra 50min worth the extra taste; worth the time and effort invested?

I’ll leave it up to you dear readers to cook the recipe and find out yourself.

Power BI and the lost tnsnames.ora file

A distraught user contacted me today with a problem that her Power BI dashboard was not refreshing and returning the following error:

OLE DB:ORA-12154: TNS:could not resolve the connect identifier specified

The problem was not just isolated to her; but common across all her team.

I’m not an expert on Oracle and Power BI; and I kindly suggest for her to contact the Helpdesk.  She came back a few minutes later saying that the Helpdesk just passed her off unceremoniously to another team.

Deciding to give her a hand – I had a think about the error message.

TNS files seem to end up in all sorts of weird and wonderful locations on our organisation’s systems.

I also remembered that there was a patching of the Oracle client just done last week.

I asked her to do a search for tnsnames.ora on her C drive.

Meanwhile I ran the following command through the command line on my own computer; which should be a similar configuration:

echo %TNS_ADMIN%

She got back:

C:\app\product\12.1.0\client_1\network\admin

And I got back:

C:\app\product\19.3.0\client_1\network\admin

My hypothesis that IT installed a new version of the Oracle client and this process updated the %TNS_ADMIN% field.

What the patching didn’t do was to shift the tnsnames.ora file to the new directory of C:\app\product\19.3.0\client_1\network\admin.

When Power BI tried to run an Oracle query; it was using the new client installation and hence not finding the tnsnames.ora file.

After copying the TNS file into the correct directory; right away she was able to rerun her Power BI dashboard.

Salad Jars: You don’t make friends with them

Work Lunches.
 
For ages I never really got a pattern with them.
 
To begin with – I use to take left overs from meals to work and heat them up in the office. 
 
It wasn’t the best solution as sometimes I wouldn’t cook enough the night before and left short and quite often buying lunch out. 
 
With a decent lunch in South Eastern Australia is over $10; this hits the wallet for been unprepared. 

The Salad Jar Idea

Flicking through a recipe book section of a market while on holiday; I came across a book on “Salad Jars”; where you assemble a salad in a mason/preserving jar. Unfortunately I can’t remember the book’s name as I didn’t purchased the quite expensive book.
 
But flicking through the pages – I got the gist of the recipe.  
 
Fast forward a couple years and I have made hundreds of them; assemble the jars on Sunday and then they are ready in the fridge to take to work.
 
They are not glamorous and you won’t make many friends with them; but at least your health and budget might like you.

The basic principle

The idea of a salad jar is to layer salad ingredients in container in a particular order.  When it is time to eat; give the jar a shake to mix the dressing and ingredients together.

With a normal salad; the dressing goes on last so not to leave the ingredients soggy after a period of time.

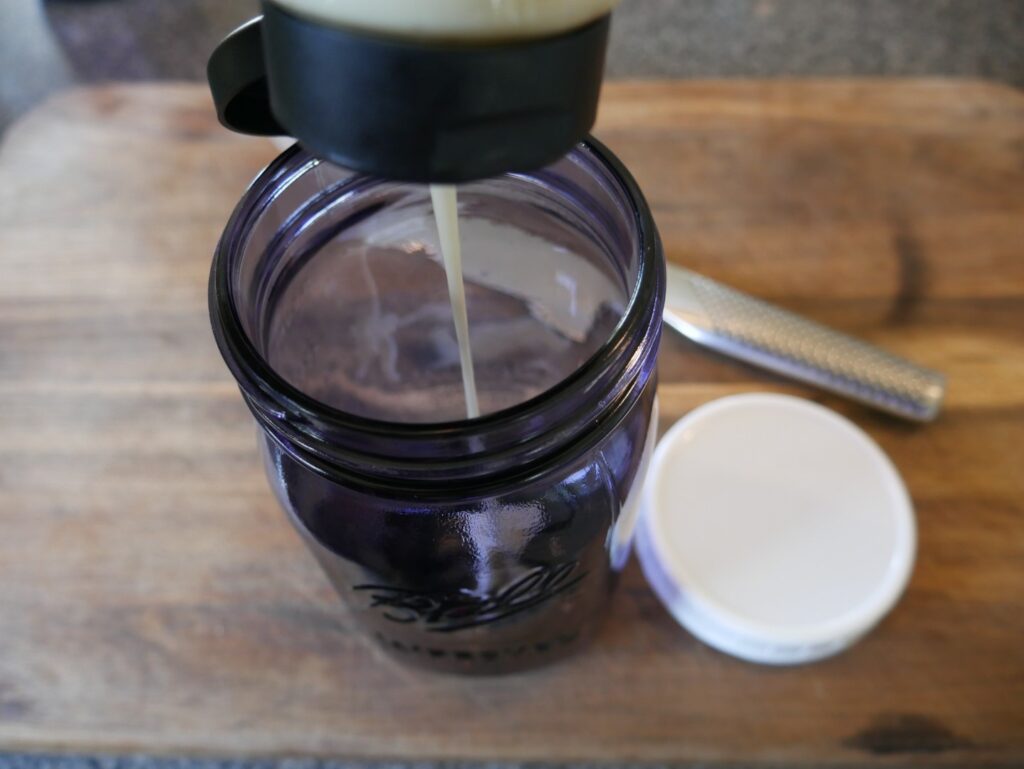
With salad jars; the dressing goes in first at the bottom of the jar.  

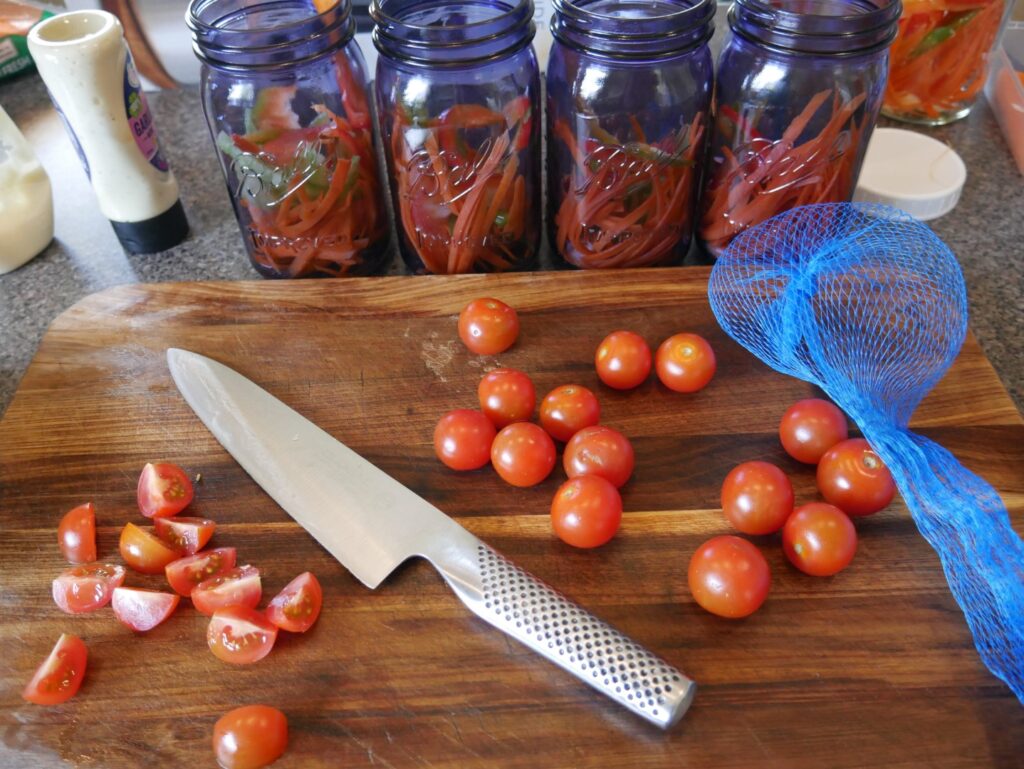
After the dressing – the jars are layered with the rest of ingredients; working from hard vegetables like carrot, capsicum, celery and then moving up to more delicate ingredients.

At the top should be delicate ingredients like lettuce and crumbly feta.

The idea that the dressing can “pickle” your harder vegetable and this layer of vegetables serves as a barrier to the other ingredients.

The Jars

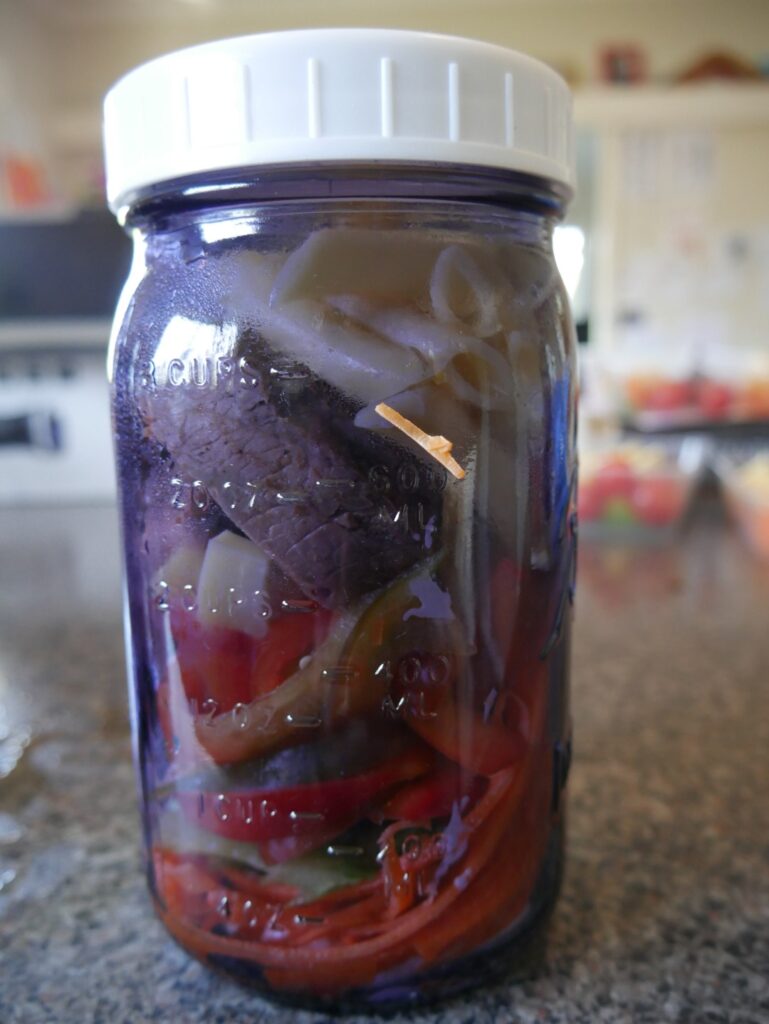
Any jars or containers with a tight lid will do.  After some iterations of different jars; I came to like these squarish mason preserving jars that I found on ebay:

These jars tick a couple of boxes:

  • The right size for a lunch
  • Relatively solid – can survive a few knocks
  • With the jar’s square shape; it packs more efficiently in the fridge compared to round jars

I also brought some plastic lids instead of using the canning lids that came with the jar; as the dishwasher was tearing the protective layer off the metal lids.

A sample assembly

Start off with a couple of tablespoons of a dressing at the bottom. 

I have several bottles of salad dressing in the fridge to use in different jars for the week to break up the monotony.

Also in this layer you can add ingredients to enhance the dressing; such as seasoning, herbs, pickled jalapenos or capers.

Add in your hard vegetables. 

Examples can be:

  • Carrots
  • Capsicums
  • Celery
  • Radishes 
  • Raw beetroot 

These will pickle in the dressing and add as a protective barrier to the other ingredients.

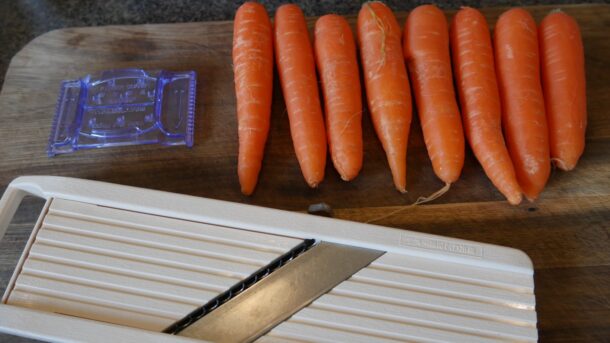
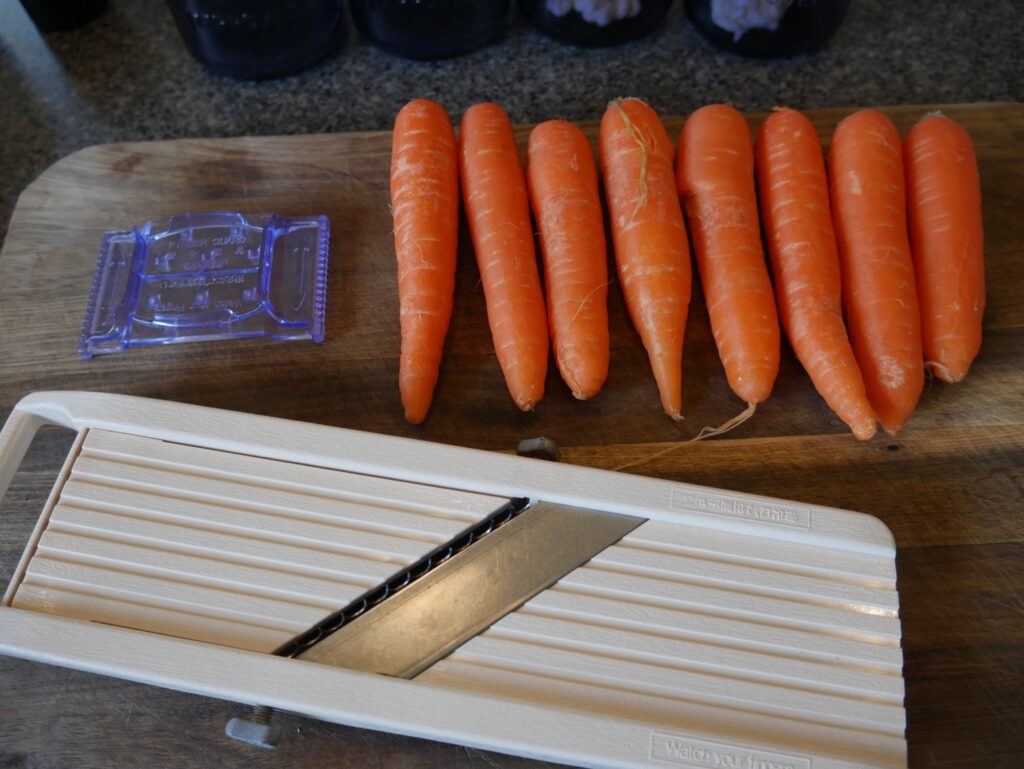
Carrots is one of the cheapest vegetables in South East Australia so I usually use a whole carrot to a jar.

Next layer is the softer vegetables and ingredients; such as:

  • Tomatoes 
  • Hard cheeses
  • Roasted potatoes
  • Cold pasta 
  • Cooked mushrooms
  • Canned black beans 
  • Canned lentils 

For protein in this instance I have a topside roast beef that I thinly sliced.  Other suggestions:

  • BBQ chicken from the shops
  • Smoked chicken
  • Poached and shredded chicken breast
  • Greek butterflied lamb
  • Cooked and sliced sausages
  • Cooked and sliced rissoles 
  • Boiled and peeled eggs

Finally the last layer is where you have your delicate ingredients.  For instance:

  • Softer cheeses
  • Lettuce
  • Avocado
  • Roasted pumpkin
  • A mini quiche 
  • A breadroll (that you can pull out before mixing up your salad)

In the end - How many friends?

An advantage of the salad jars is the range of combinations you can make.

With a little work; salad jars can be rarely monotonous when you can combine different dressings, vegetables, cheeses and meats.  You can have a different jar for each day.

A trip to your local grocers, farmer’s market or what’s currently seasonal in the garden can inspire you on what combination you will make that day.

Give them a try – but save a day in your week to buy hot chips to share with your friends. 

You make friends with hot chips.