I quite often you hear recipes described as “scrumptious” or “moreish” and these terms are thrown around by people with poor impulse control.
I describe this recipe as “Dangerous.” Dangerously addictive. And I don’t use this term lightly. I’m surprised there isn’t a “Drug & Alcohol” article released on the dangers of these Sausage rolls
Before COVID in the office morning tea, the original owner of the recipe would bring a batch of sausage rolls in and they will be the first plate of food eaten.
I cooked a batch for a 4 yo birthday party and people were fighting over to get the last one.
My kid’s friends devoured a whole container of sausage rolls after school, leaving none for tea that night.
When the original recipe owner gave me the recipe; surprisingly there is nothing remarkable about the ingredients. No rare or exotic ingredients need to be sourced from far distant lands. No illicit drugs folded in. No magic or rituals to add to the quality.
Anyway – without further ado; here is the recipe of “Little Ash’s ‘Dangerous’ sausage rolls.”
The Recipe
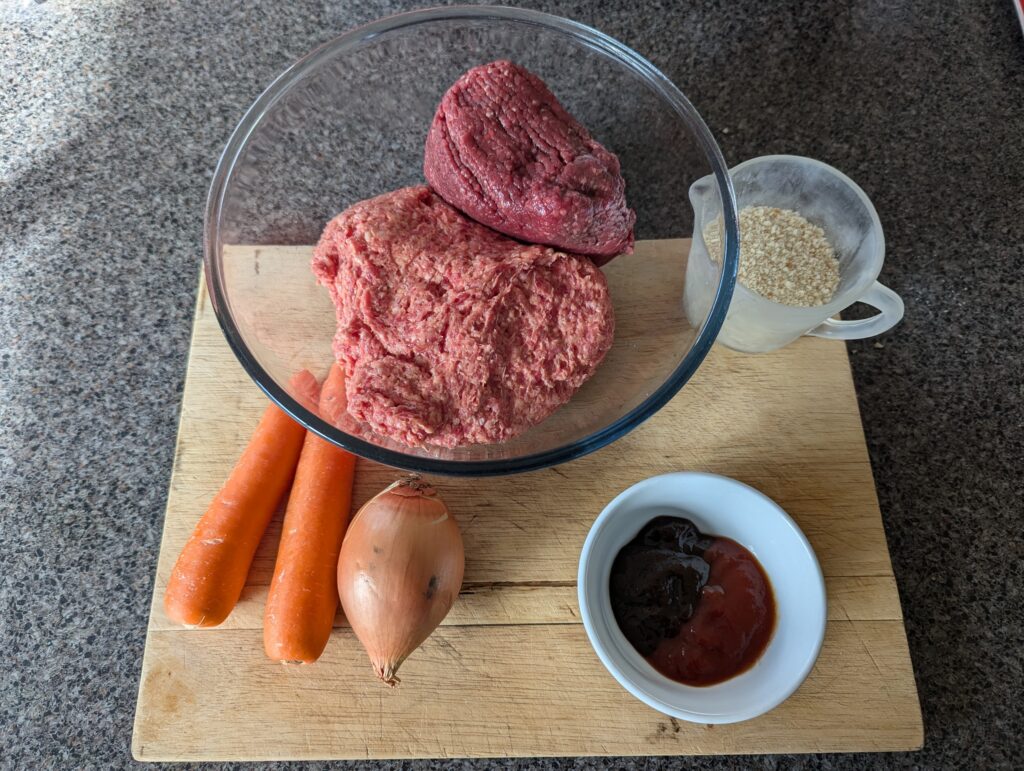
Ingredients
- 500g Sausage mince
- 500g Beef mince
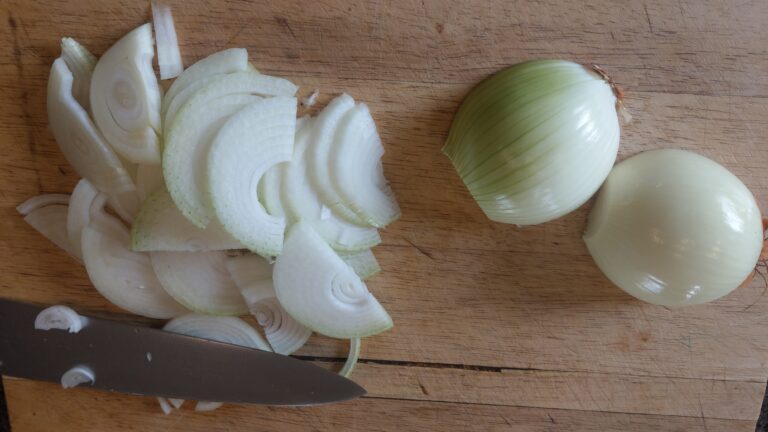
- 1 onion (diced fine)
- 2 carrots (finely grated)
- 2/3 cup bread crumbs
- 2tbs Tomato sauce
- 2tbs Nice BBQ sauce
- 1tsp Garlic powder
- Sprinkle of mixed herbs
- Pepper to taste
- 6 sheets of puff pastry (20cm x 20cm)
- Beaten egg + 1tbs of milk for glazing
Method
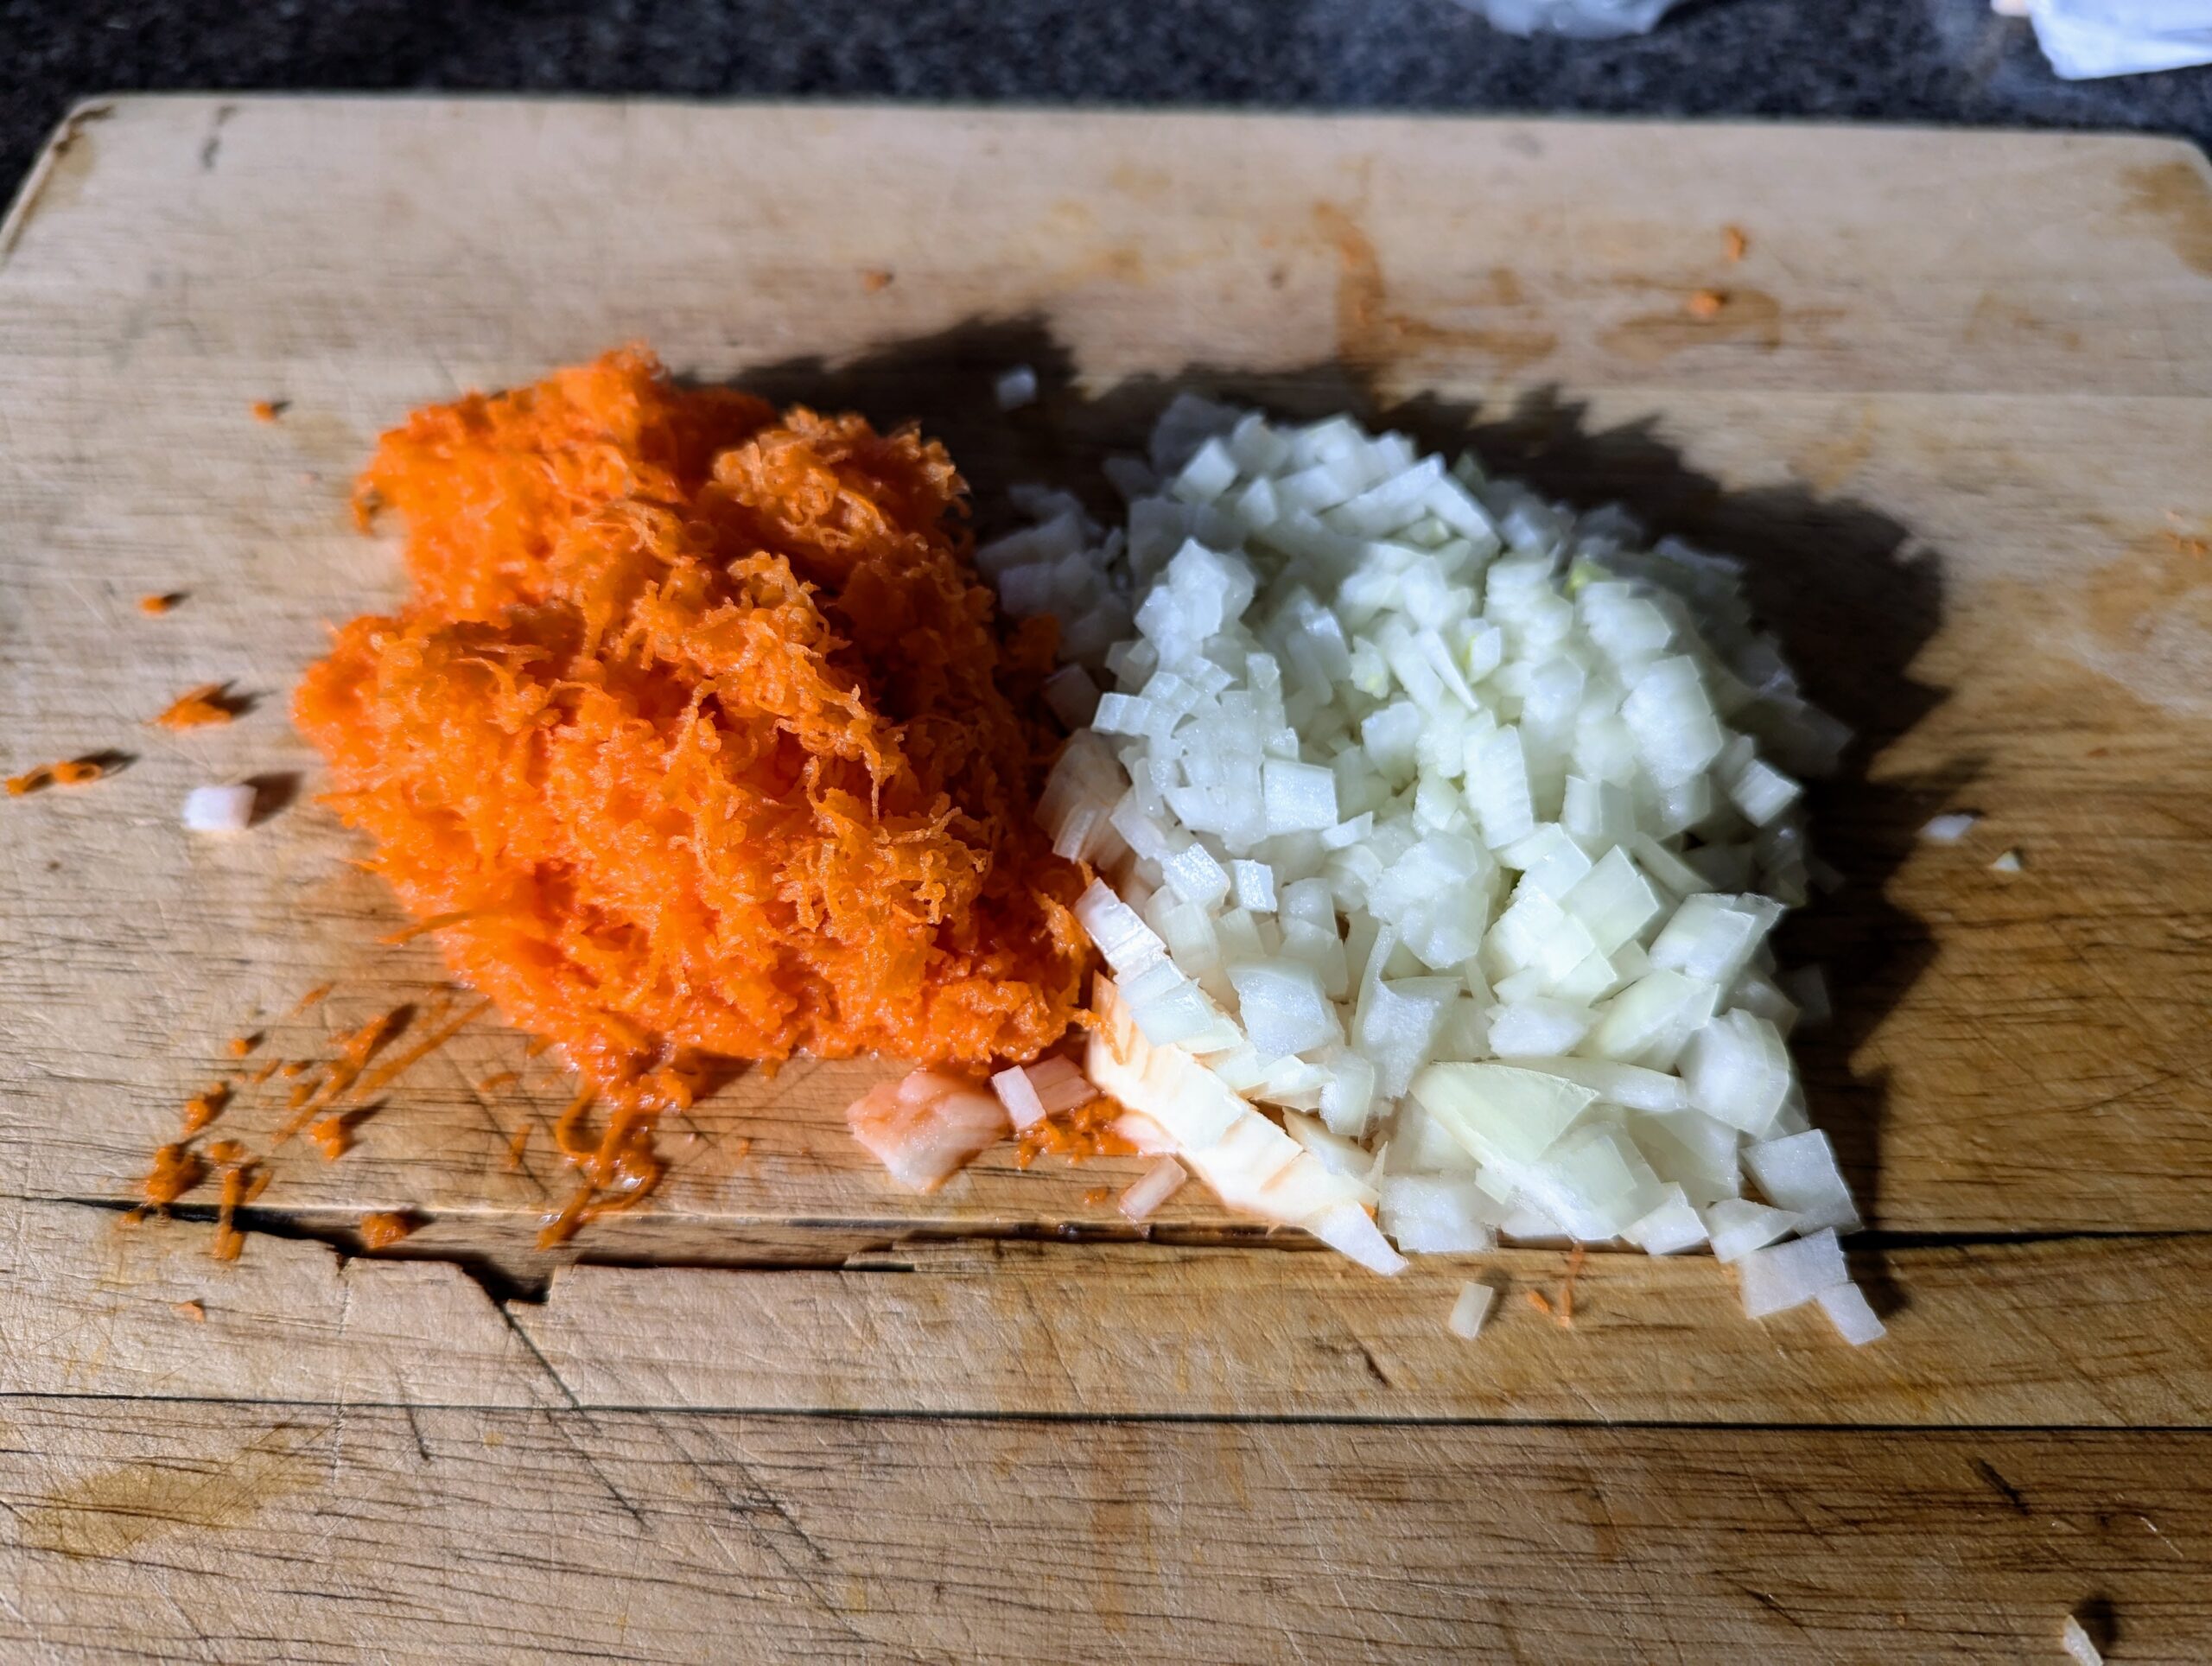
- Dice the onion up as finely as possible
- Grate the carrots in the small holes in the grater
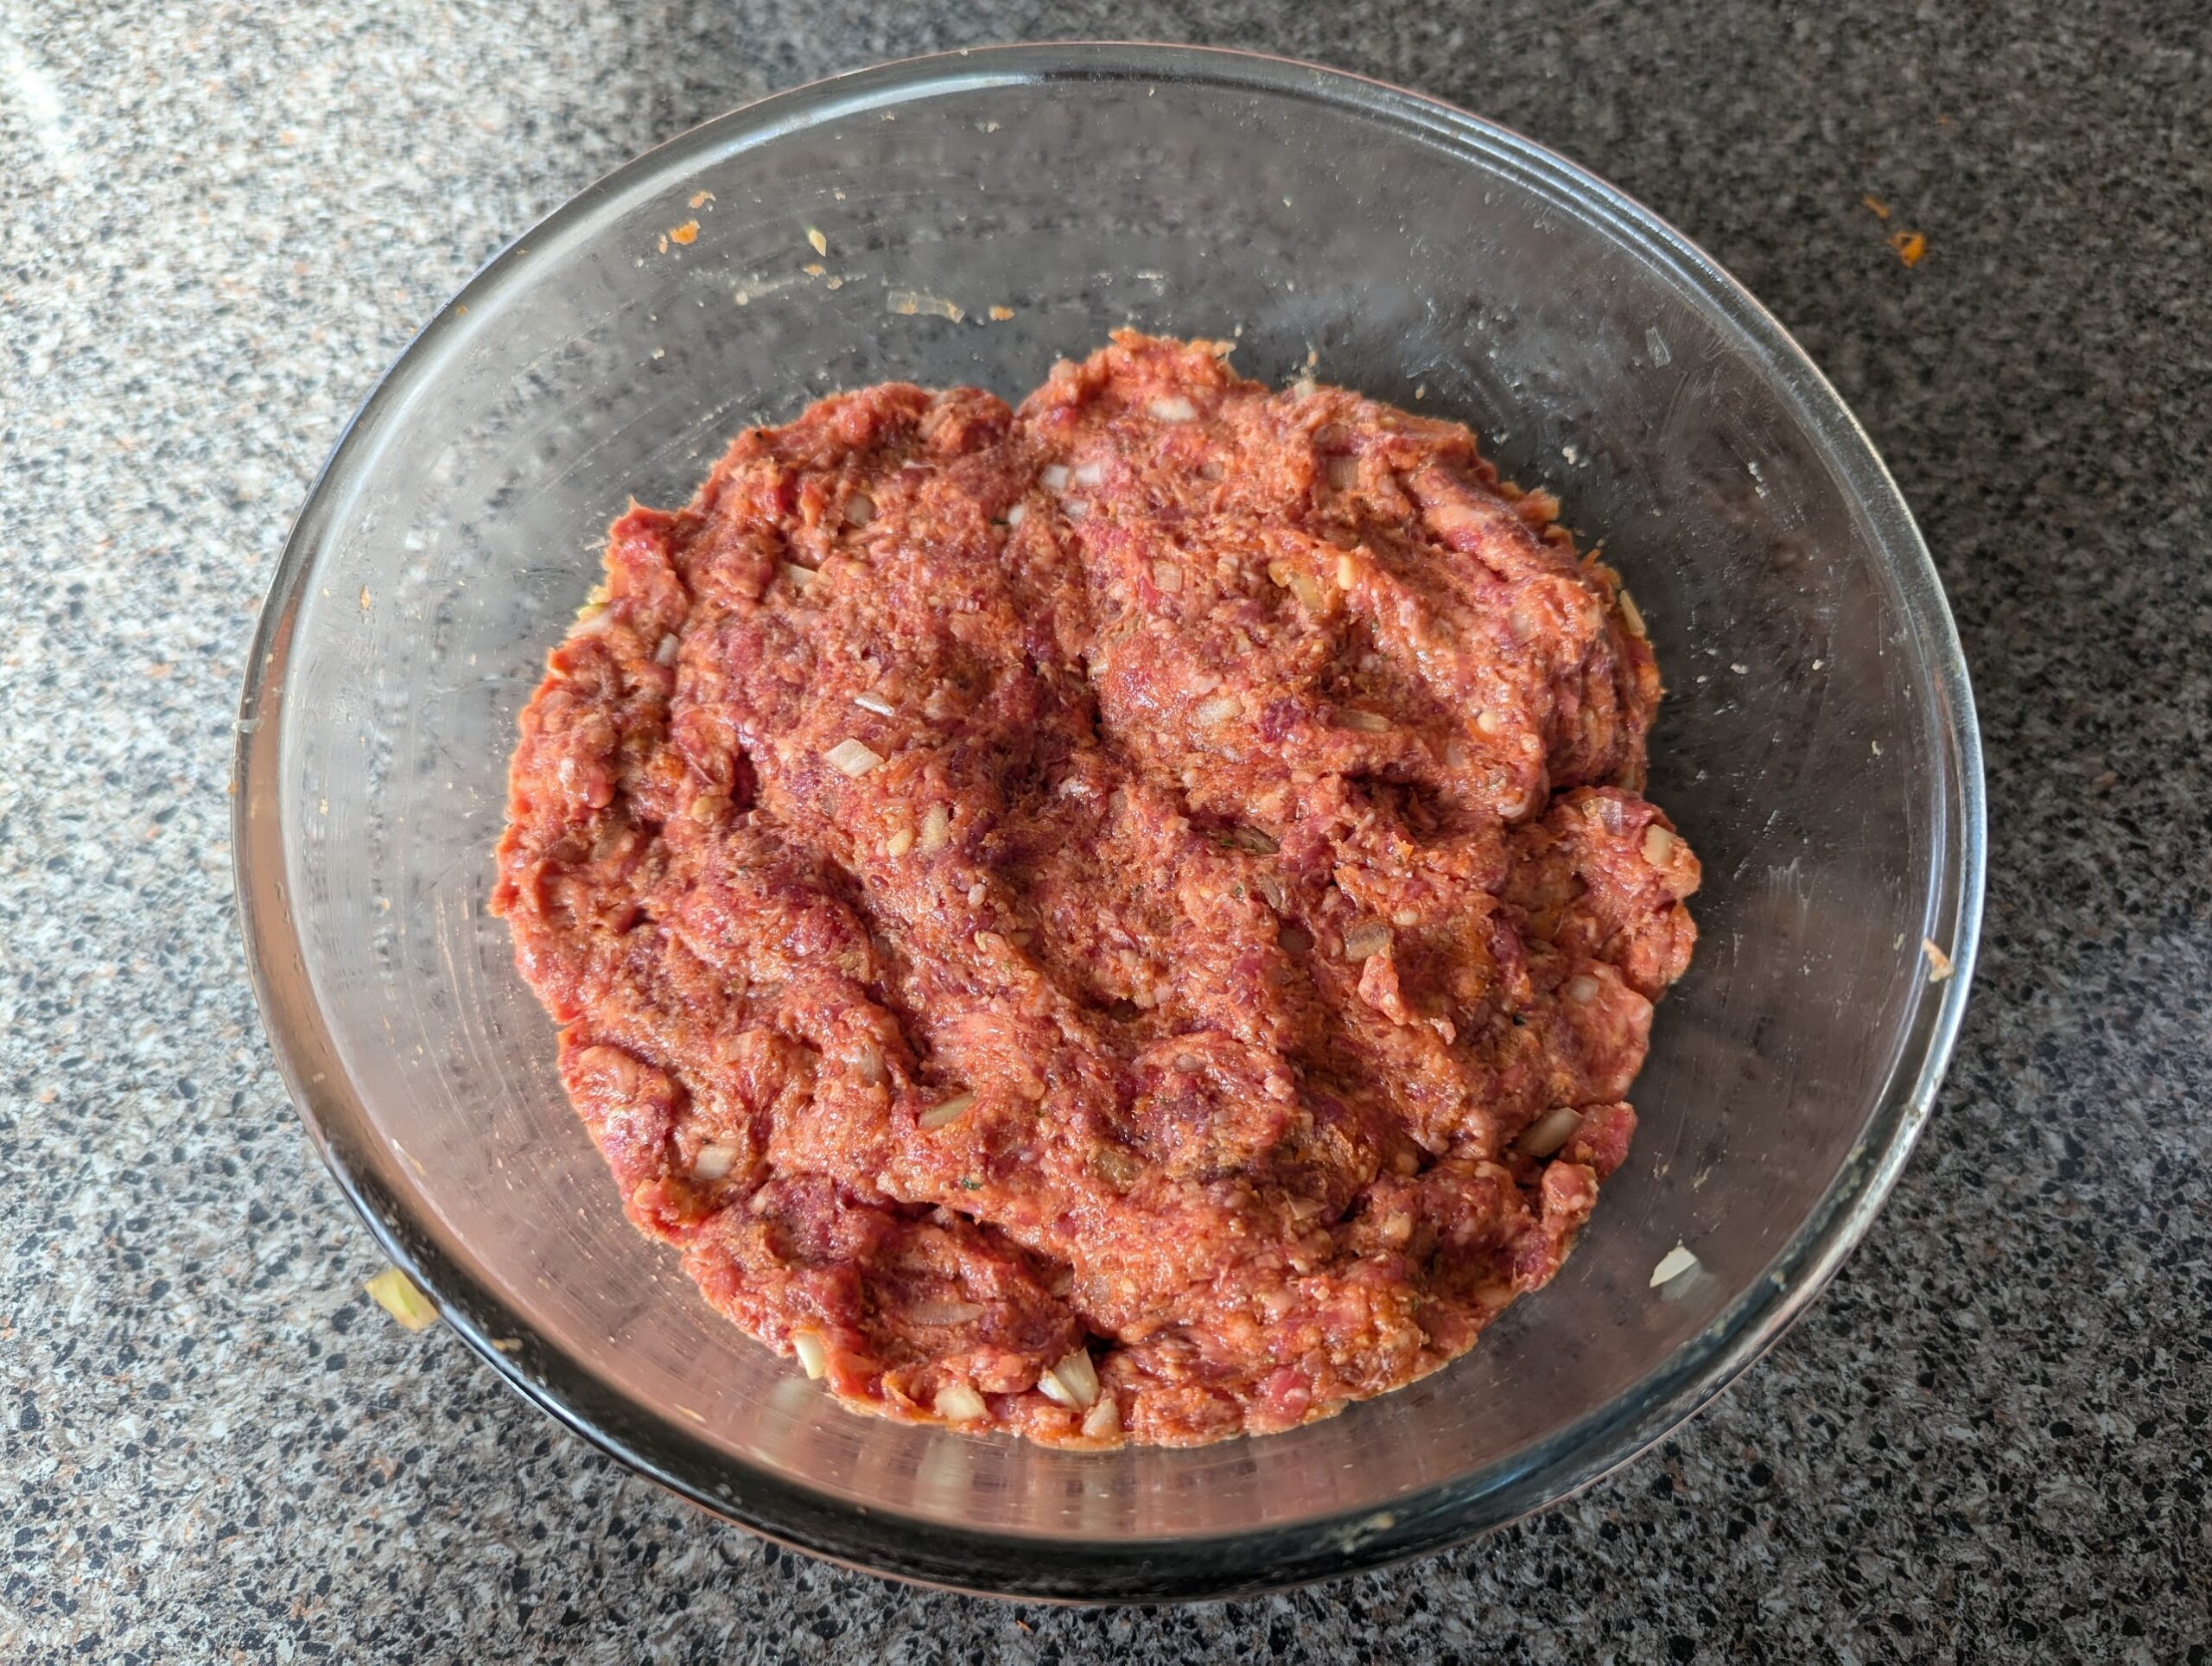
- Mix all the ingredients together in a large bowl; ensuring they are all evenly distributed. I use clean hands to do this.
- Cover with gladwrap and allow mixture to rest for an hour in the fridge. I actually leave the mixture overnight for the flavours to develop further.
- Preheat a fan forced oven to 200c
- Lay out six sheets of Puff pastry to allow to thaw so it can be worked with
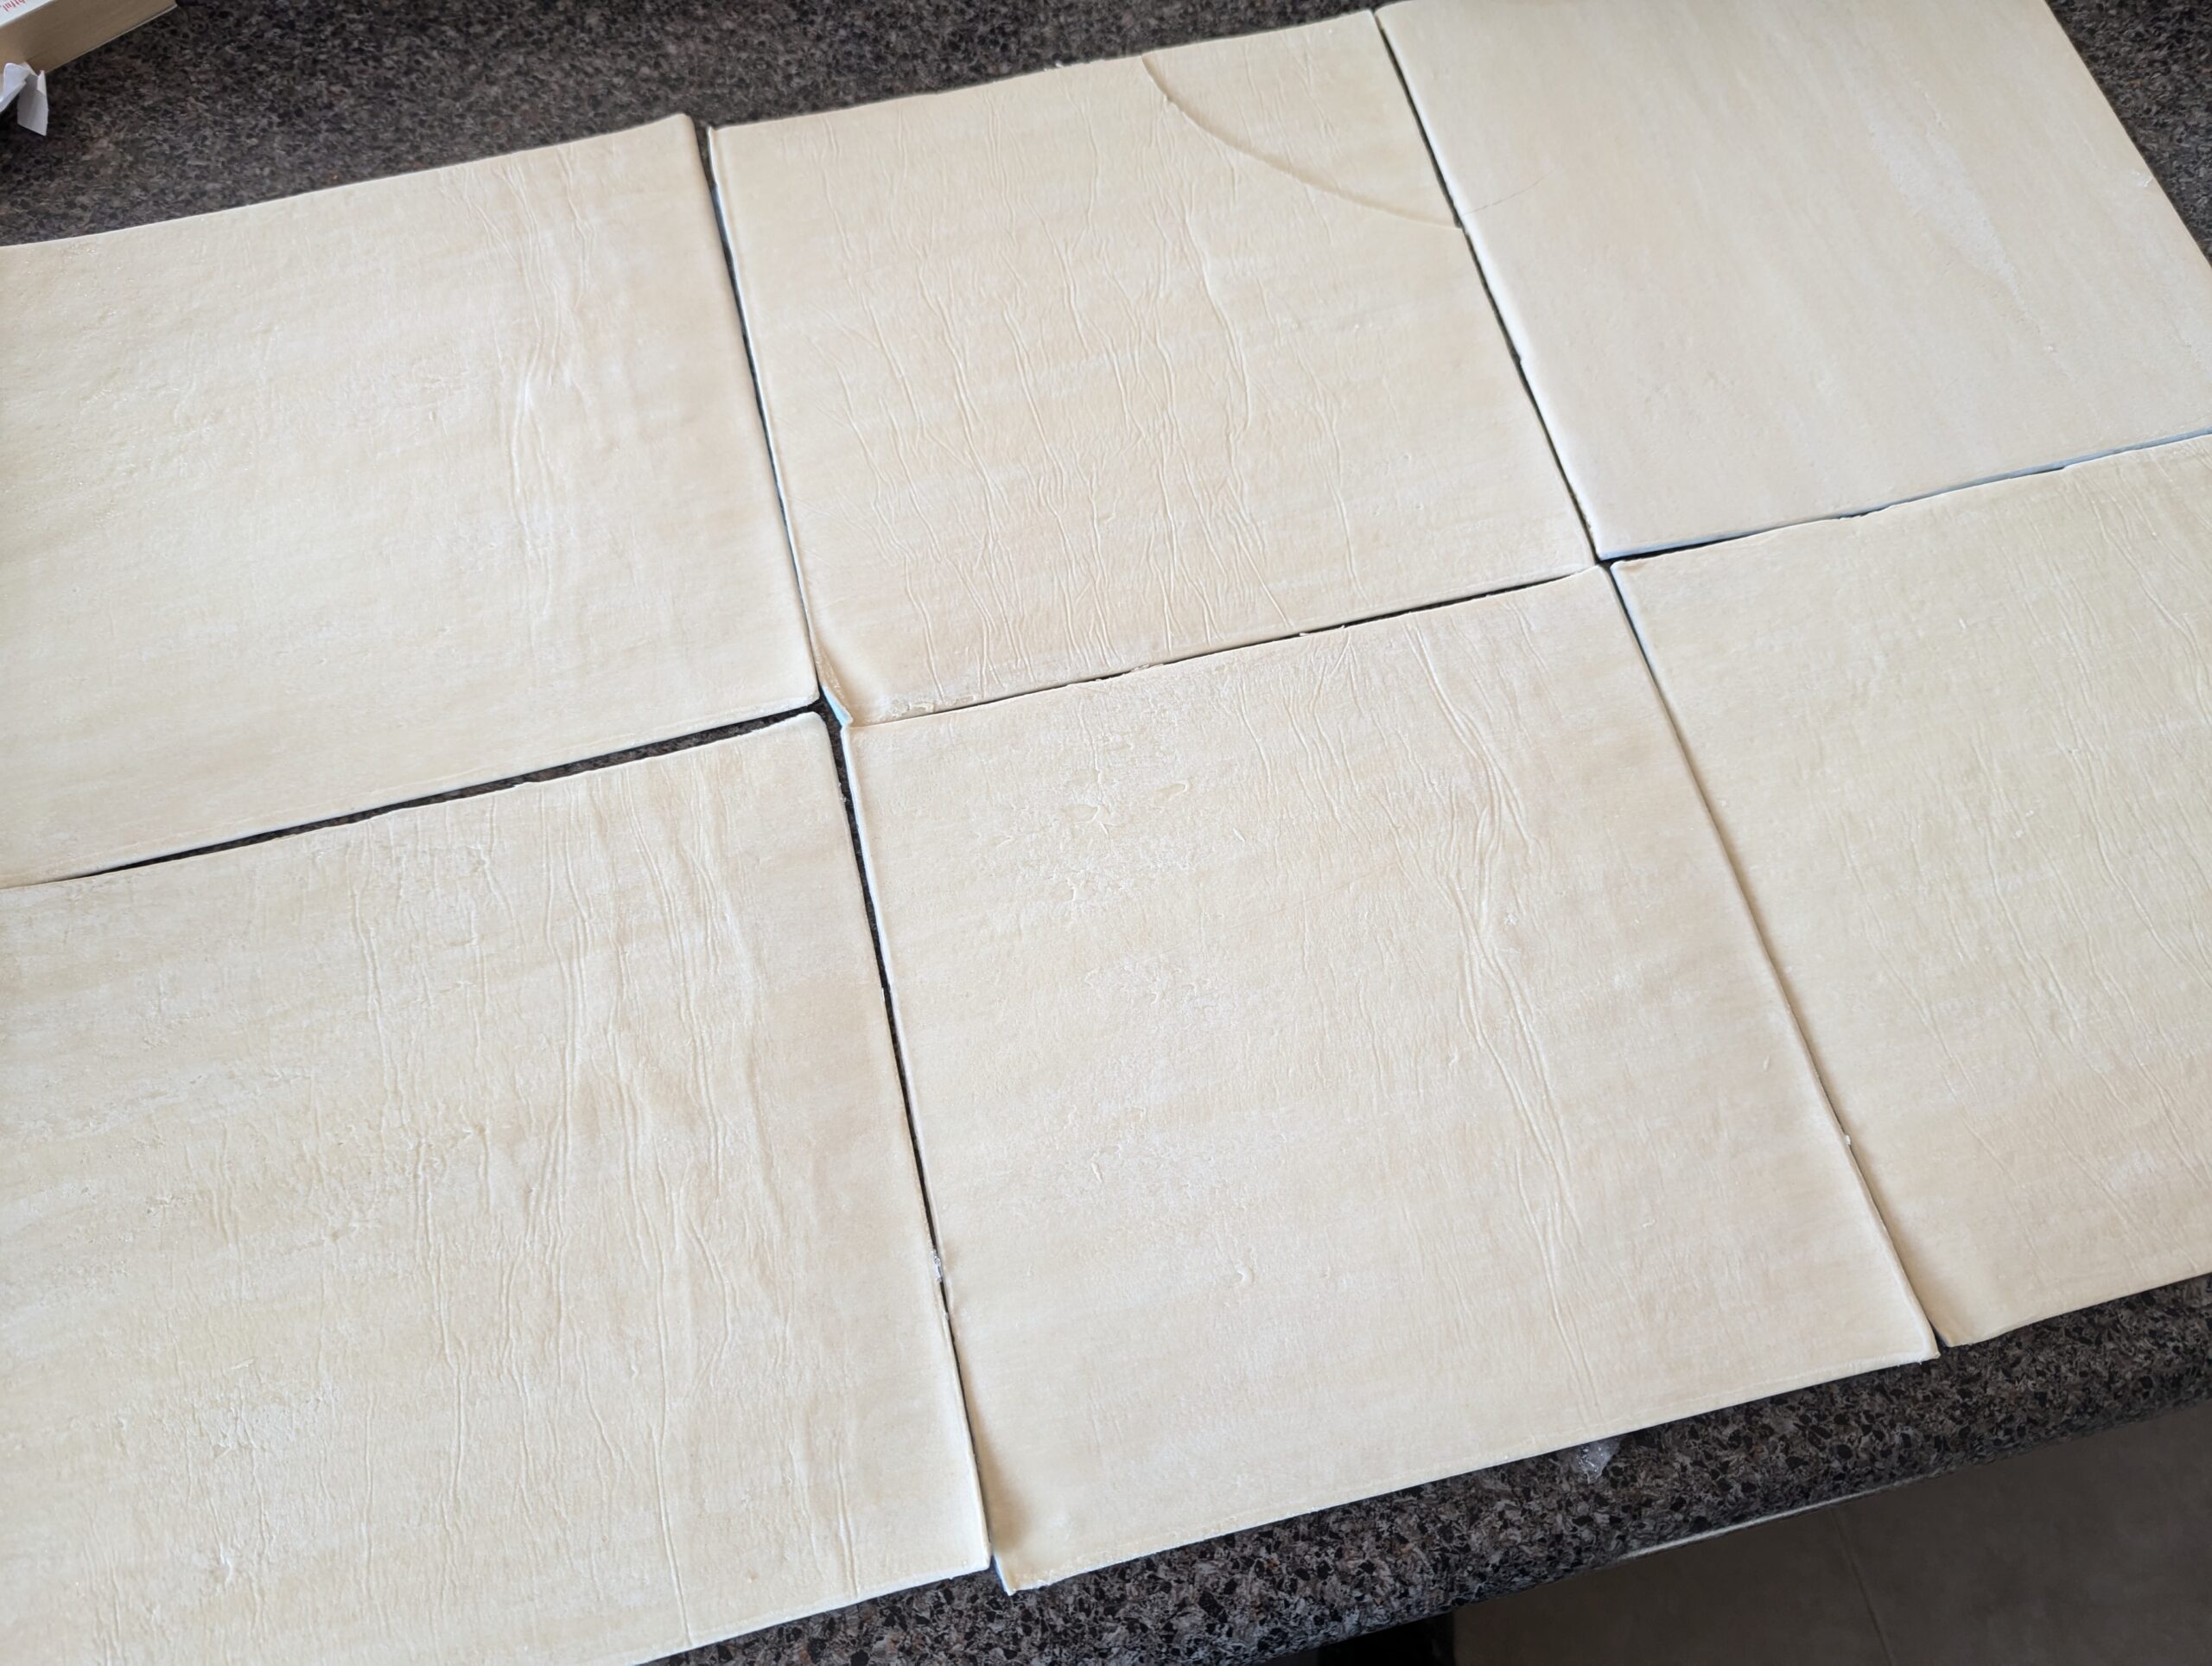
- Cut each piece of pasty in half.
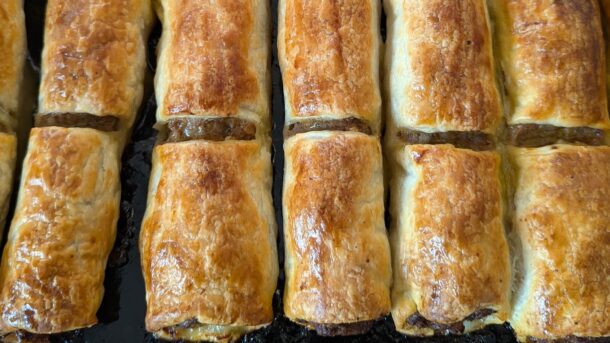
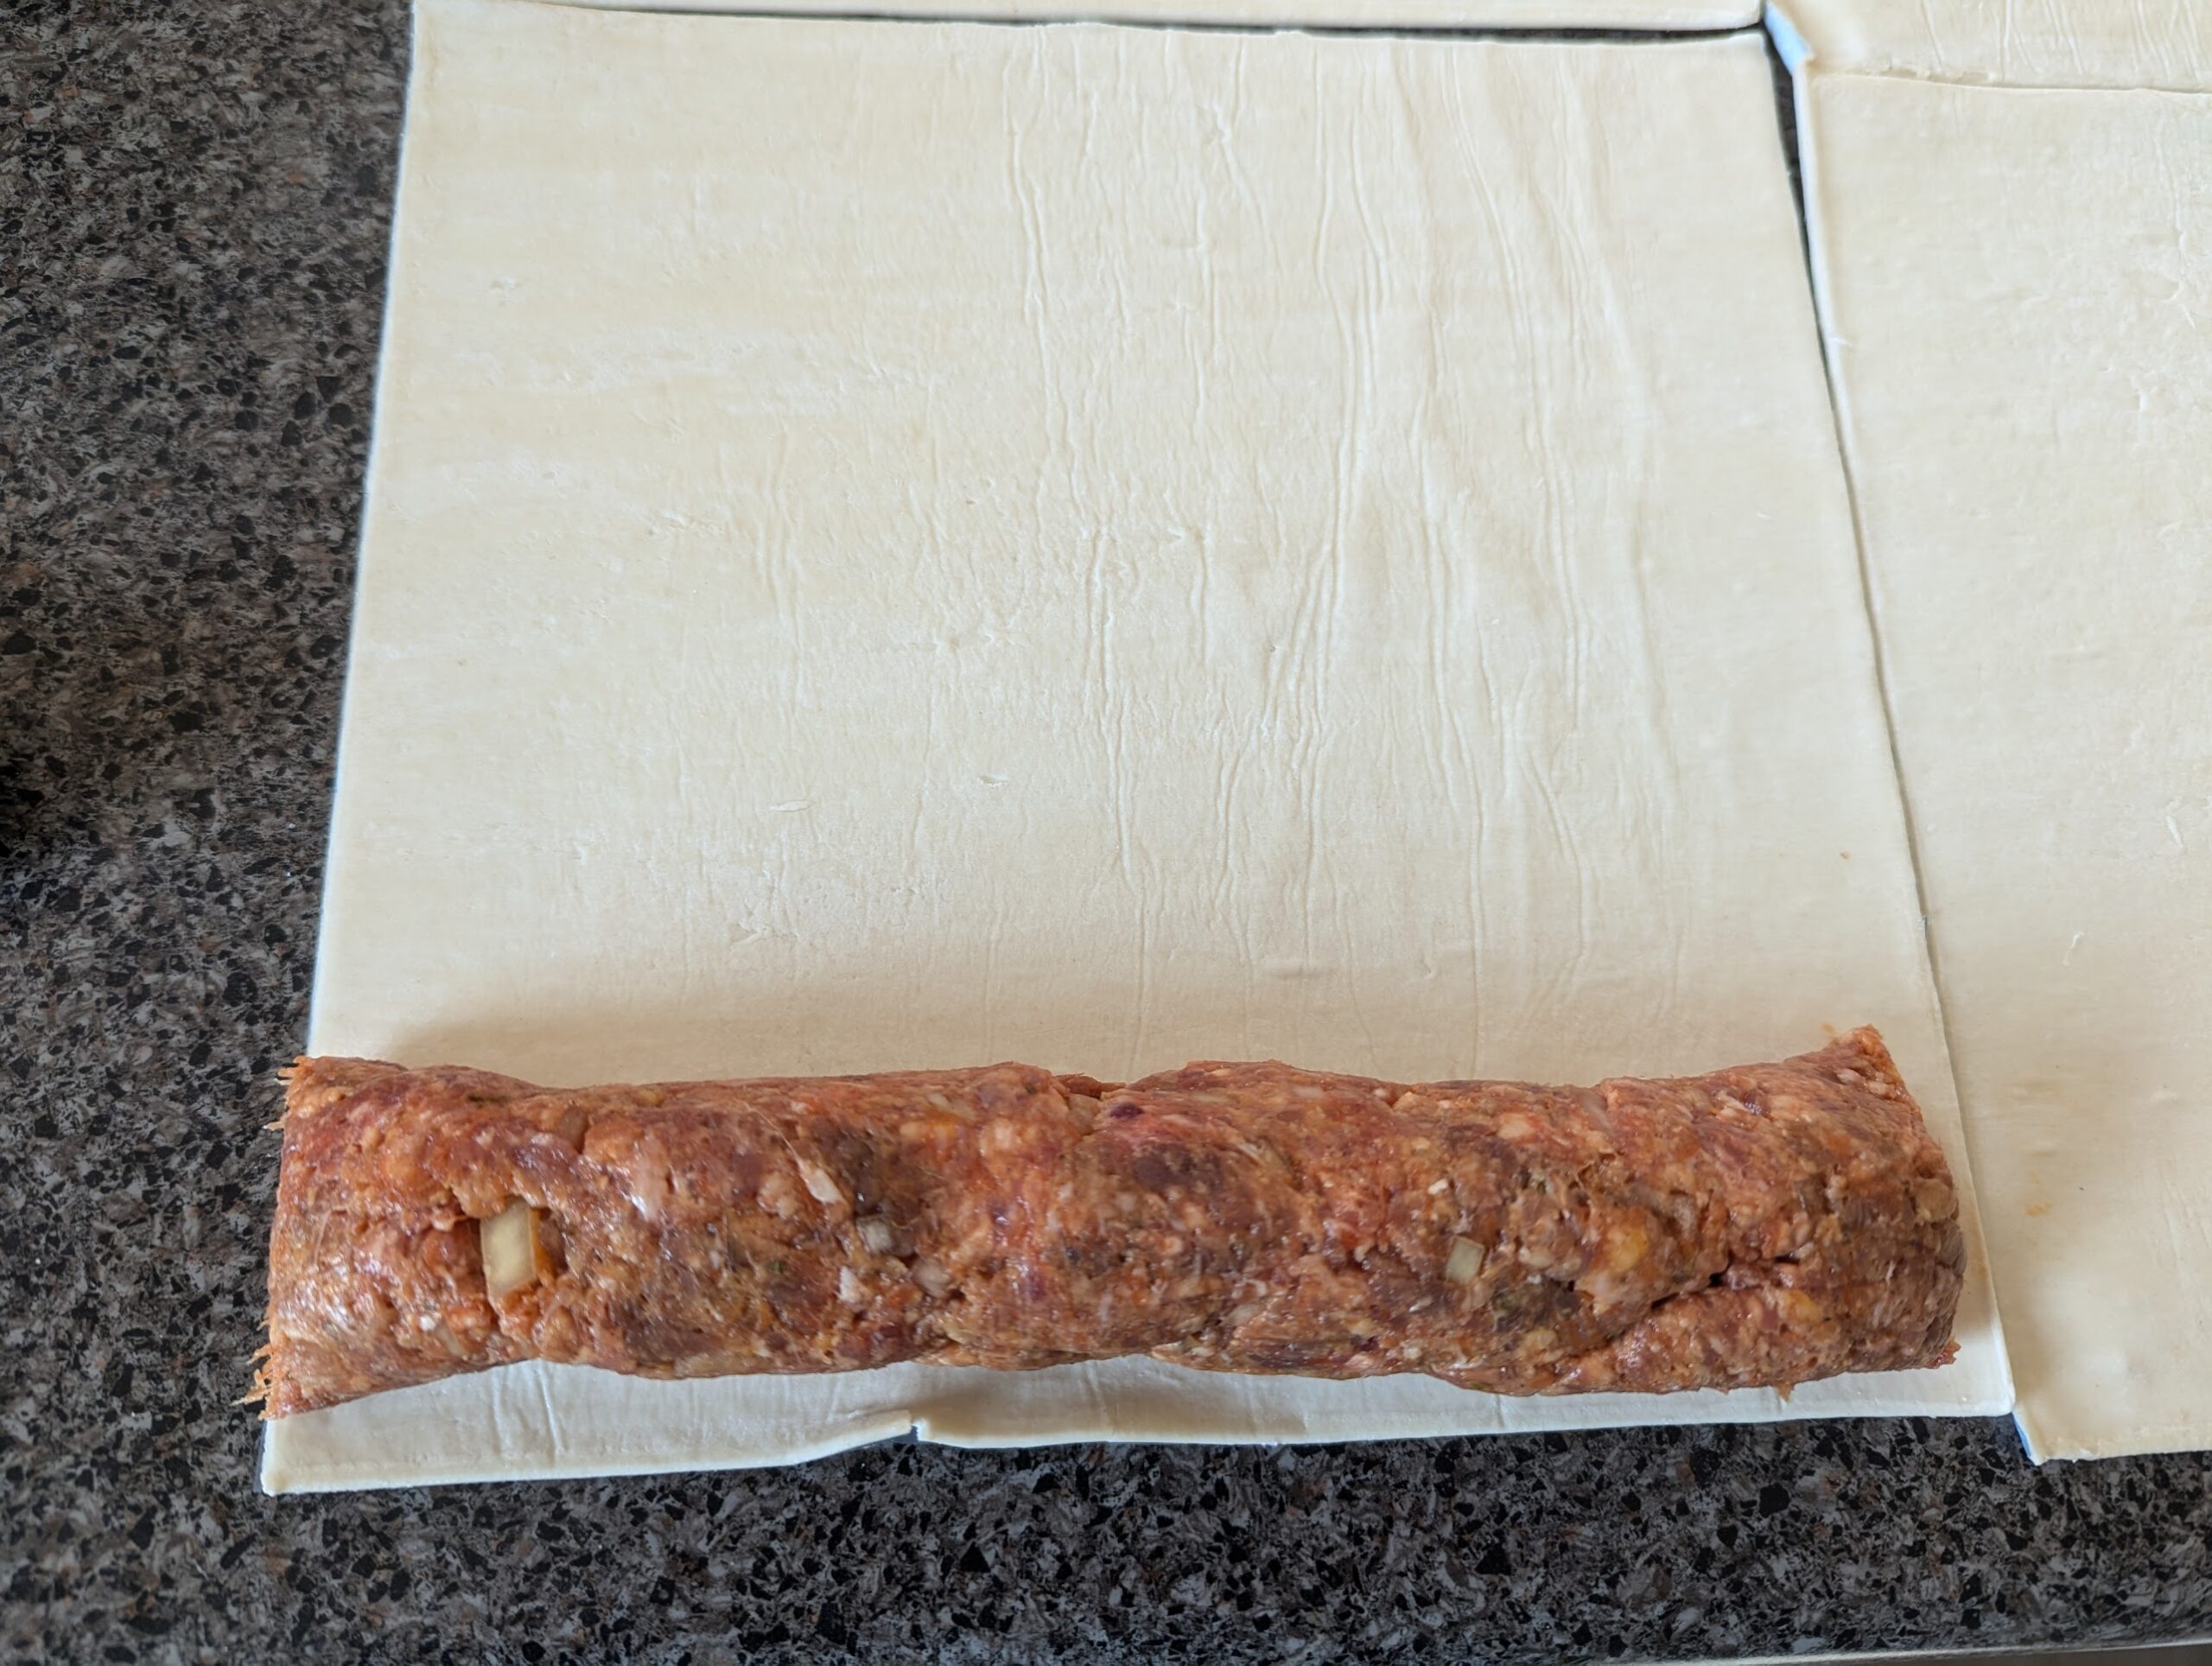
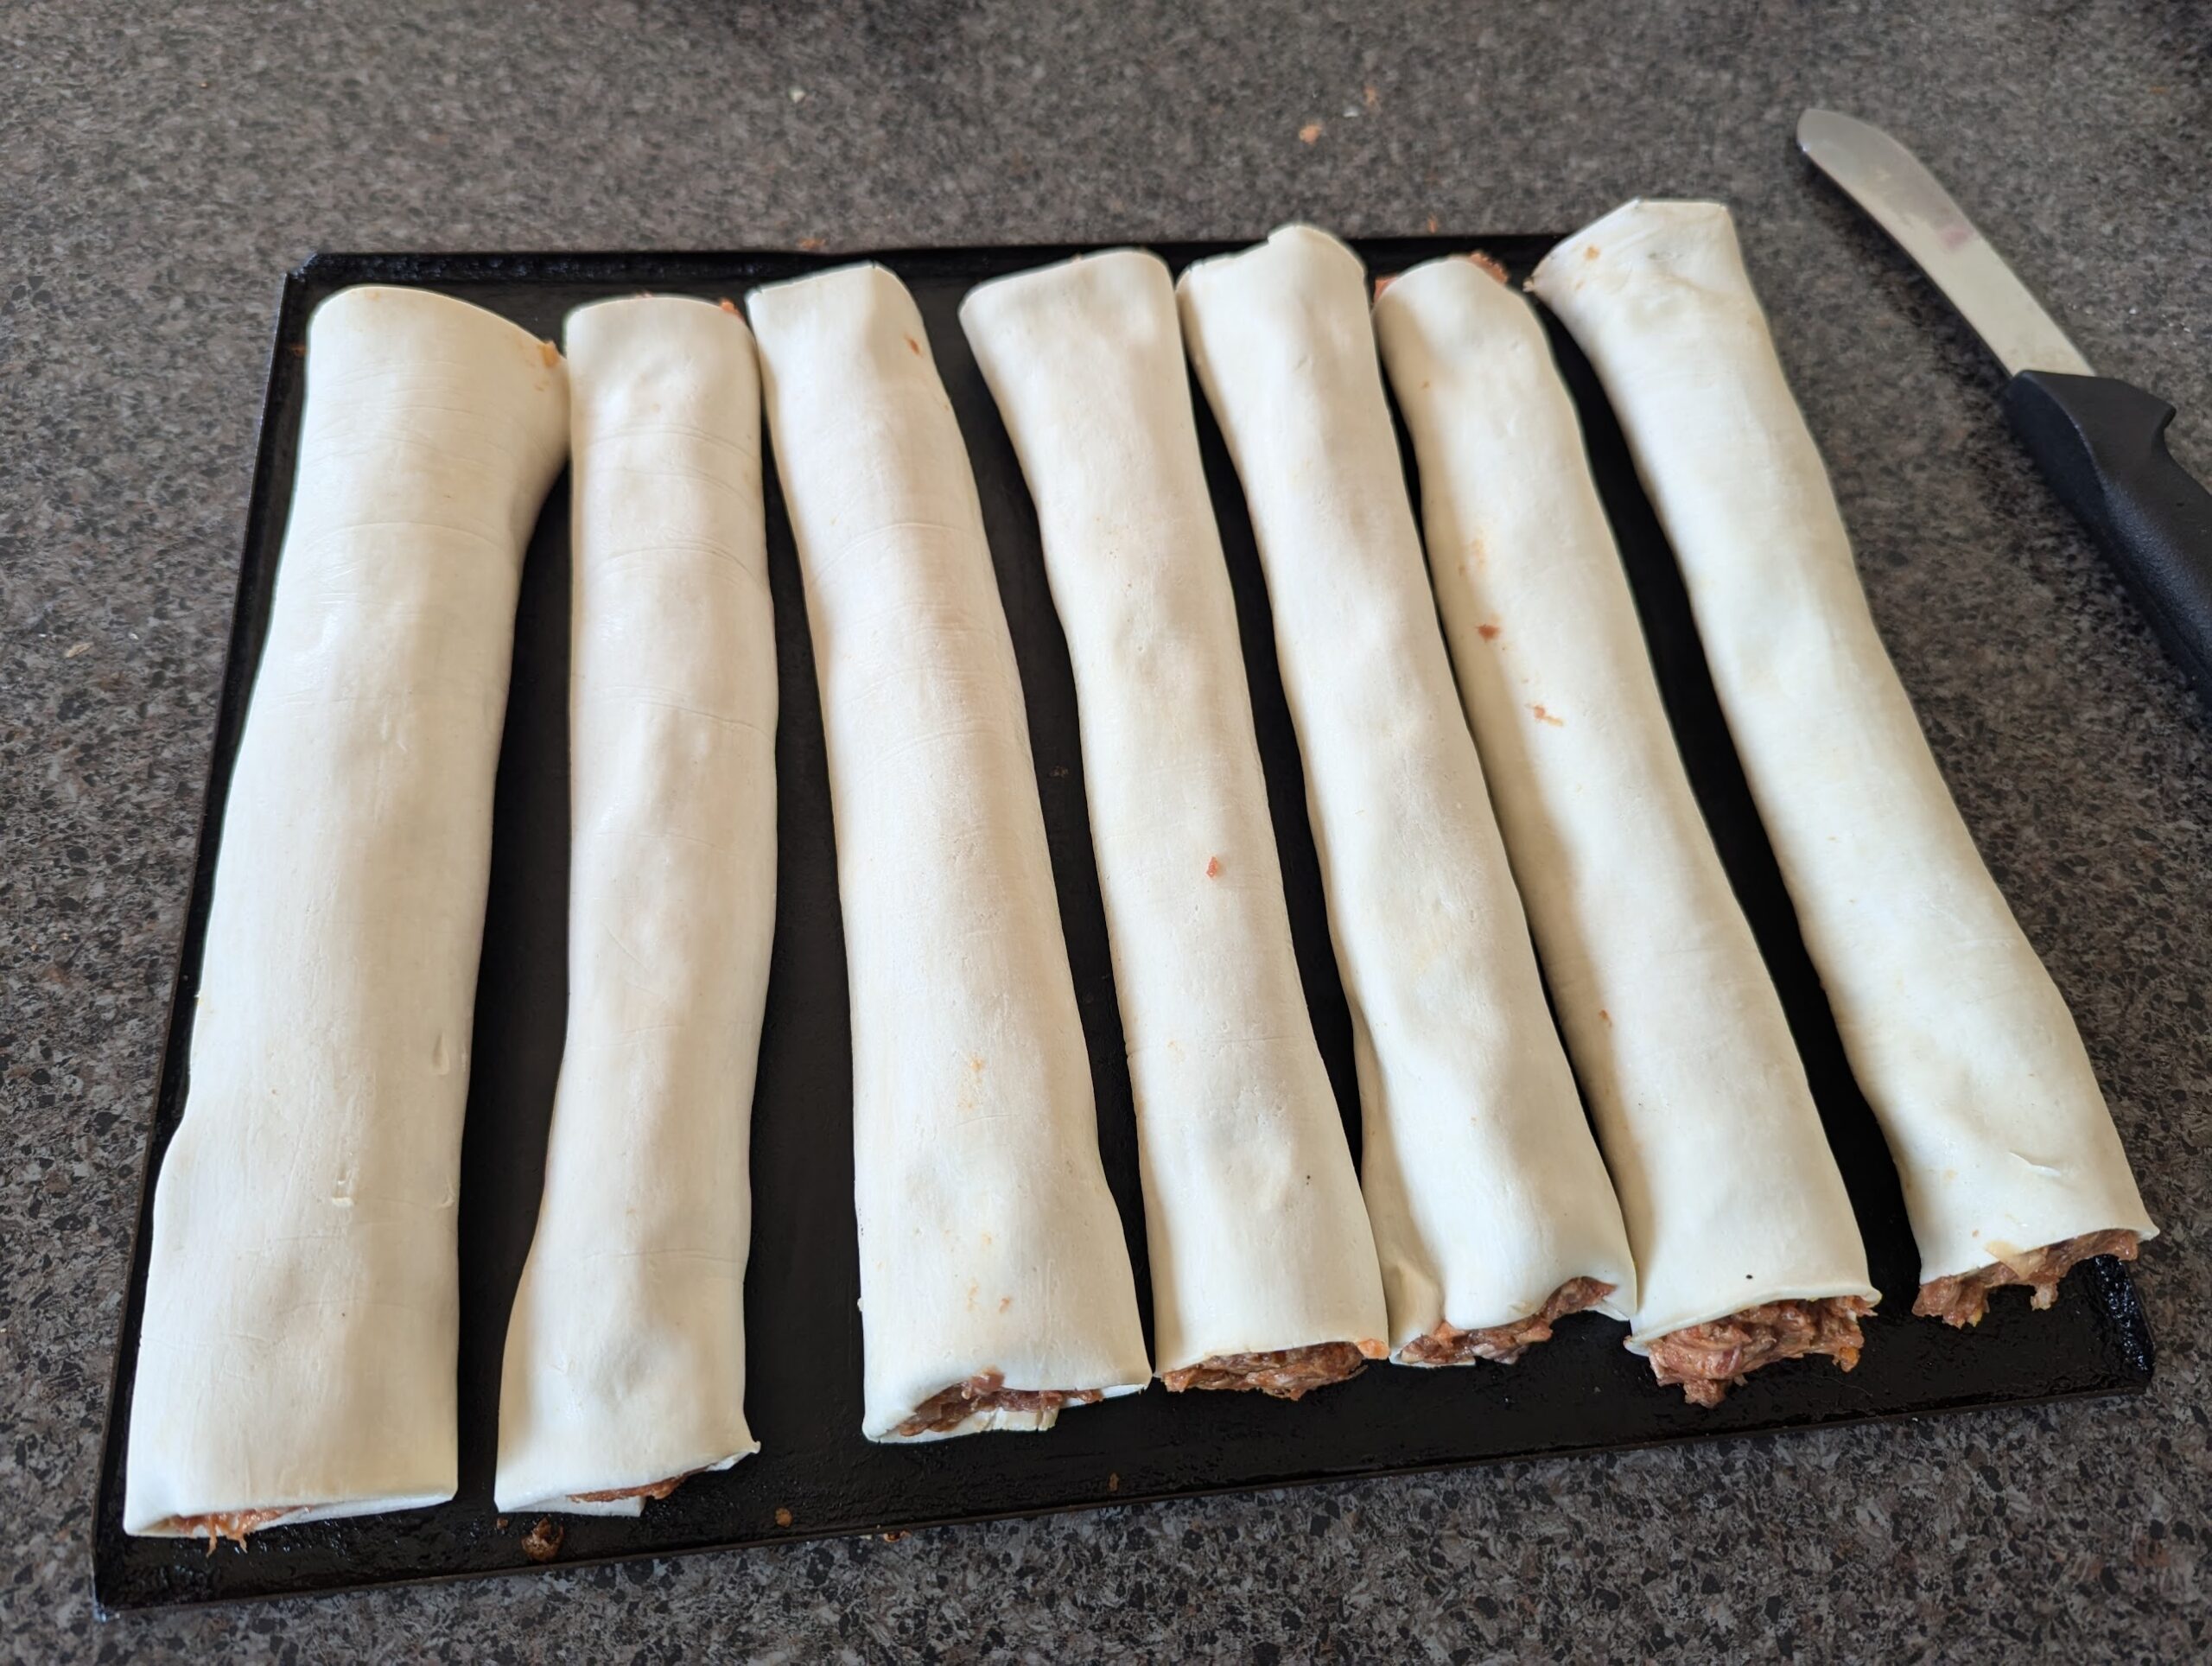
- Lay a line of mince along the long edge of the pastry. Roll the pastry over to form the sausage roll and place the finished sausage rolls on a greased (or baking paper lined) tray
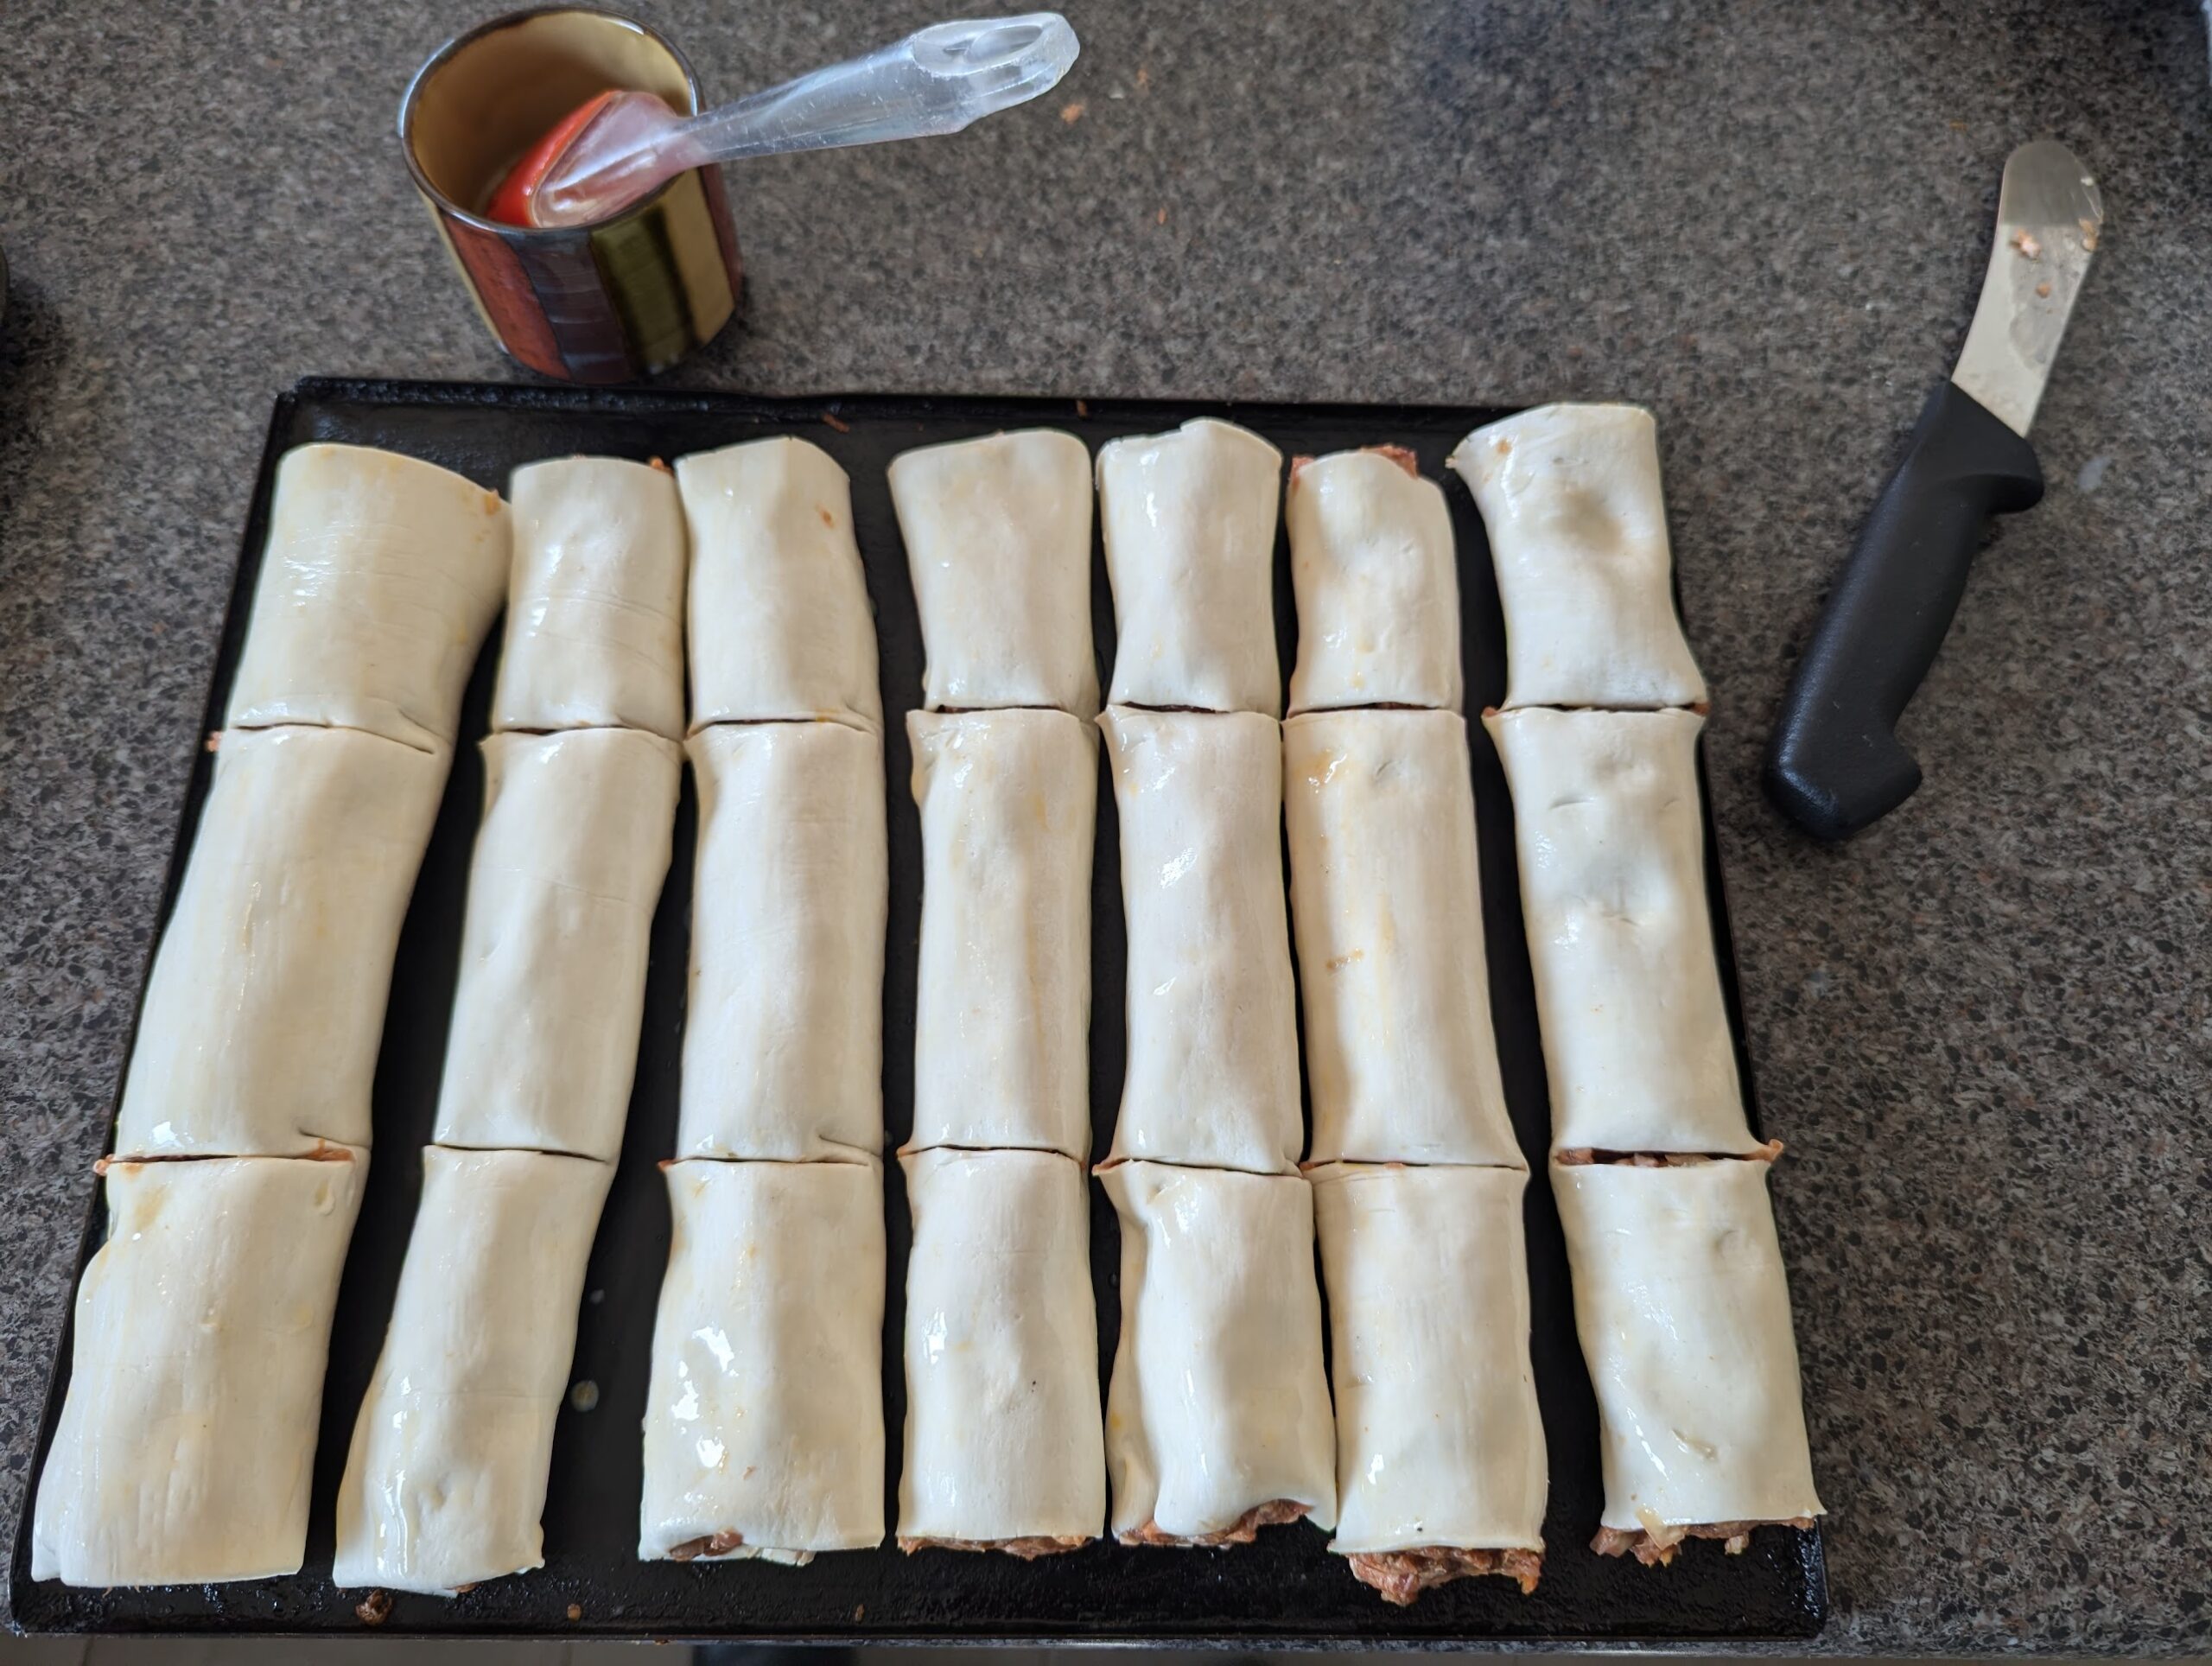
- Score the sausage rolls in the size you like and glaze with a beaten egg and milk
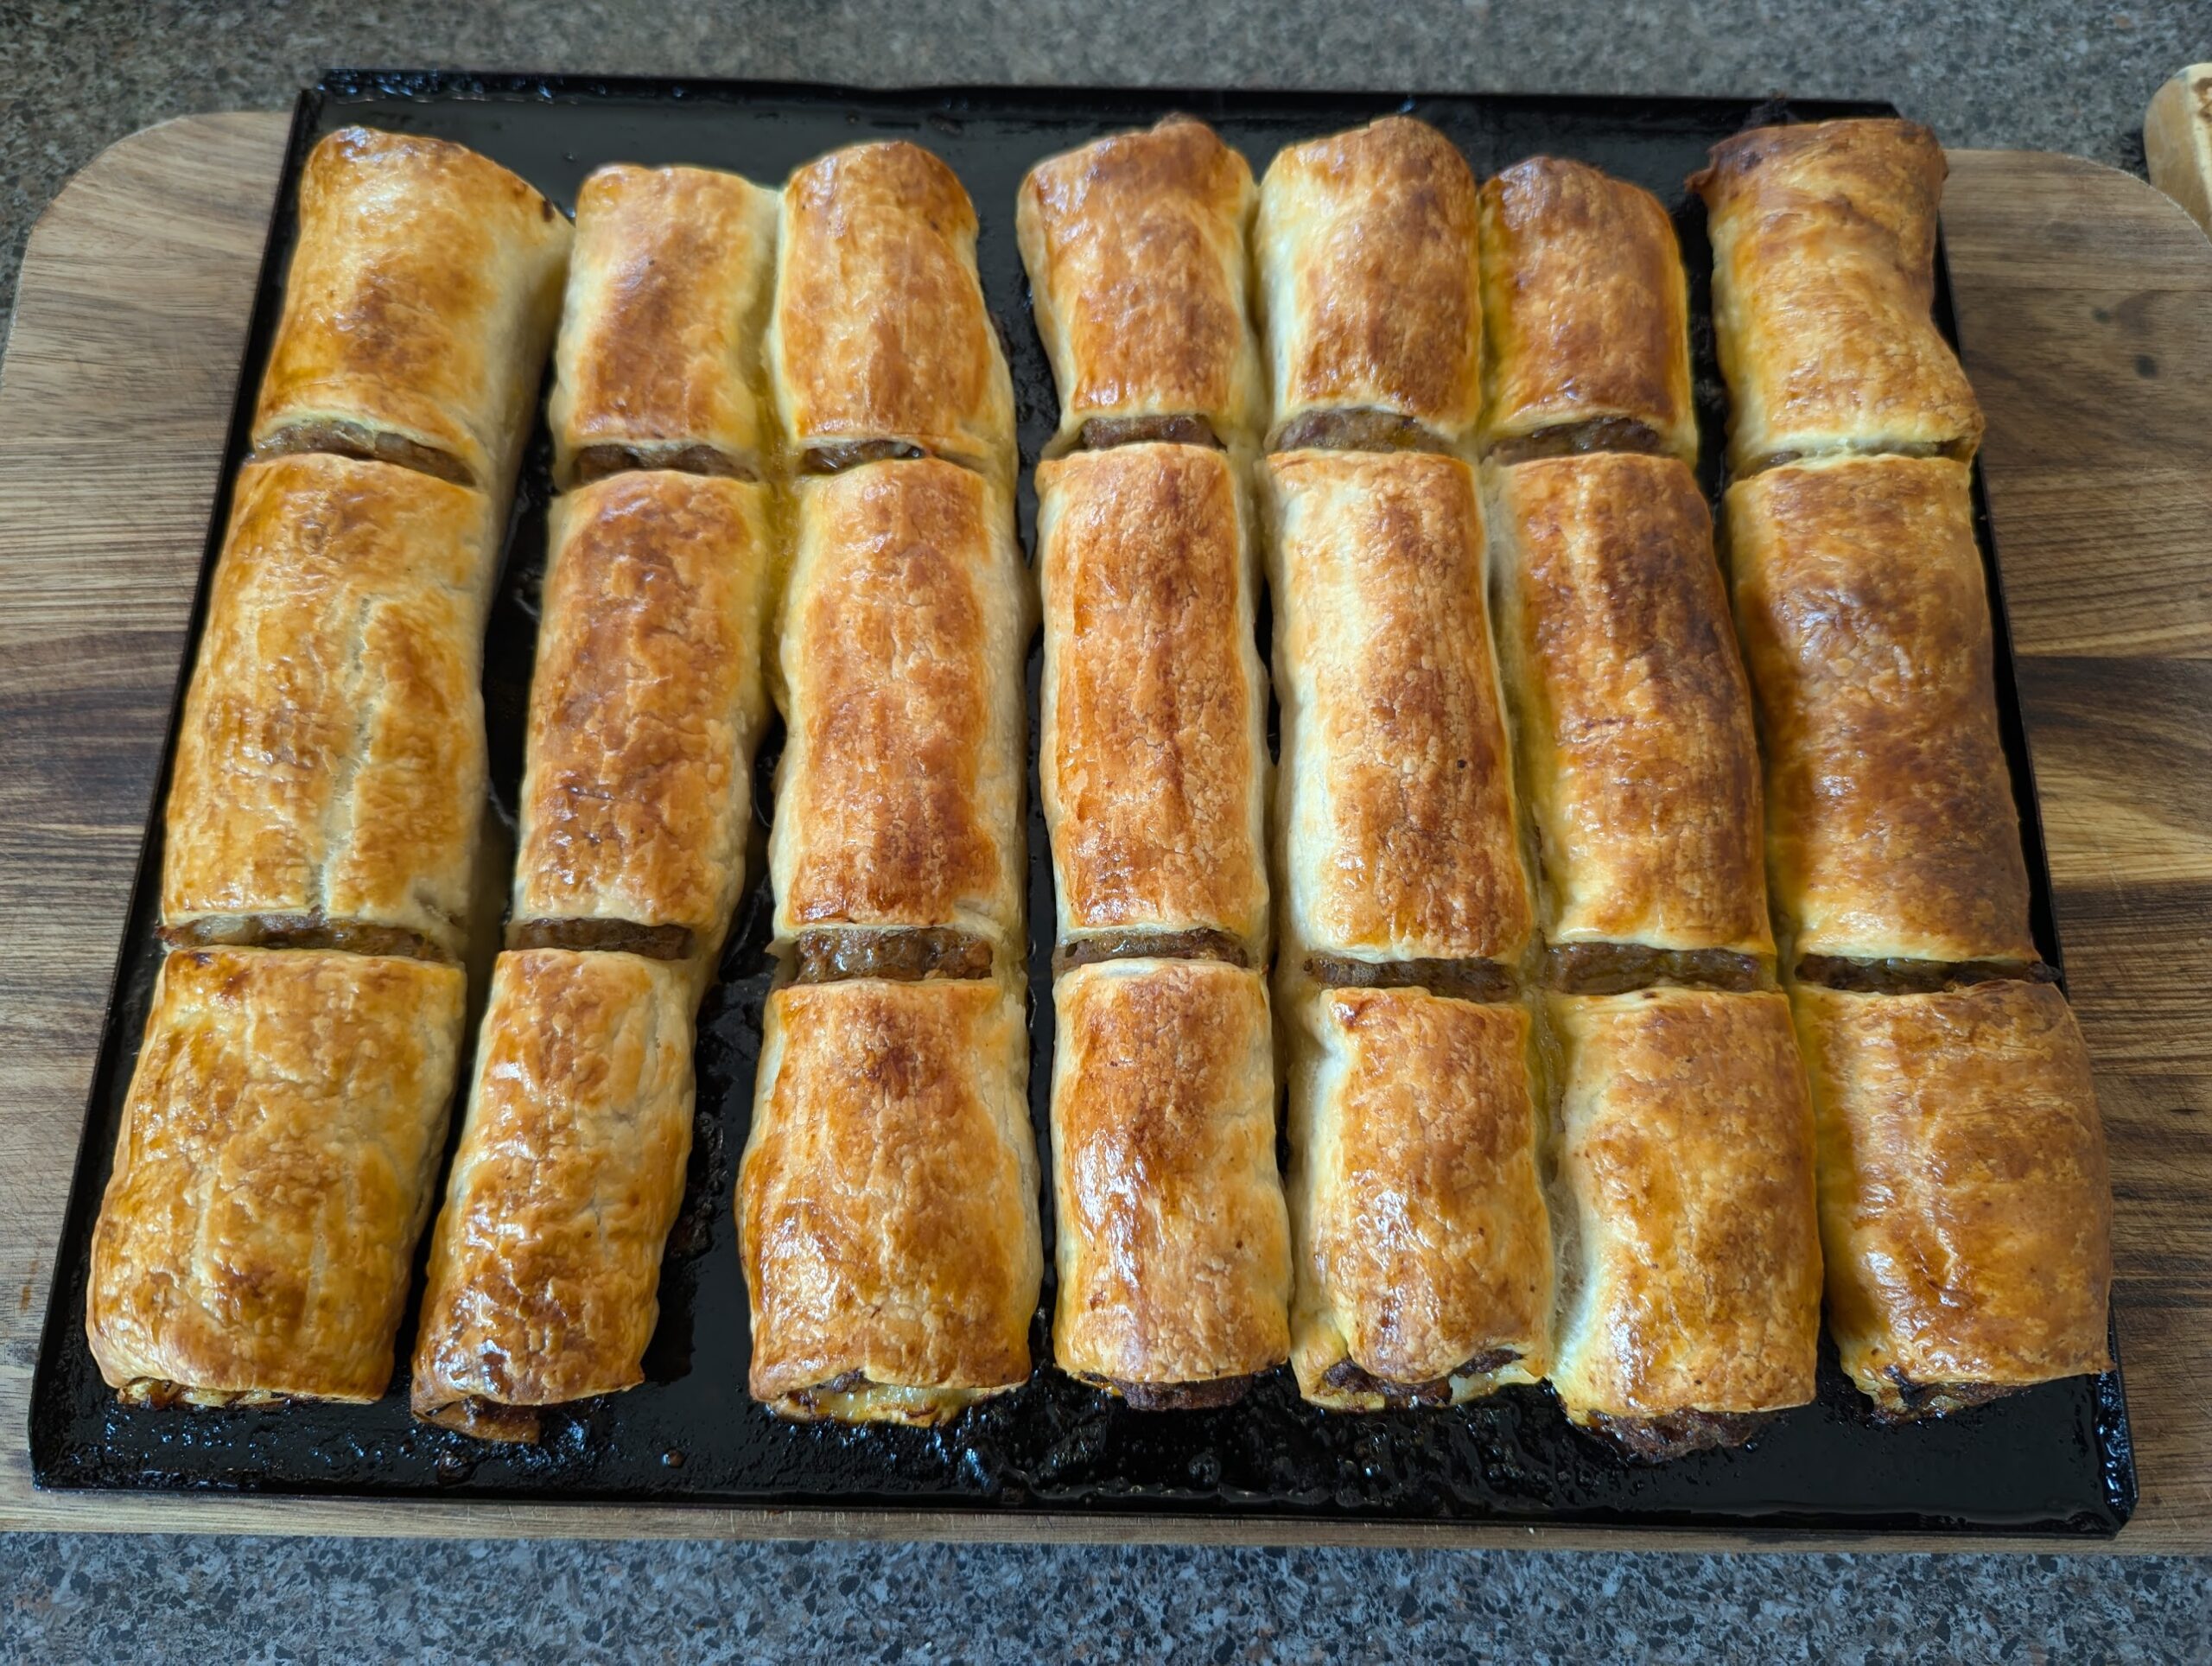
- Cook for 20 min and until the Sausage rolls are golden brown to your liking.
Notes
- There is no salt added to this recipe. I think there is enough salt with the sauces and the pastry.