jonny.donker@gmail.com

Salad Jars: You don’t make friends with them

Work Lunches.
 
For ages I never really got a pattern with them.
 
To begin with – I use to take left overs from meals to work and heat them up in the office. 
 
It wasn’t the best solution as sometimes I wouldn’t cook enough the night before and left short and quite often buying lunch out. 
 
With a decent lunch in South Eastern Australia is over $10; this hits the wallet for been unprepared. 

The Salad Jar Idea

Flicking through a recipe book section of a market while on holiday; I came across a book on “Salad Jars”; where you assemble a salad in a mason/preserving jar. Unfortunately I can’t remember the book’s name as I didn’t purchased the quite expensive book.
 
But flicking through the pages – I got the gist of the recipe.  
 
Fast forward a couple years and I have made hundreds of them; assemble the jars on Sunday and then they are ready in the fridge to take to work.
 
They are not glamorous and you won’t make many friends with them; but at least your health and budget might like you.

The basic principle

The idea of a salad jar is to layer salad ingredients in container in a particular order.  When it is time to eat; give the jar a shake to mix the dressing and ingredients together.

With a normal salad; the dressing goes on last so not to leave the ingredients soggy after a period of time.

With salad jars; the dressing goes in first at the bottom of the jar.  

After the dressing – the jars are layered with the rest of ingredients; working from hard vegetables like carrot, capsicum, celery and then moving up to more delicate ingredients.

At the top should be delicate ingredients like lettuce and crumbly feta.

The idea that the dressing can “pickle” your harder vegetable and this layer of vegetables serves as a barrier to the other ingredients.

The Jars

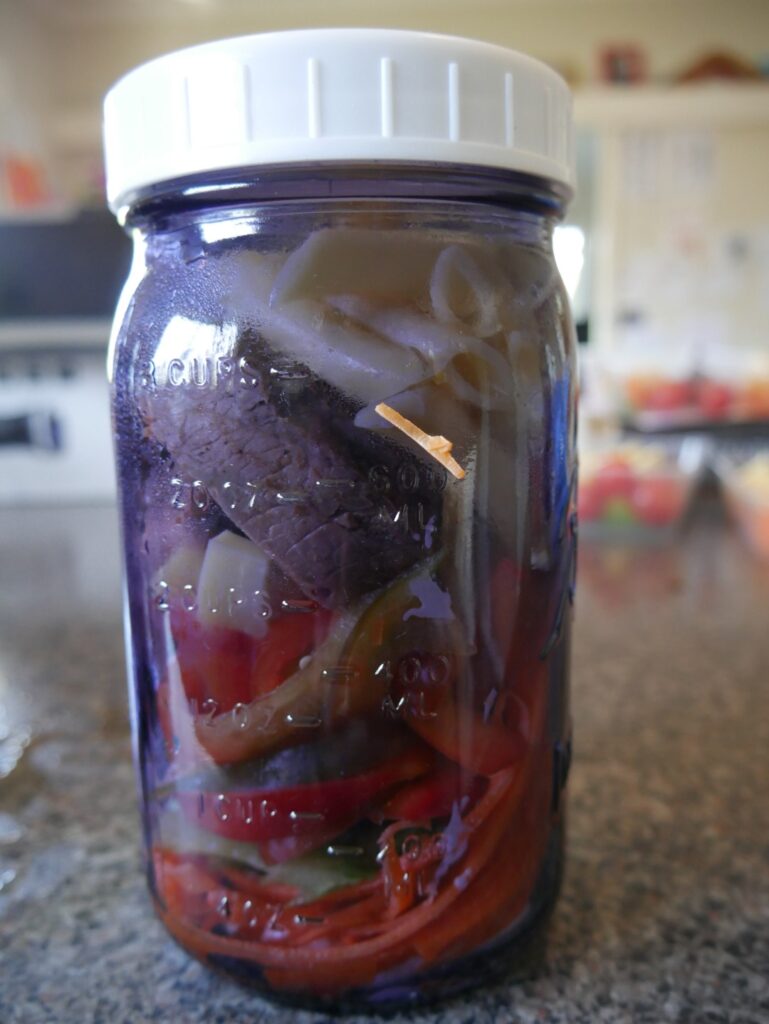
Any jars or containers with a tight lid will do.  After some iterations of different jars; I came to like these squarish mason preserving jars that I found on ebay:

These jars tick a couple of boxes:

  • The right size for a lunch
  • Relatively solid – can survive a few knocks
  • With the jar’s square shape; it packs more efficiently in the fridge compared to round jars

I also brought some plastic lids instead of using the canning lids that came with the jar; as the dishwasher was tearing the protective layer off the metal lids.

A sample assembly

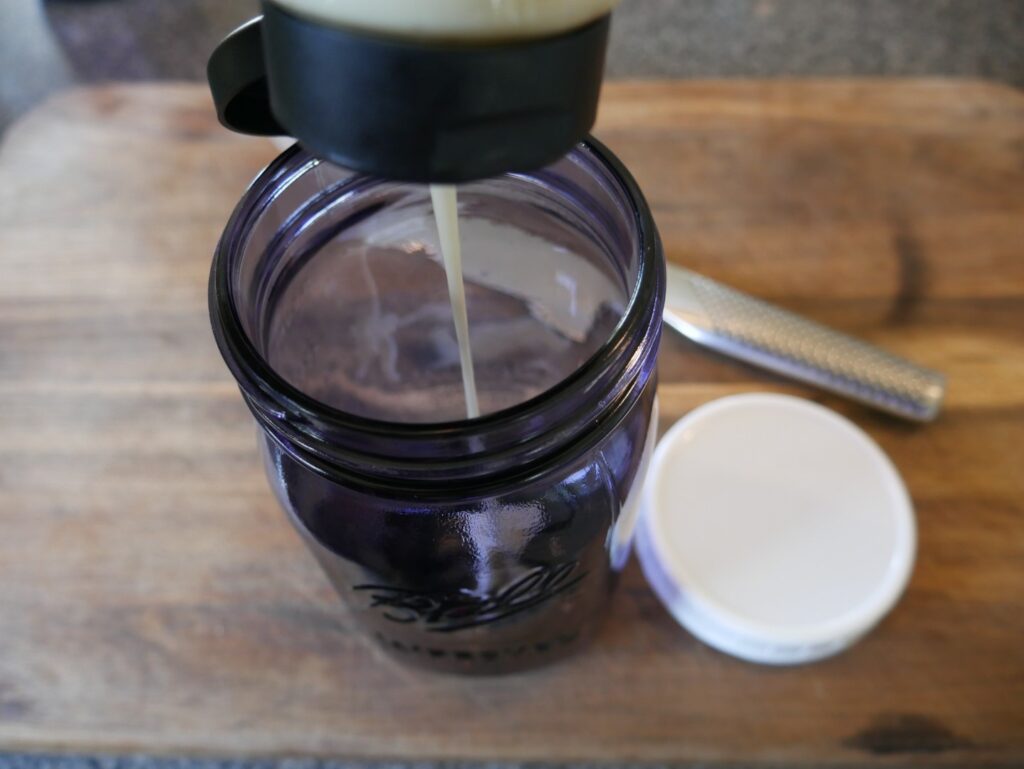
Start off with a couple of tablespoons of a dressing at the bottom. 

I have several bottles of salad dressing in the fridge to use in different jars for the week to break up the monotony.

Also in this layer you can add ingredients to enhance the dressing; such as seasoning, herbs, pickled jalapenos or capers.

Add in your hard vegetables. 

Examples can be:

  • Carrots
  • Capsicums
  • Celery
  • Radishes 
  • Raw beetroot 

These will pickle in the dressing and add as a protective barrier to the other ingredients.

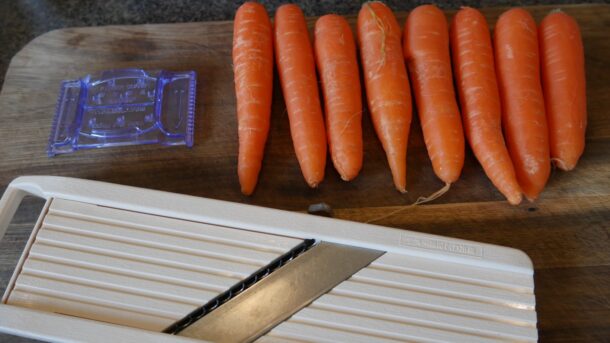
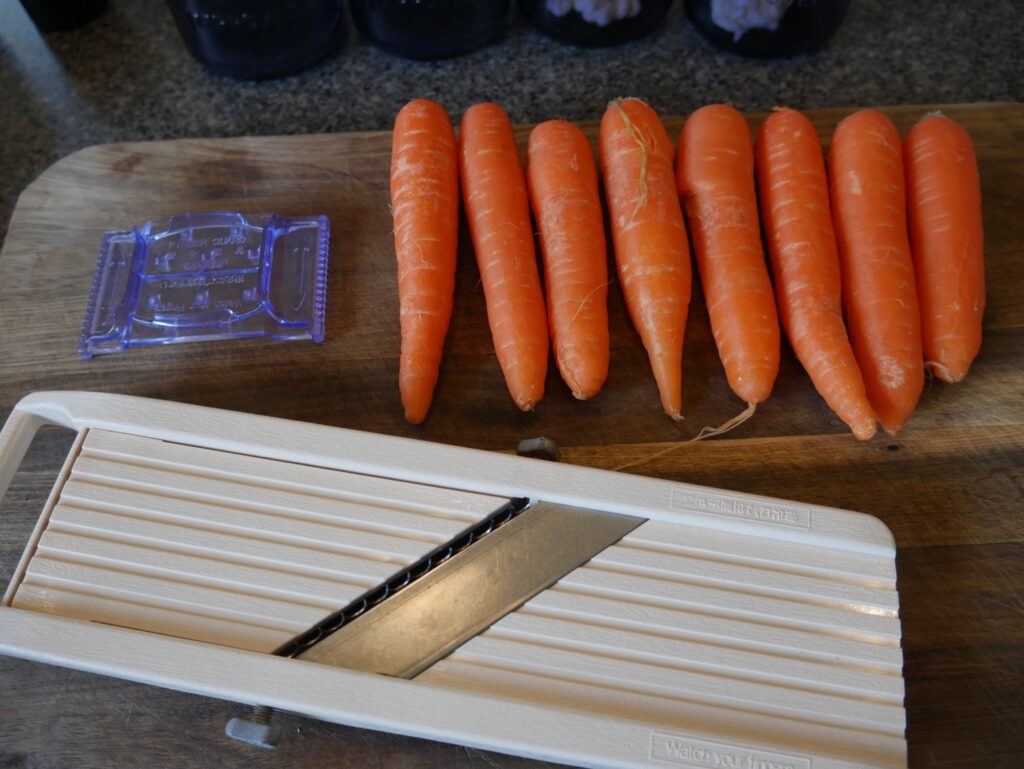
Carrots is one of the cheapest vegetables in South East Australia so I usually use a whole carrot to a jar.

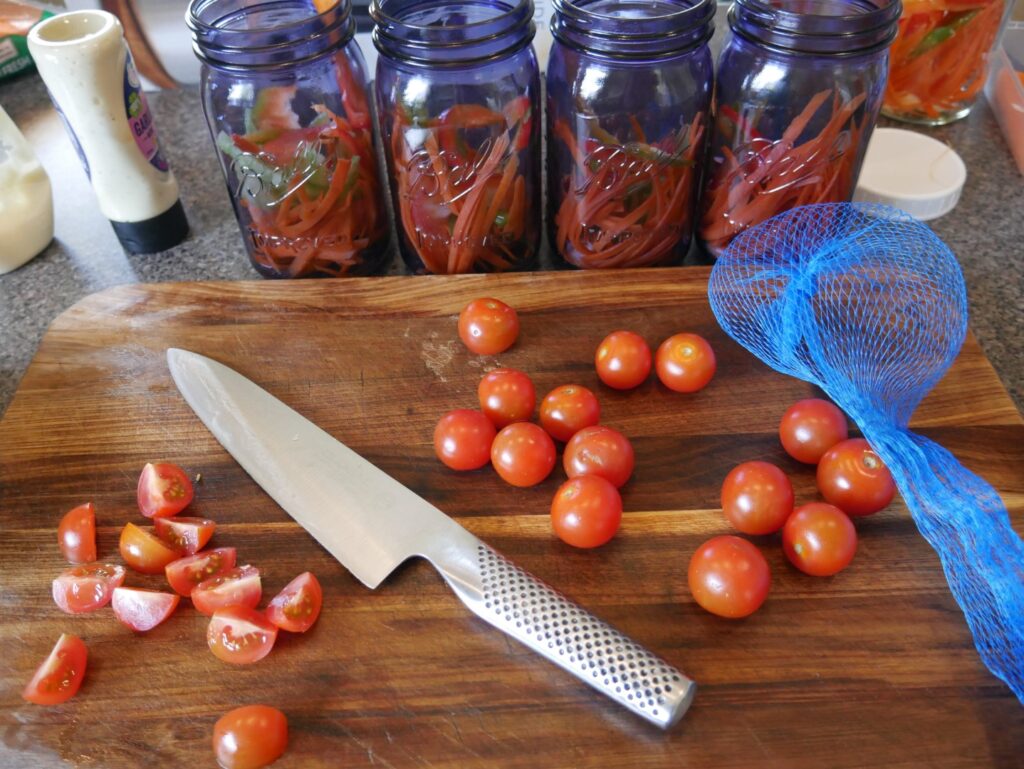
Next layer is the softer vegetables and ingredients; such as:

  • Tomatoes 
  • Hard cheeses
  • Roasted potatoes
  • Cold pasta 
  • Cooked mushrooms
  • Canned black beans 
  • Canned lentils 

For protein in this instance I have a topside roast beef that I thinly sliced.  Other suggestions:

  • BBQ chicken from the shops
  • Smoked chicken
  • Poached and shredded chicken breast
  • Greek butterflied lamb
  • Cooked and sliced sausages
  • Cooked and sliced rissoles 
  • Boiled and peeled eggs

Finally the last layer is where you have your delicate ingredients.  For instance:

  • Softer cheeses
  • Lettuce
  • Avocado
  • Roasted pumpkin
  • A mini quiche 
  • A breadroll (that you can pull out before mixing up your salad)

In the end - How many friends?

An advantage of the salad jars is the range of combinations you can make.

With a little work; salad jars can be rarely monotonous when you can combine different dressings, vegetables, cheeses and meats.  You can have a different jar for each day.

A trip to your local grocers, farmer’s market or what’s currently seasonal in the garden can inspire you on what combination you will make that day.

Give them a try – but save a day in your week to buy hot chips to share with your friends. 

You make friends with hot chips.

Coral Trout with Pale Ale butter sauce

I am not a fisherman by nature – more inclined to drown a few worms, get eaten by mozzie and then find something more exciting to do.

So I got a huge shock when fishing off a jetty with my little family and brother I caught a fish! And according to my shocked angler brother – an excellent eating fish.

“Ummm. It is a fish. What do I do now?”

Now to find a recipe.

I don’t cook seafood often as I was brought up in inland Australia, so my experience is limited.

My thought process was not to overpower the flavour. Googling recipes I saw some SE Asian inspired recipes overloaded with mammoth flavours like ginger, lemon grass, chilli etc – but I decided to try a more subtle route.

Ingredients

(Guestimates)

  • 1 Coral Trout (Or any other firm white fish) filleted with skin on
  • 1/2 cp of plain flour
  • 1 tsp salt
  • 375ml of a light but tasty Pale ale
  • 5 tbs of butter – cut into chunks and chilled
  • One clove of garlic
  • Sprig of lemon thyme
  • Canola oil for frying
  • Extra salt for seasoning
  • Lemon wedges to serve

Method

  1. Heat a large frypan on medium.
  2. Assess the thickness of the fish fillets. If quite thick; score the flesh side of the fish with a knife every 2cm to allow for more even cooking.
  3. Dry the fillets with kitchen towl to remove excess moisture.
  4. Season the fillets with salt.
  5. On a plate – mix the flour with the tsp of salt. Dust the fillets liberally with the seasoned flour and shake off the excess.
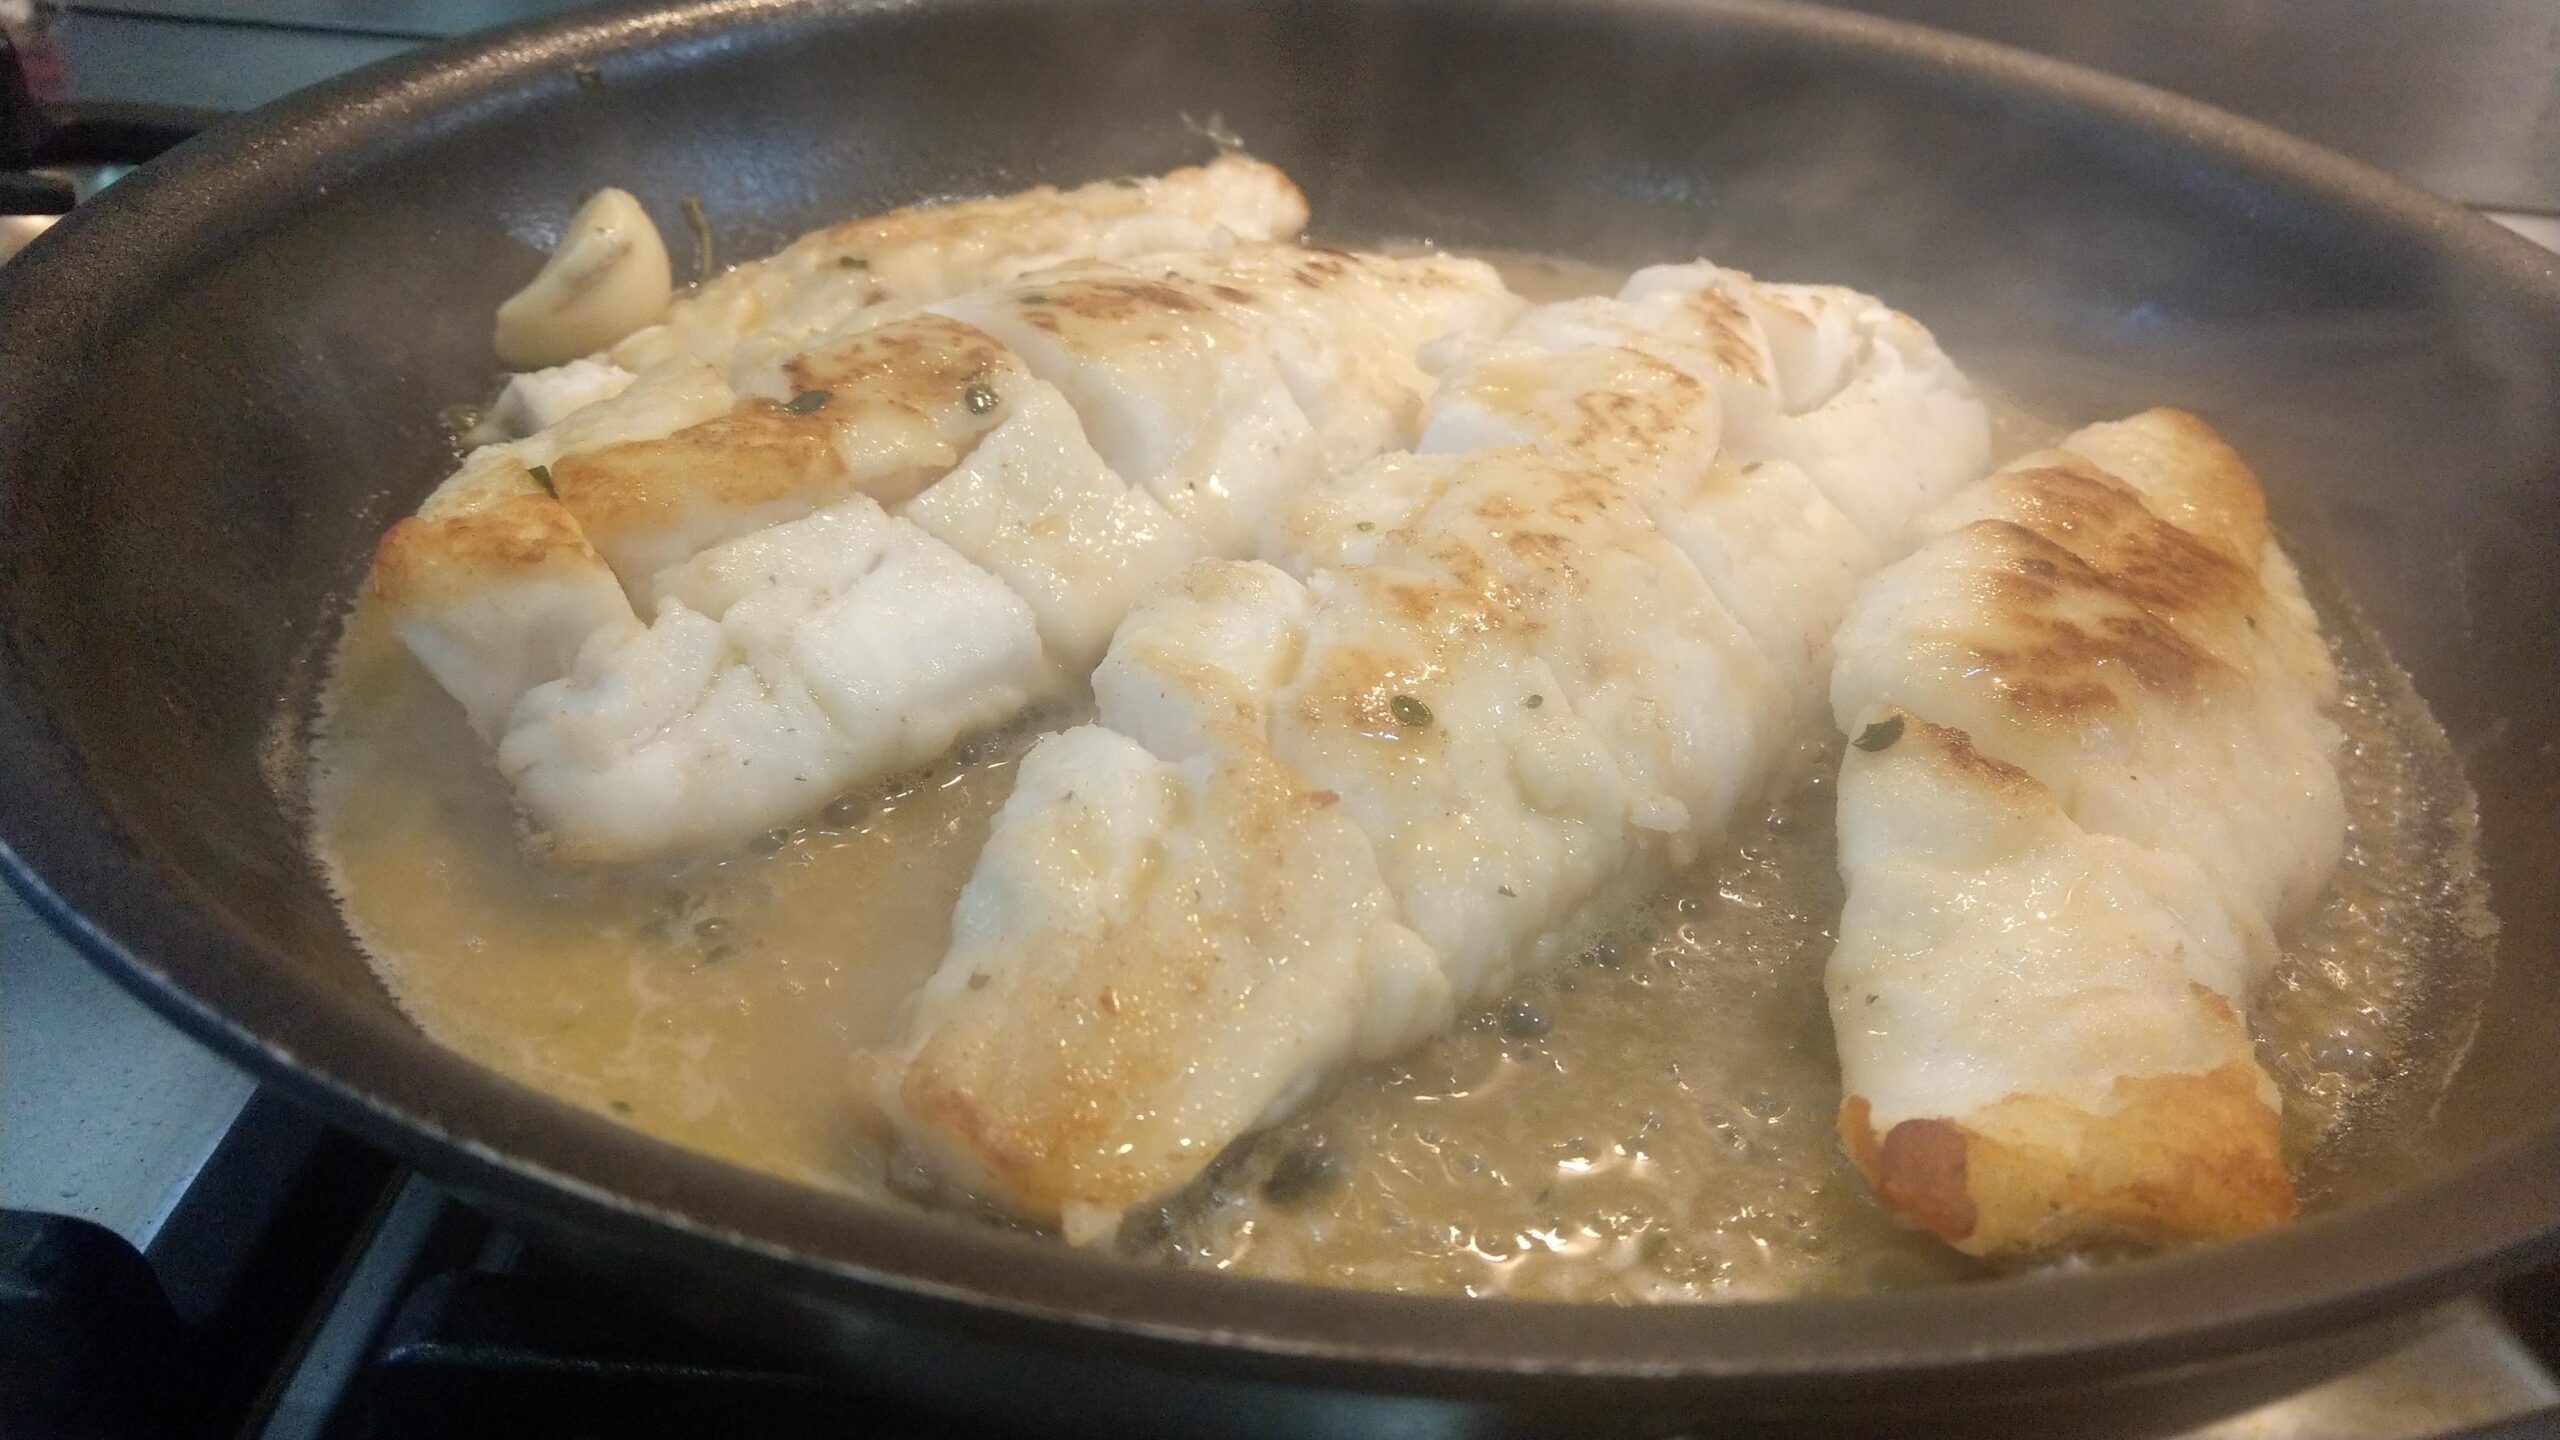
  6. Heat the oil and add the fish skin side down. Cook for a couple of minutes until the fish is half cooked through.
  7. Carefully turn the fish a cook until the fish is almost cooked though. Remove the fish to a plate.
  8. Add the ale, lemon thyme and whole garlic clove to the pan. Bring to a simmer and reduce the heat.
  9. Add one piece of butter and stir until it completely emulsify into the liquid. Repeat with the other chunks of butter – one by one.
  10. Remove the thyme and garlic.
  11. Taste the sauce. Adjust the seasoning if needs.
  12. Add the fish back to the pan to warm through. Spoon the sauce over the fish.
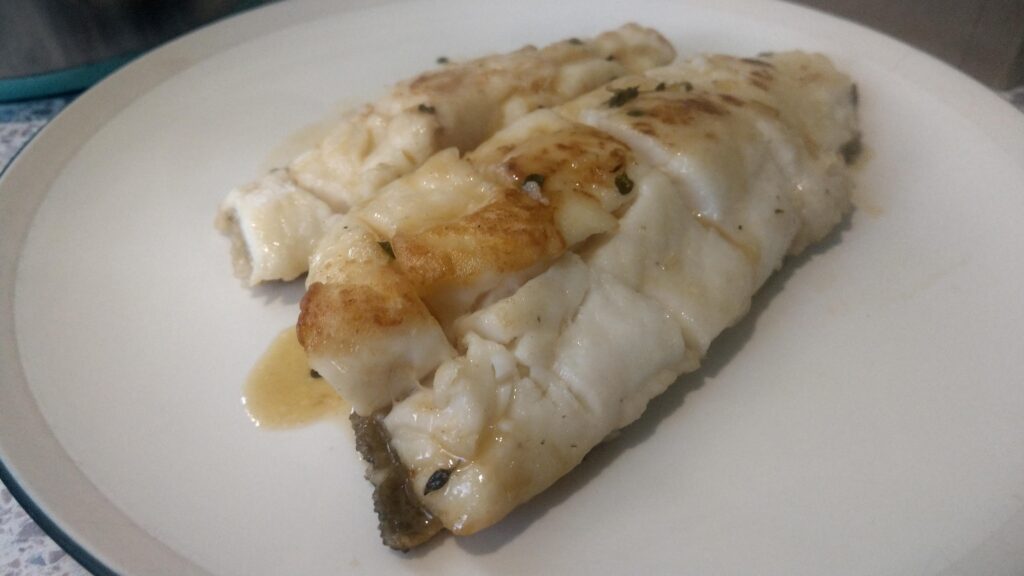
  13. Serve with the buttered sauce and lemon.

Notes

  • Serving suggestions – simple blanched or steamed greens
  • I was constrained by what ingredients I had on hand. Some modifications can be:
    • A white wine Iike a riesling
    • Tarragon instead of thyme
  • When tasting if the ale has made the sauce too bitter – add a bit of sugar.
  • If I had the right ingredients I would have probably made the following recipe from Neil Perry.

The Story of the Coral Trout catch

Theory

My brother was shocked that such a large Coral Trout was caught off an estuary jetty as they are usually found on the reef.

His angler friend’s theory was the particular jetty we were fishing off. It is a jetty where fishing vessels dock to transfer their catch. The vessels would catch Coral Trout on the reef and bring them back alive. They then will measure for size and throw the undersize fish off the jetty.

Our fish probably hung around under the jetty after being released and grew to its final 50cm size.

A pretty Good Bolognese

There is no such thing as a recipe for “The Best Bolognese”.  The best Bolognese recipe is the one that you cook and you like. This is my favourite over 20 years (geeze – I feel old now) of experimenting with all different variations that I have gleaned from different recipes and friends. Remember – don’t be afraid to experiment and try something new.

Ingredients

Serves about 6

Vegetables (Add more or less as you desire)

  • 2 brown onions – diced
  • 2 stalks of celery – diced
  • 2 carrots – diced
  • 1 red capsicum – diced
  • 2 zucchini – diced
  • Handful of Button mushrooms – diced (optional)
  • 2-8 cloves of garlic to taste – minced

The rest

  • 1kg beef mince
  • 1L beef stock (extra points for home made beef stock)
  • 750gms Passata
  • 2tbs Worcestershire sauce
  • 2 bay leaves
  • 2tsp dried oregano
  • 1tsp dried thyme
  • Pepper
  •  500gms dried pasta
  • 4tbs of cooking oil (vegetable/canola/olive oil)
  • Cheese to serve –  parmesan for the traditionalists/any other hard cheese of choice for the commoner

Method

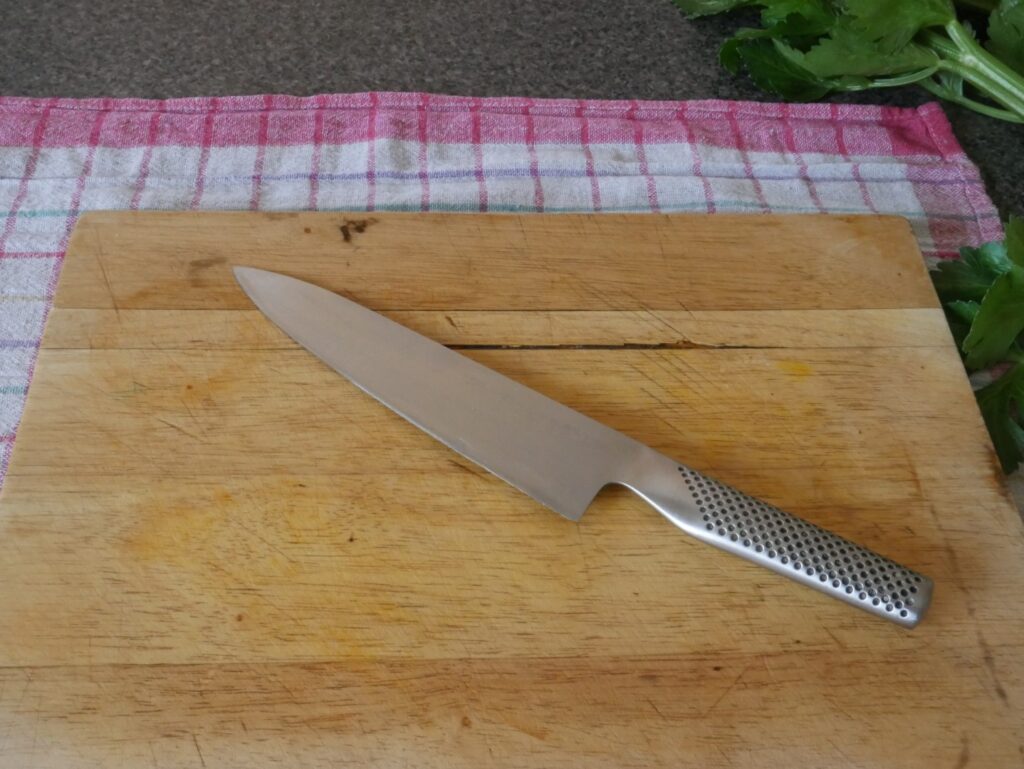
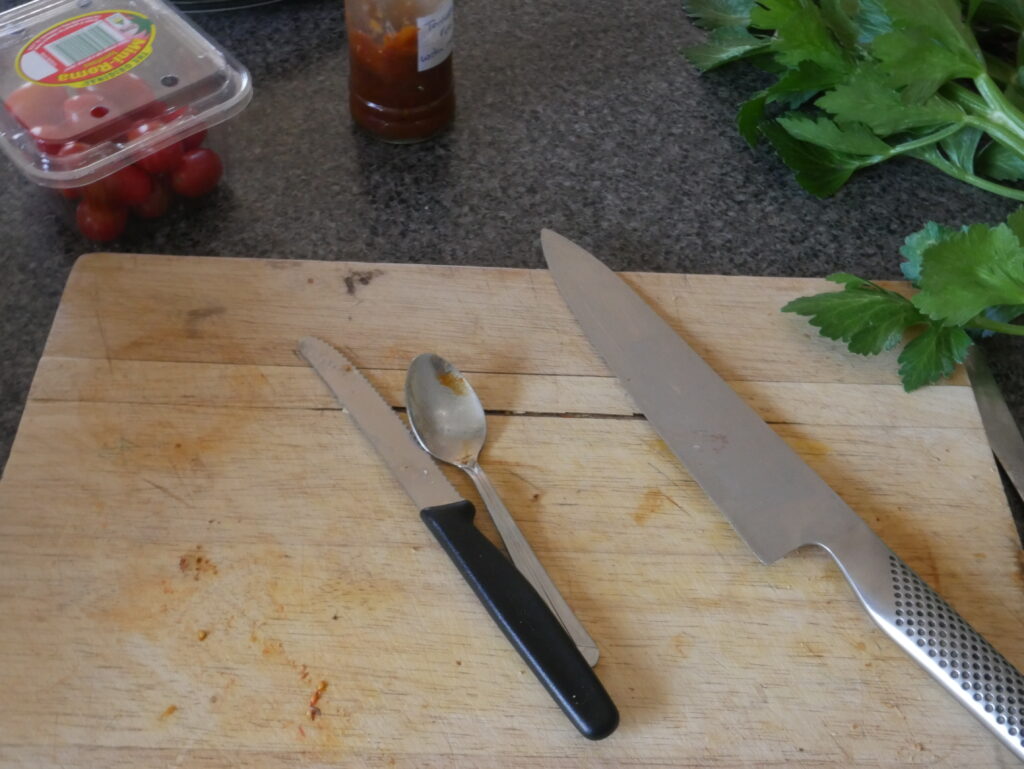
Clean bench, sharp knife, stable cutting board – let’s go:


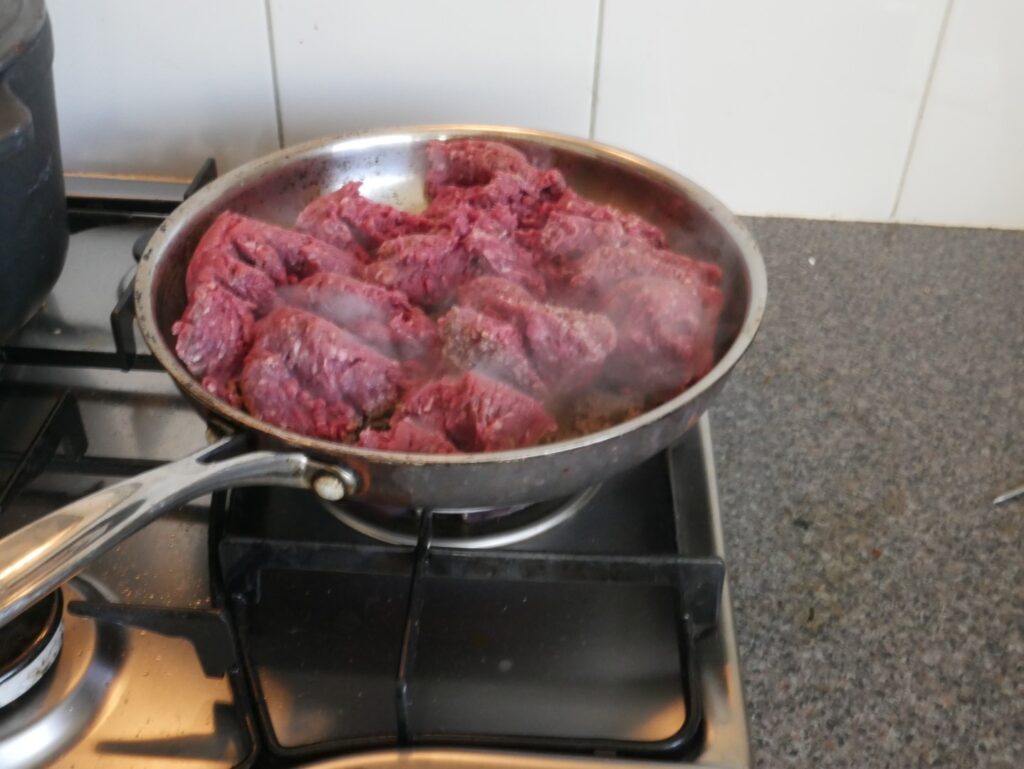
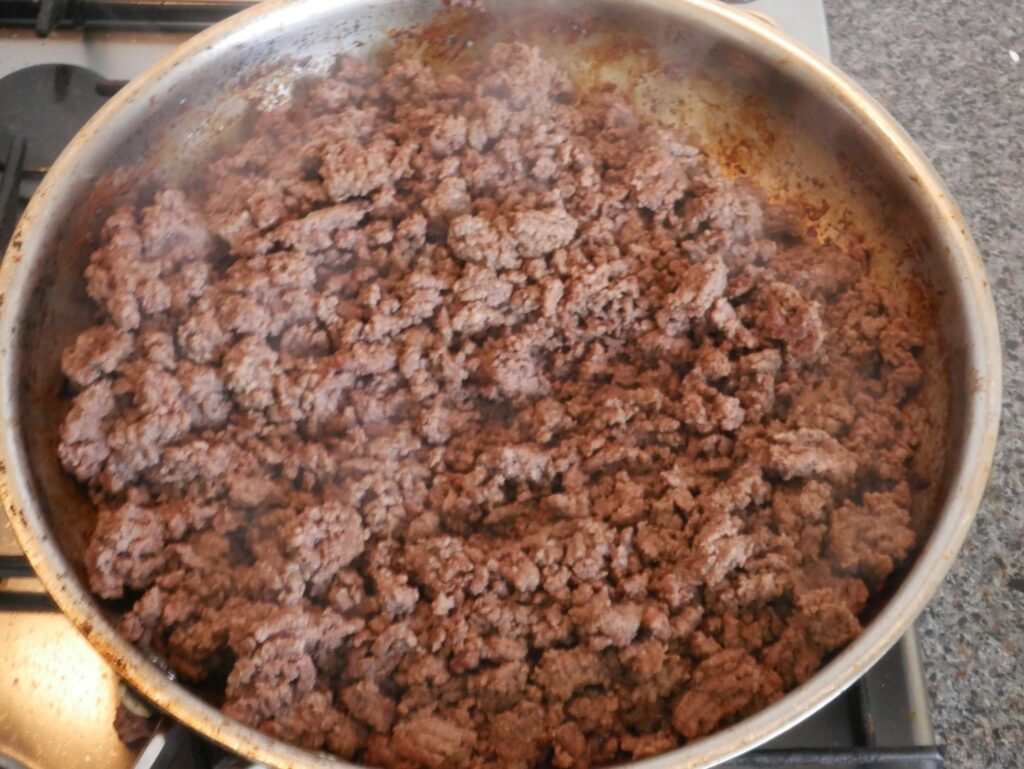
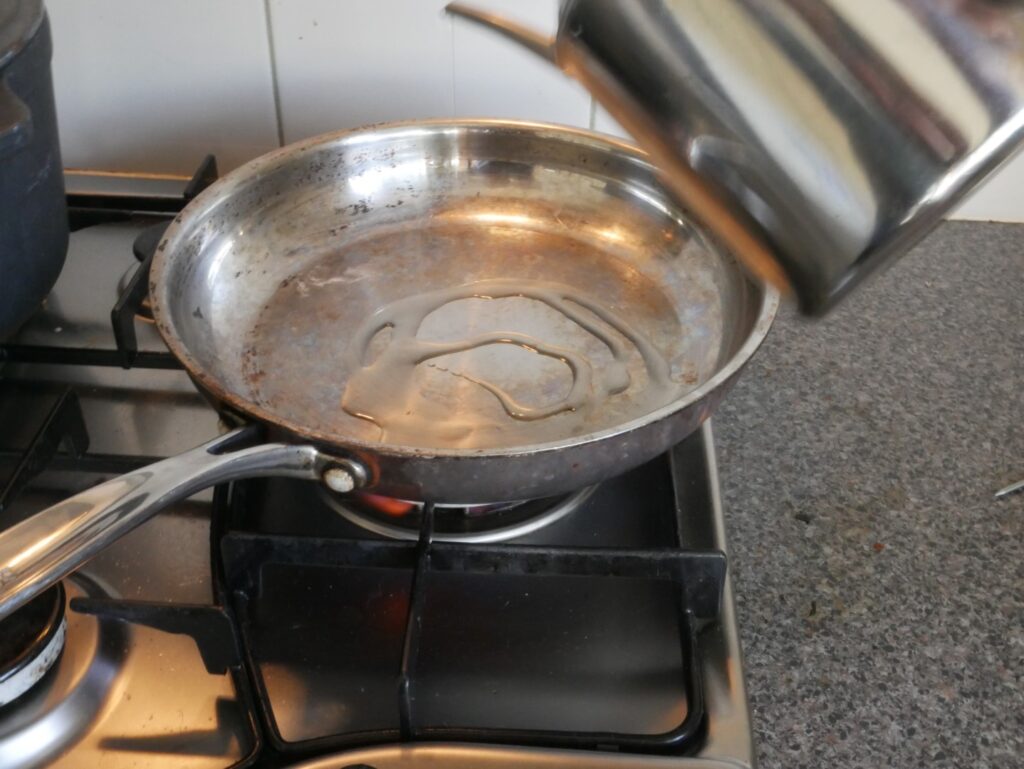
1. Heat 2tbs of the oil in a large fry pan on medium high.  Add the mince and break apart the lumps.  Cook stirring occasionally until the beef is dry and crumbly, starting to catch at the bottom and smell like cooked steak.  If this step is done before the vegetables are soften; turn off the heat


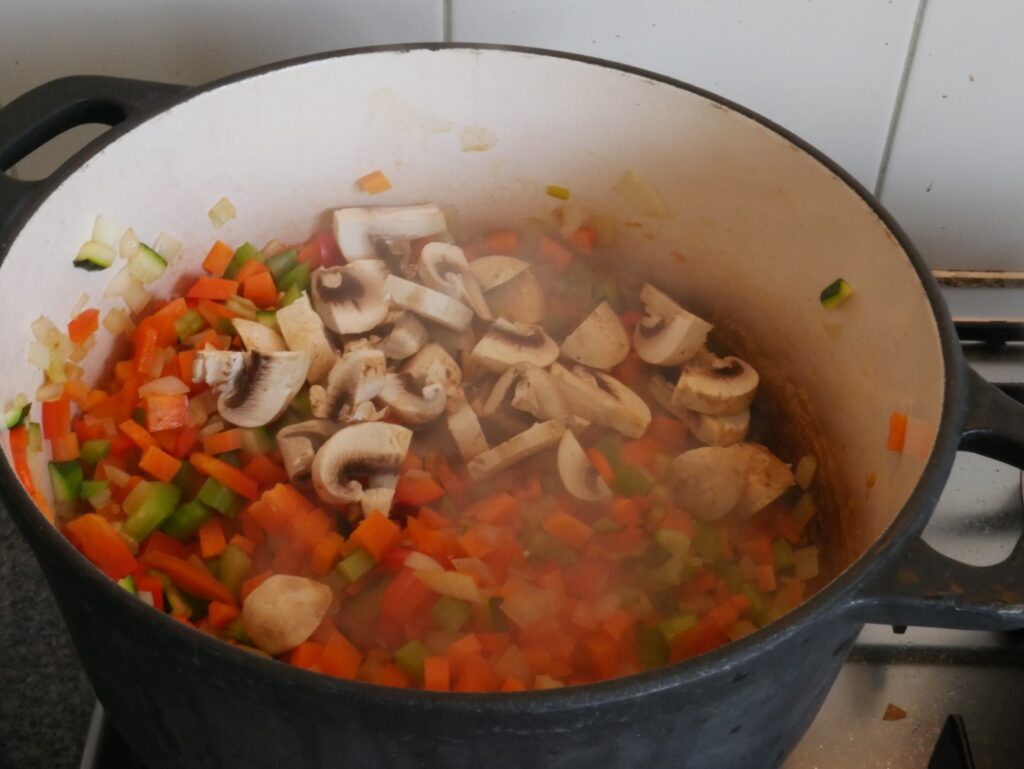
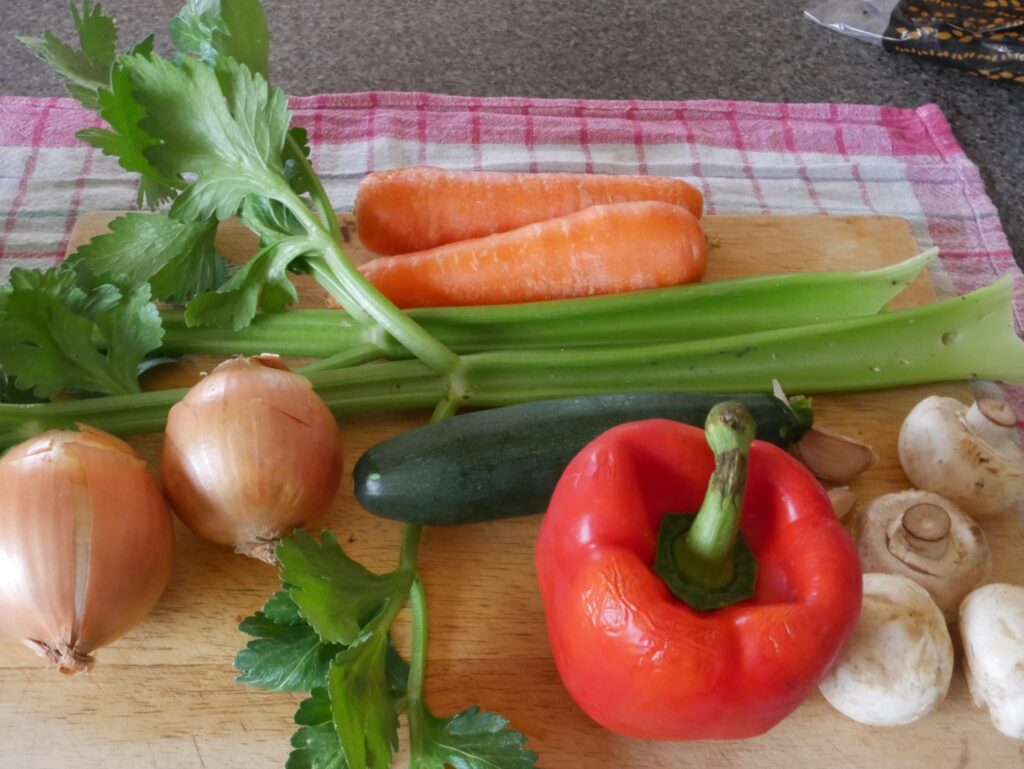
2. In a large pot; heat to medium heat and add the remaining cooking oil.  Add all the vegetables; except for the garlic and fry until the vegetables are soft and the onion is translucent.  Add the garlic and fry for another two minutes.

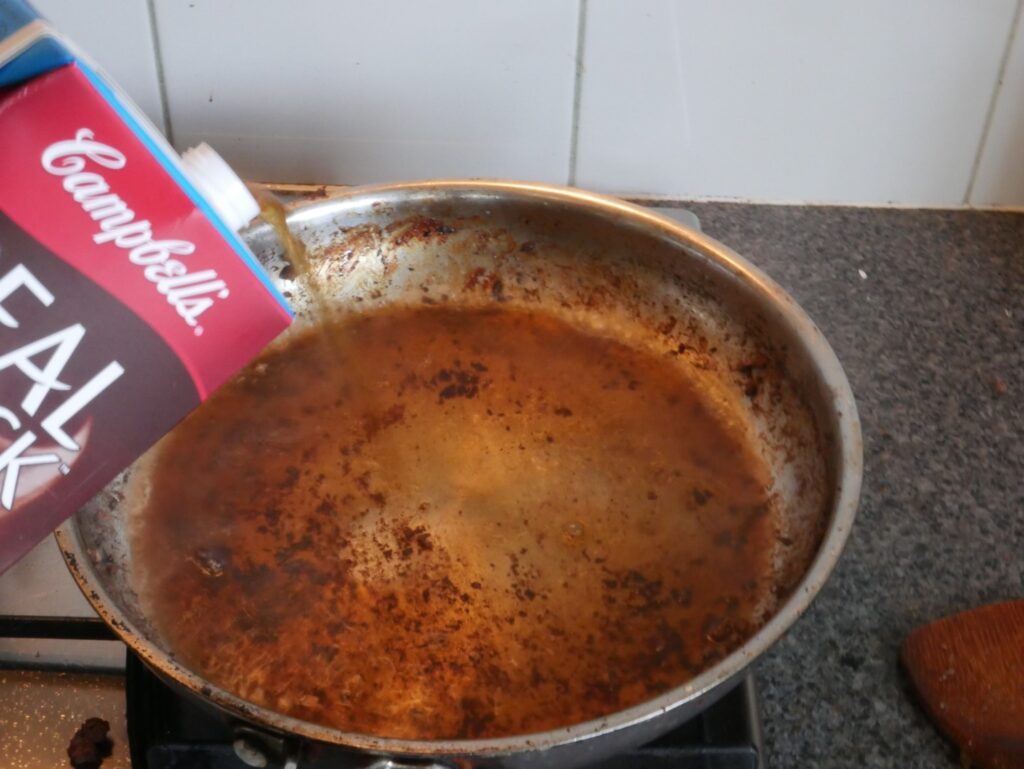
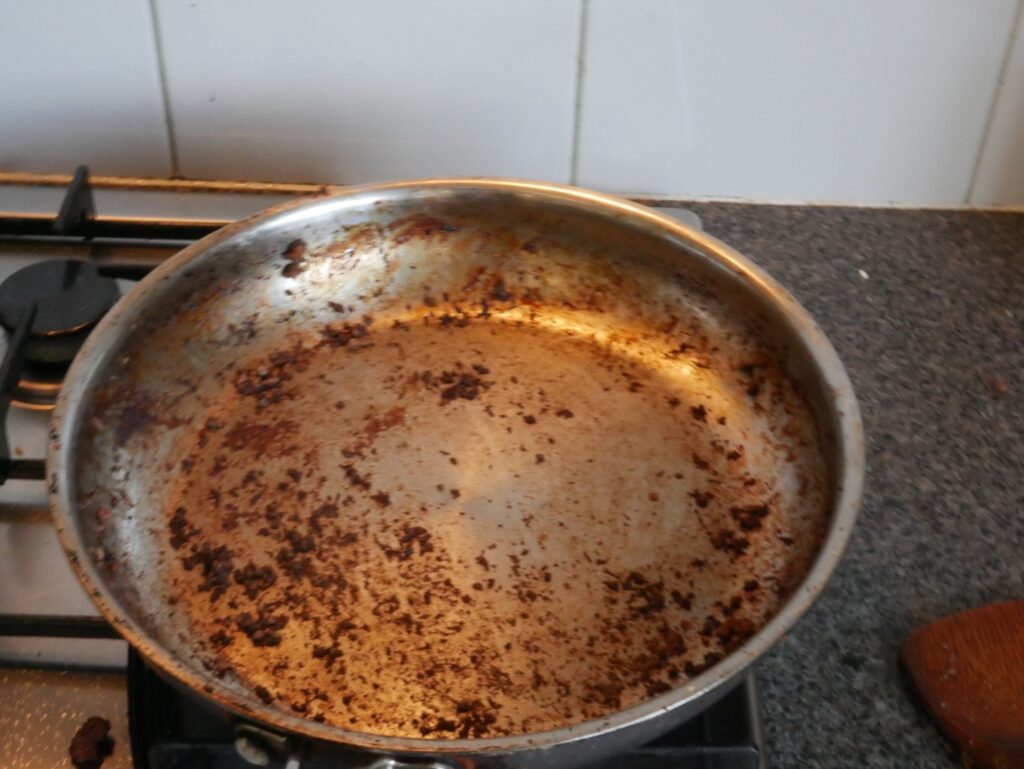
3. Add the browned mince to the large pot of vegetables.  Deglaze the fry pan with a cup of beef stock.  Add the liquid into the large pot.

4. Add the beef stock, passata, Worcestershire sauce, bay leaves, dried herbs and pepper to the large pot and bring to a boil.  The mixture will appear very watery; almost like a soup.

Turn down the heat to a very low simmer and cook for 3 – 6 hours stirring occasionally.  Adjust the heat and liquid levels depending on how long you want to cook it for.

Hold off on seasoning with salt until the end as the amount of salt you will need depends on the amount of salt that was in the beef stock and passata.
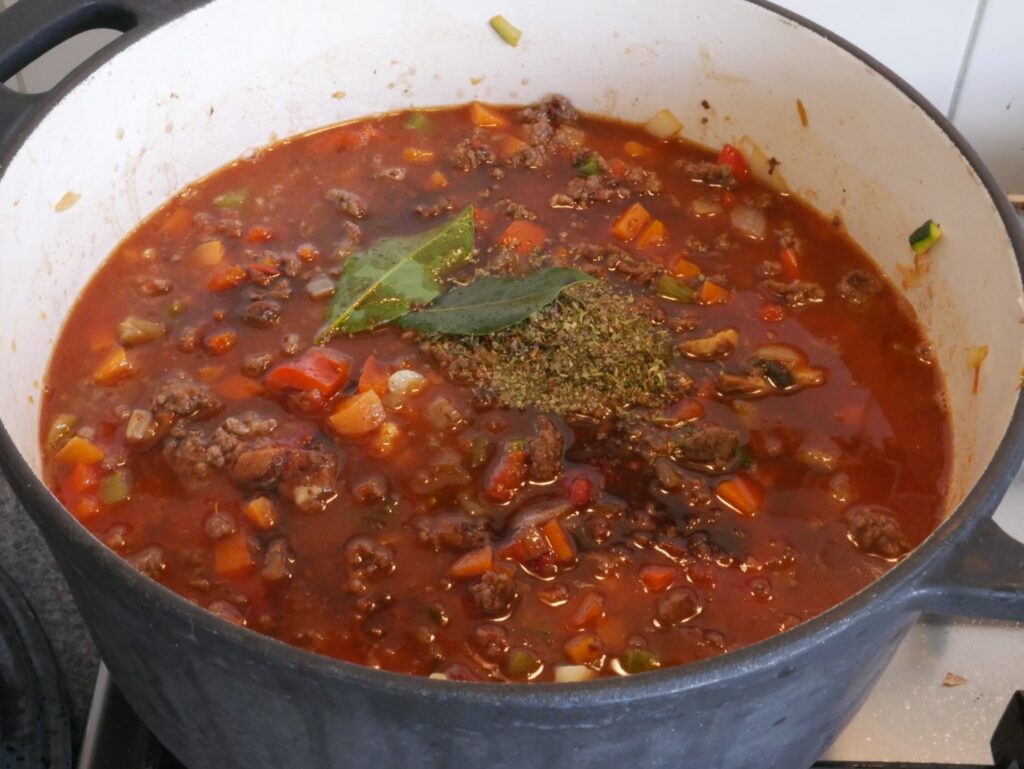
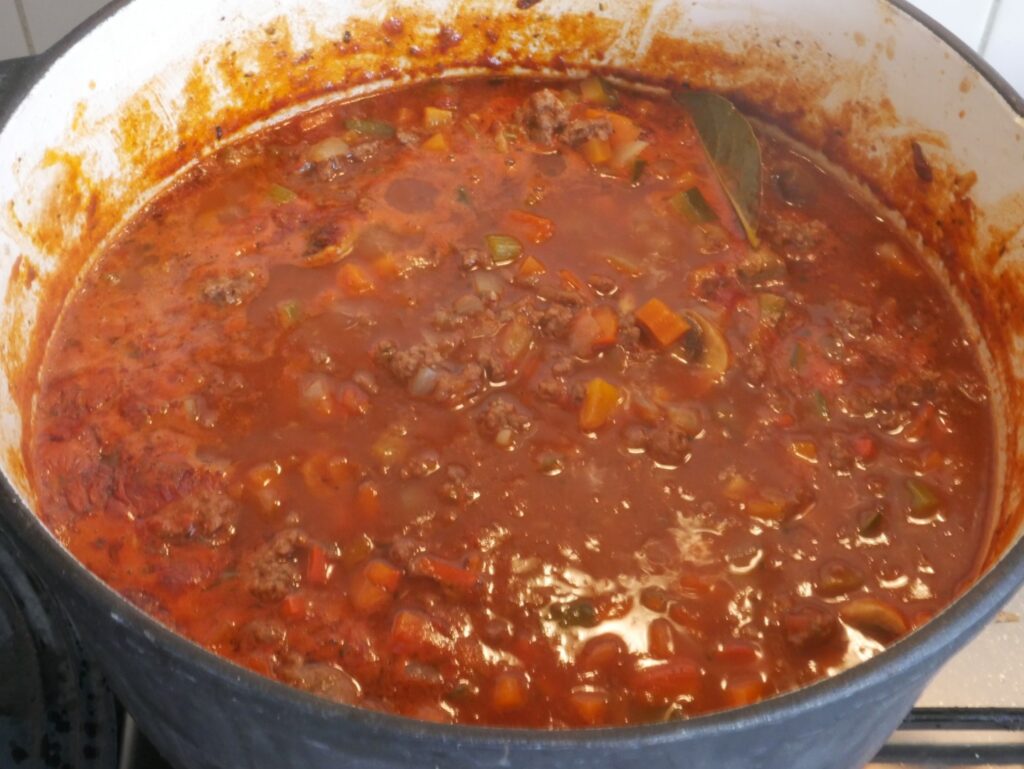
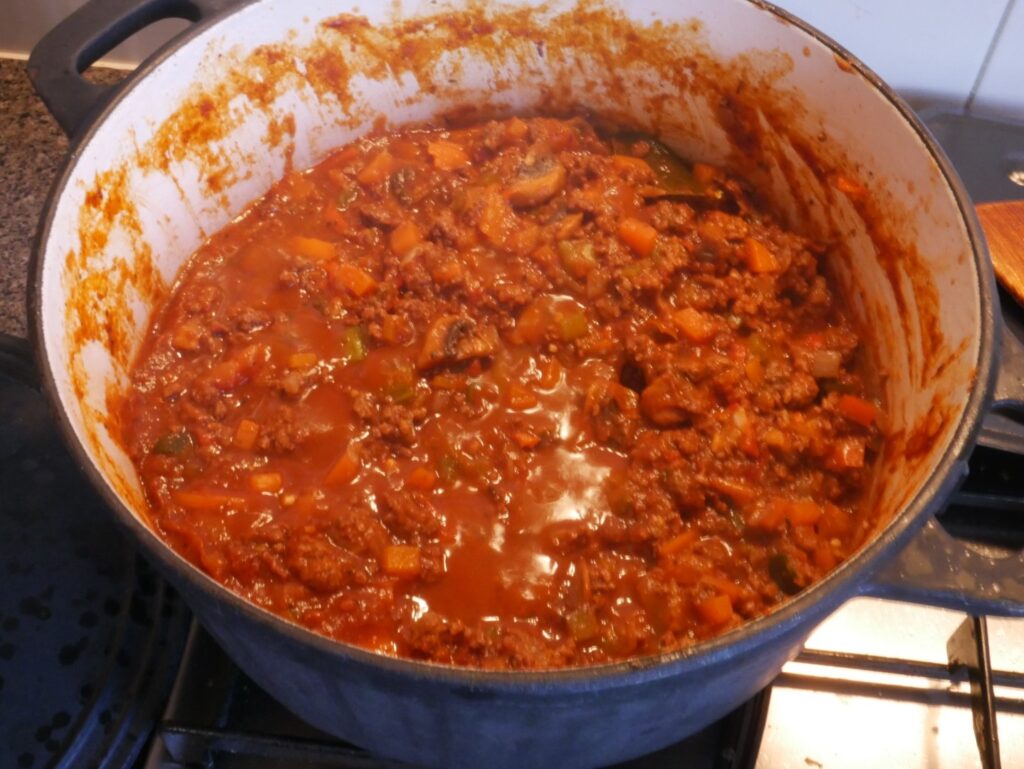
5. When getting close to the right consistency; cook the pasta as per the packet instructions.

Way to serve – fancy way

  1. Undercook the past by a couple of minutes in step 5
  2. Heat up a large pot to medium heat and add in the well drained pasta
  3. Add some of the Bolognese sauce into the pot.
  4. Cook for a couple of minutes until the pasta is cooked through.
  5. Serve with chese

Way to serve – to the point way

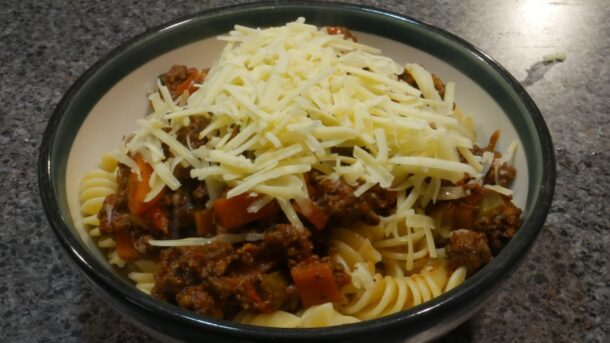
  • Pasta in the bowl
  • Bolognese sauce on top
  • Cheese on top

Notes

There are many/many variations of Bolognese out there and I have tried and honed my favourite recipes over many years.

It all comes down to what you like – that is the best Bolognese recipe

To me a good Bolognese has the key balance between tomatoes and meat flavour.

I have tried some popular variations and added some notes:

Wine

A popular addition is to add wine to the recipe.  This radically changes the flavour profile.

I’m not a big fan of it.

I suspect that it is because I usually have strongly flavoured Australian Shiraz or Cabernet sauvignon on hand.  Maybe a lighter red wine would be a suitable match.

Meat

Minced beef is the most popular ground beef in our region so that’s what I tend to use.

Veal and pork is a more traditional choice.  If this is what you want to try; see if you can get some pork or veal stock.  This will create a lighter sauce and better match for the meat combination.

Some people also add bacon or speck to their Bolognese recipe.  This drastically alters the flavour and I am not a fan of it.  But if not sure; give it a go as an experiment

Milk?

I have seen recipes where you add half a cup of milk to the Bolognese sauce.  The theory is the the enzymes in the milk further tenderises the meat.  I have tried it but felt it made no noticeable difference

Sugar

Some recipes add a couple of teaspoons of  sugar to the sauce to balance out the acidity of the tomatoes.  I think it depending of the quality of the passata and your own personal preference.  Taste the sauce at the end of the cooking process and assess the taste profile of the tomatoes to see if it needs some sweetening.

Extras

  • Dried red lentils gives the recipe a nuttier taste and stretches the recipe further.  Well worth it if you have more mouths to feed on a budget.
  • You can add more or less vegetables as you wish.  If you add more vegetable; or grate them up finer to hide them from kids – you will compromise on the meat and tomato flavour.

Happy cooking 
Qlik Replicate – “Json doesn’t start with ‘{‘ [xxxxxxx] (at_cjson.c:1773)” error

Had a shocker of a week.

You know those weeks; where everything went wrong.

Busy fixing other systems; after Operating system patching done by our IT team I didn’t look closely to our Qlik Replicate nodes that have been running smoothly over the past year 

After all there were no alerts; and a quick glance all our tasks were in a running status and none were in suspended or error status.

Next day One of our junior admin the pointed out some Qlik tasks using a high amount of memory.

I looked in and my stomach dropped.

Although the task was “green” and running; no changes were getting through to the destinations (AWS S3 and GCS).  The log file was filled with errors like:

00002396: YYYY-MM-DDT15:21:14 [AT_GLOBAL ]E: Json doesn't start with '{' [xxxxxxx] (at_cjson.c:1773)
00002396: YYYY-MM-DDT15:21:14 [AT_GLOBAL ]E: Cannot parse json: [xxxxxxx(at_protobuf.c:1420)

And hundreds and thousands of transactions were waiting to be written out.

The problem only existed on one QR cluster and only jobs that were writing to AWS S3 and GCS; the Kafka one was fine.  The other QR clusters were running fine

The usual “Turn it off and on again” didn’t work in either stopping or resuming the task; or restarting the server.

In the end I contacted Qlik Supported.

They hypothesised that the blanked patching caused the Qlik Replicate cluster to fail over and corrupt the captured changes stored up waiting to be written out in the next batch process.  When QR tried to read the captured changes – the json was corrupted.

Their fix strategy was:

  1. Stop the task
  2. Using the log file; find out the last successful time or stream position that the task.  This is usually found at the end of the log files.
  3. Using the Run -> Advance Run option; restart the task from the time last written out.

If this didn’t work; the recommended rebuilding the whole task and following the above steps

Luckily their first steps worked.  After finding the correct timestamps we could restart the QR tasks from the correct position.

Now looking into some alerting to prevent this problem again.

Python – Unpacking a COMP-3 number

New business requirement today.  We have some old mainframe files we have to run through Qlik Replicate.

Three problems we have to overcome:

  1. The files are in fixed width format
  2. The files are in EBCDIC format; specifically Code 1047
  3. Inside the records there are comp-3 packed fields 

The mainframe team did kindly provide us with a schema file that showed us the how many bytes make up each field so we could divide up the fixed width file by reading in a certain number of bytes per a field.

Python provided a decode function to decode the fields read to a readable format:

focus_data_ascii = focus_data.decode("cp1047").rstrip()

The hard part now was the comp-3 packed fields. They are made up with some bit magic and working with bits and shifts is not my strongest suite  

I have been a bit spoilt so far working with python and most problems can be solved by “find the module to do the magic for you.”

But after ages of scouring for a module to handle the conversion for me; I had a lot of false leads – testing questionable code with no luck.

Eventually I stumbles upon:

zorchenhimer/cobol-packed-numbers.py

Thank goodness.

It still works with bits ‘n’ shift magic – but it works on the data that I have and now have readable text 

I extended the code to fulfil the business requirements:

# Source https://gist.github.com/zorchenhimer/fd4d4208312d4175d106
def unpack_number(field, no_decimals):
    """ Unpack a COMP-3 number. """
    a = array('B', field)
    value = float(0)

    # For all but last digit (half byte)
    for focus_half_byte in a[:-1]:
        value = (value * 100) + ( ( (focus_half_byte & 0xf0) >> 4) * 10) + (focus_half_byte & 0xf)

    # Last digit
    focus_half_byte = a[-1]
    value = (value * 10) + ((focus_half_byte & 0xf0) >> 4)

    # Negative/Positve check.  If 0xd; it is a negative value
    if (focus_half_byte & 0xf) == 0xd:
        value = value * -1

    # If no_decimals = 0; it is just an int
    if no_decimals == 0:
        return_int = int(value)
        return (return_int)
    else:
        return_float = value / pow(10, no_decimals)
        return (return_float)

Qlik Replicate – “SYS-E-HTTPFAIL, SYS-E-UNRECREQ, Unrecognized request pattern” problem

After a weekend of patching in our dev environment; we came in to discover that half of our Qlik Replicate Nodes were offline in Enterprise manager with the following error message

4 2022-08-08 13:19:24 [ServerDto      ] [ERROR] Test connection failed for server:MY_QRNODE. Message:'SYS-E-HTTPFAIL, SYS-E-UNRECREQ, Unrecognized request pattern 'GET: /servers/local/adusers/devdomain/qlik_user?directory_lookup=false'..'.

We could still access the node through their individual node’s web gui and the tasks were still happily running in the background.  The other half of our QR nodes were still online in Enterprise manager

The usual troubleshooting of restarting the services and restarting the server didn’t fix the problem; and the patching team washed their hands of the problem.  (I can’t really list the patches they applied due to security issues)

A database administrator mentioned it might be a TLS problem as the server team has been changing TLS settings in various places.  This lead me to comparing the connection settings between a QR node that was working to not working (we checked other things like patch levels etc).

Some servers had the username in domainusername format; while others didn’t.  Coincidentally the ones who had the  domainusername format were the ones not working,

Removing the domain section of the username resolved the problem.

So not sure what in the patching caused this issue; but something we have to check on our prod servers before the patches are applied to them.

The Fake LEFT OUTER JOIN

In my role I review a wide variety of SQL code.

Some is highly professional that is above my skill level so I absorb as much learning as I can from it.

On the other side is self taught SQLers from the business world who are trying to build weird and wonderful reports with SQL held together with sticky tape and don’t truly comprehend the code that is written.

An example – I see the following a lot with people who don’t understand the data and trying to program stability in their code like this:

SELECT 
    A.BDATE,
    A.ID,
    A.CUST_ID,
    C.CUSTOMER_NAME,
    C.PHONE
FROM dbo.ACCOUNTS A
LEFT OUTER JOIN dbo.CUSTOMER C
ON   C.BDATE = @DATE
     C.CUST_ID = A.CUST_ID 
WHERE
    A.BDATE = @DATE AND
    A.ACCOUNT_TYPE = 'XX';

This means if for some reason if there is an integrity problem between ACCOUNTS and CUSTOMER; they will still get the account data on the report.

The problem arises when the business requirement of the report evolve and the developer needs to filters on the left joined table. 

For instance – “Report on Accounts on type XX but remove deceased customers so we don’t ring them” 

I quite often see this:

SELECT 
    A.BDATE,
    A.ID,
    A.CUST_ID,
    C.CUSTOMER_NAME,
    C.PHONE
FROM dbo.ACCOUNTS A
LEFT OUTER JOIN dbo.CUSTOMER C
ON   C.BDATE = @DATE
     C.CUST_ID = A.CUST_ID 
WHERE
    A.BDATE = @DATE AND
    A.ACCOUNT_TYPE = 'XX' 

    AND

    C.DECEASED = 'N';

Without knowing it; the developer has broken their “Get all account XX report” business rule by turning their LEFT OUTER JOIN into effectively a INNER JOIN.

The correct way to write the query is:

SELECT 
    A.BDATE,
    A.ID,
    A.CUST_ID,
    C.CUSTOMER_NAME,
    C.PHONE
FROM dbo.ACCOUNTS A
LEFT OUTER JOIN dbo.CUSTOMER C
ON  C.BDATE = @DATE
    C.CUST_ID = A.CUST_ID 

    -------------------------------- 
    AND

    C.DECEASED = 'N'
    -------------------------------- 
WHERE
    A.BDATE = @DATE AND
    A.ACCOUNT_TYPE = 'XX' ;

You can get a good gauge of the skill level of the developer by checking their LEFT OUTER JOINS.  If they using them on every join where you know there is integrity between the two data objects; you can have an educated guess that you’re reviewing a novice developer.

This is where you have to pay extra attention to their joins and where predicates and make them aware of the consequences of the code.

Qlik Replicate – The Wide Text file problem

A wide problem

We had a new business requirement for our team to create a new source for a CSV through Qlik Replicate.

OK – simple enough; create the Source Connector and define the file’s schema in the table section of the connector.

But the file was 250 columns wide.

I had nightmares before of defining file schemas before in programs like SSIS where one little mistake can lead to hours of debugging.

A stroke of Luck

Luckily we knew the source of the CSV file was an output from a view of a database; so the first part of the problem was solved – we had the schema.  Now to import the schema into a Qlik Replicate task.

  1. Create a new File Source connector and prefill as much known information as you can
  2. In the Tables definition of the File Source; add a dummy field
  3. Create a NULL Target connector
  4. Create a dummy task with your new file source and the Null target and save it
  5. Export task with End Points to save out the json definition of the task

Creating the table definition in JSON

Knowing the view definition; a simple python script can convert it to json.

import csv
import json

if __name__ == '__main__':
  final_dic = {}
  source_file = "FileDef.txt"
  field_array = []

    with open(source_file, 'r') as f:
      reader = csv.reader(f, delimiter='t')
      schema_items = list(reader)

        for item in schema_items:
          focus_item = {}
          focus_item["name"] = item[0]
          focus_item["nullable"] = True
          focus_string = item[1]

            if item[1].find("NUMBER") != -1:
              focus_item["type"] = "kAR_DATA_TYPE_NUMERIC"
              tokens = focus_string[focus_string.find("(") + 1: -1].split(",")

                precision = tokens[0]
              focus_item["precision"] = int(precision)

                if len(tokens) == 2:
                  scale = tokens[1]
                  focus_item["scale"] = int(scale)

            elif item[1].find("VARCHAR2") != -1:  #VARCHAR2
              focus_item["type"] = "kAR_DATA_TYPE_STR"
              length = focus_string[focus_string.find("(") + 1 : focus_string.find("BYTE") - 1]
              focus_item["length"] = int(length)

            elif item[1].find("DATE") != -1:
              focus_item["type"] = "kAR_DATA_TYPE_TIMESTAMP"

          field_array.append(focus_item)

        columns = {}
      columns["columns"] = field_array

    f = open("out.json", "w")
  f.write(json.dumps(columns, indent=4))
  f.close()

FileDef.txt

The following text file contains the schema of the view with the table delimited columns of:

  • Column Name
  • Data type
  • Nullable
  • Column order
UDF_VARCHAR1 VARCHAR2(200 BYTE) Yes 1
UDF_VARCHAR2 VARCHAR2(200 BYTE) Yes 2
UDF_VARCHAR3 VARCHAR2(200 BYTE) Yes 3
UDF_NUMERIC1 NUMBER(10,6) Yes 4
UDF_NUMERIC2 NUMBER(10,6) Yes 5
UDF_NUMERIC3 NUMBER(10,6) Yes 6
UDF_INT1 NUMBER(10,0) Yes 7
UDF_INT2 NUMBER(10,0) Yes 8
UDF_INT3 NUMBER(10,0) Yes 9
UDF_DATE1 DATE Yes 10
UDF_DATE2 DATE Yes 11
UDF_DATE3 DATE Yes 12

This particular view definition is from Oracle so uses oracle data types; but it would be simple to change the code over to use a definition from a MS SQL database or other source.

Sticking it all back together

  1. Open up the exported task file json
  2. Find the dummy field that you created in the table definition
  3. Overwrite the dummy field with the json created in the script file
  4. Save and reimport the job.

If all goes well; the File source connector will be overwritten with the full table definition.