Watching my usual favourite recipe channels on YouTube; I was suggested a video “Why Restaurant Ragu Tastes So Much Better”. I usually avoid clickbaity type titles, but with Bolognese/Ragu been one of my favourite dishes I curiously clicked on it.
And wow.
It was a complete eyeopener with new ingredients and techniques that I had to try.
Racing down to the store next day – I brought the ingredients that I was missing and cooked it that afternoon.
And it was going so well – every key point I was tasting and been blown away on how rich and meaty the ragu was tasting.
Until adding the “Gastrique.”
It was a vinegar and sugar slurry that you add right at the end. I should have trusted my instinct and used just a little touch; but my wife goes, “Follow the recipe and add it all in.”
The Gastrique overpowered the dish. It was still tasty; but it was so much better before I added it in.
But I learnt so much and I will never look at spag bol the same again.
Original recipe
My version
This is my working version that I have modified from the original version. I will hone in the ingredient and steps on subsequent attempts.
Bold is something I have added from the original recipeStrikethrough is something I have changed from the original recipe
Ingredients
- 1 kg beef mince (50% shin, 50% chuck)
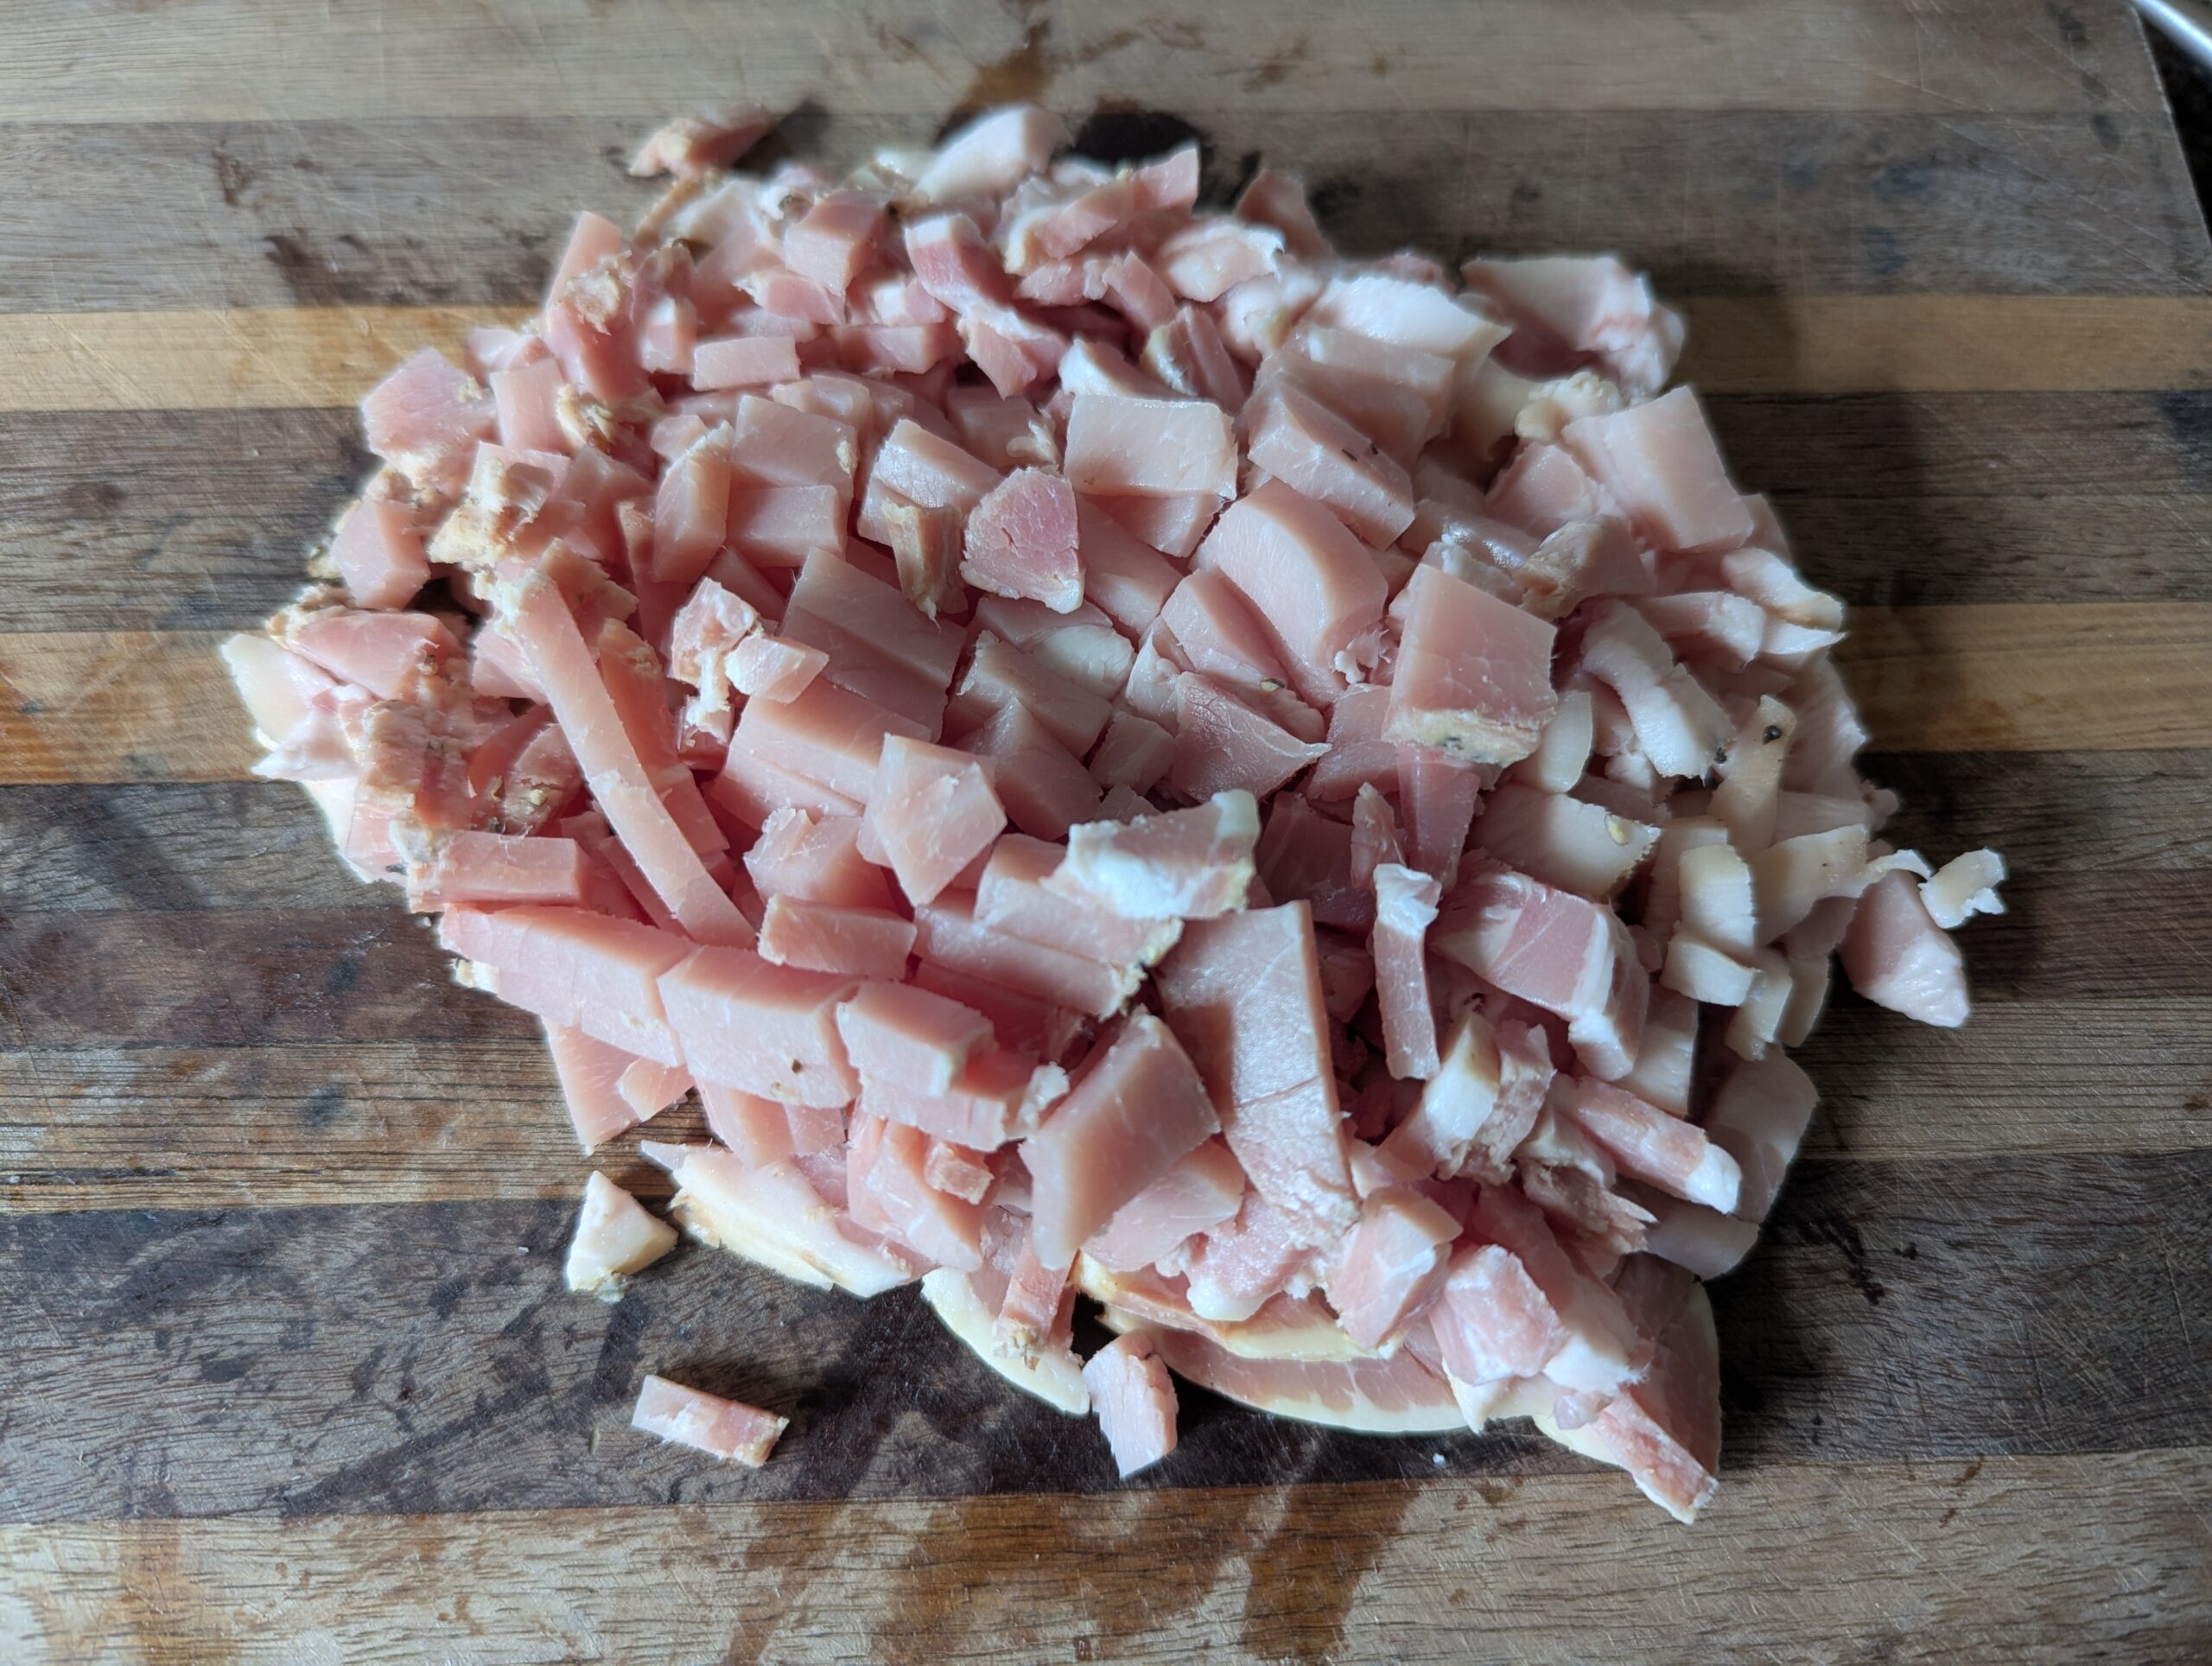
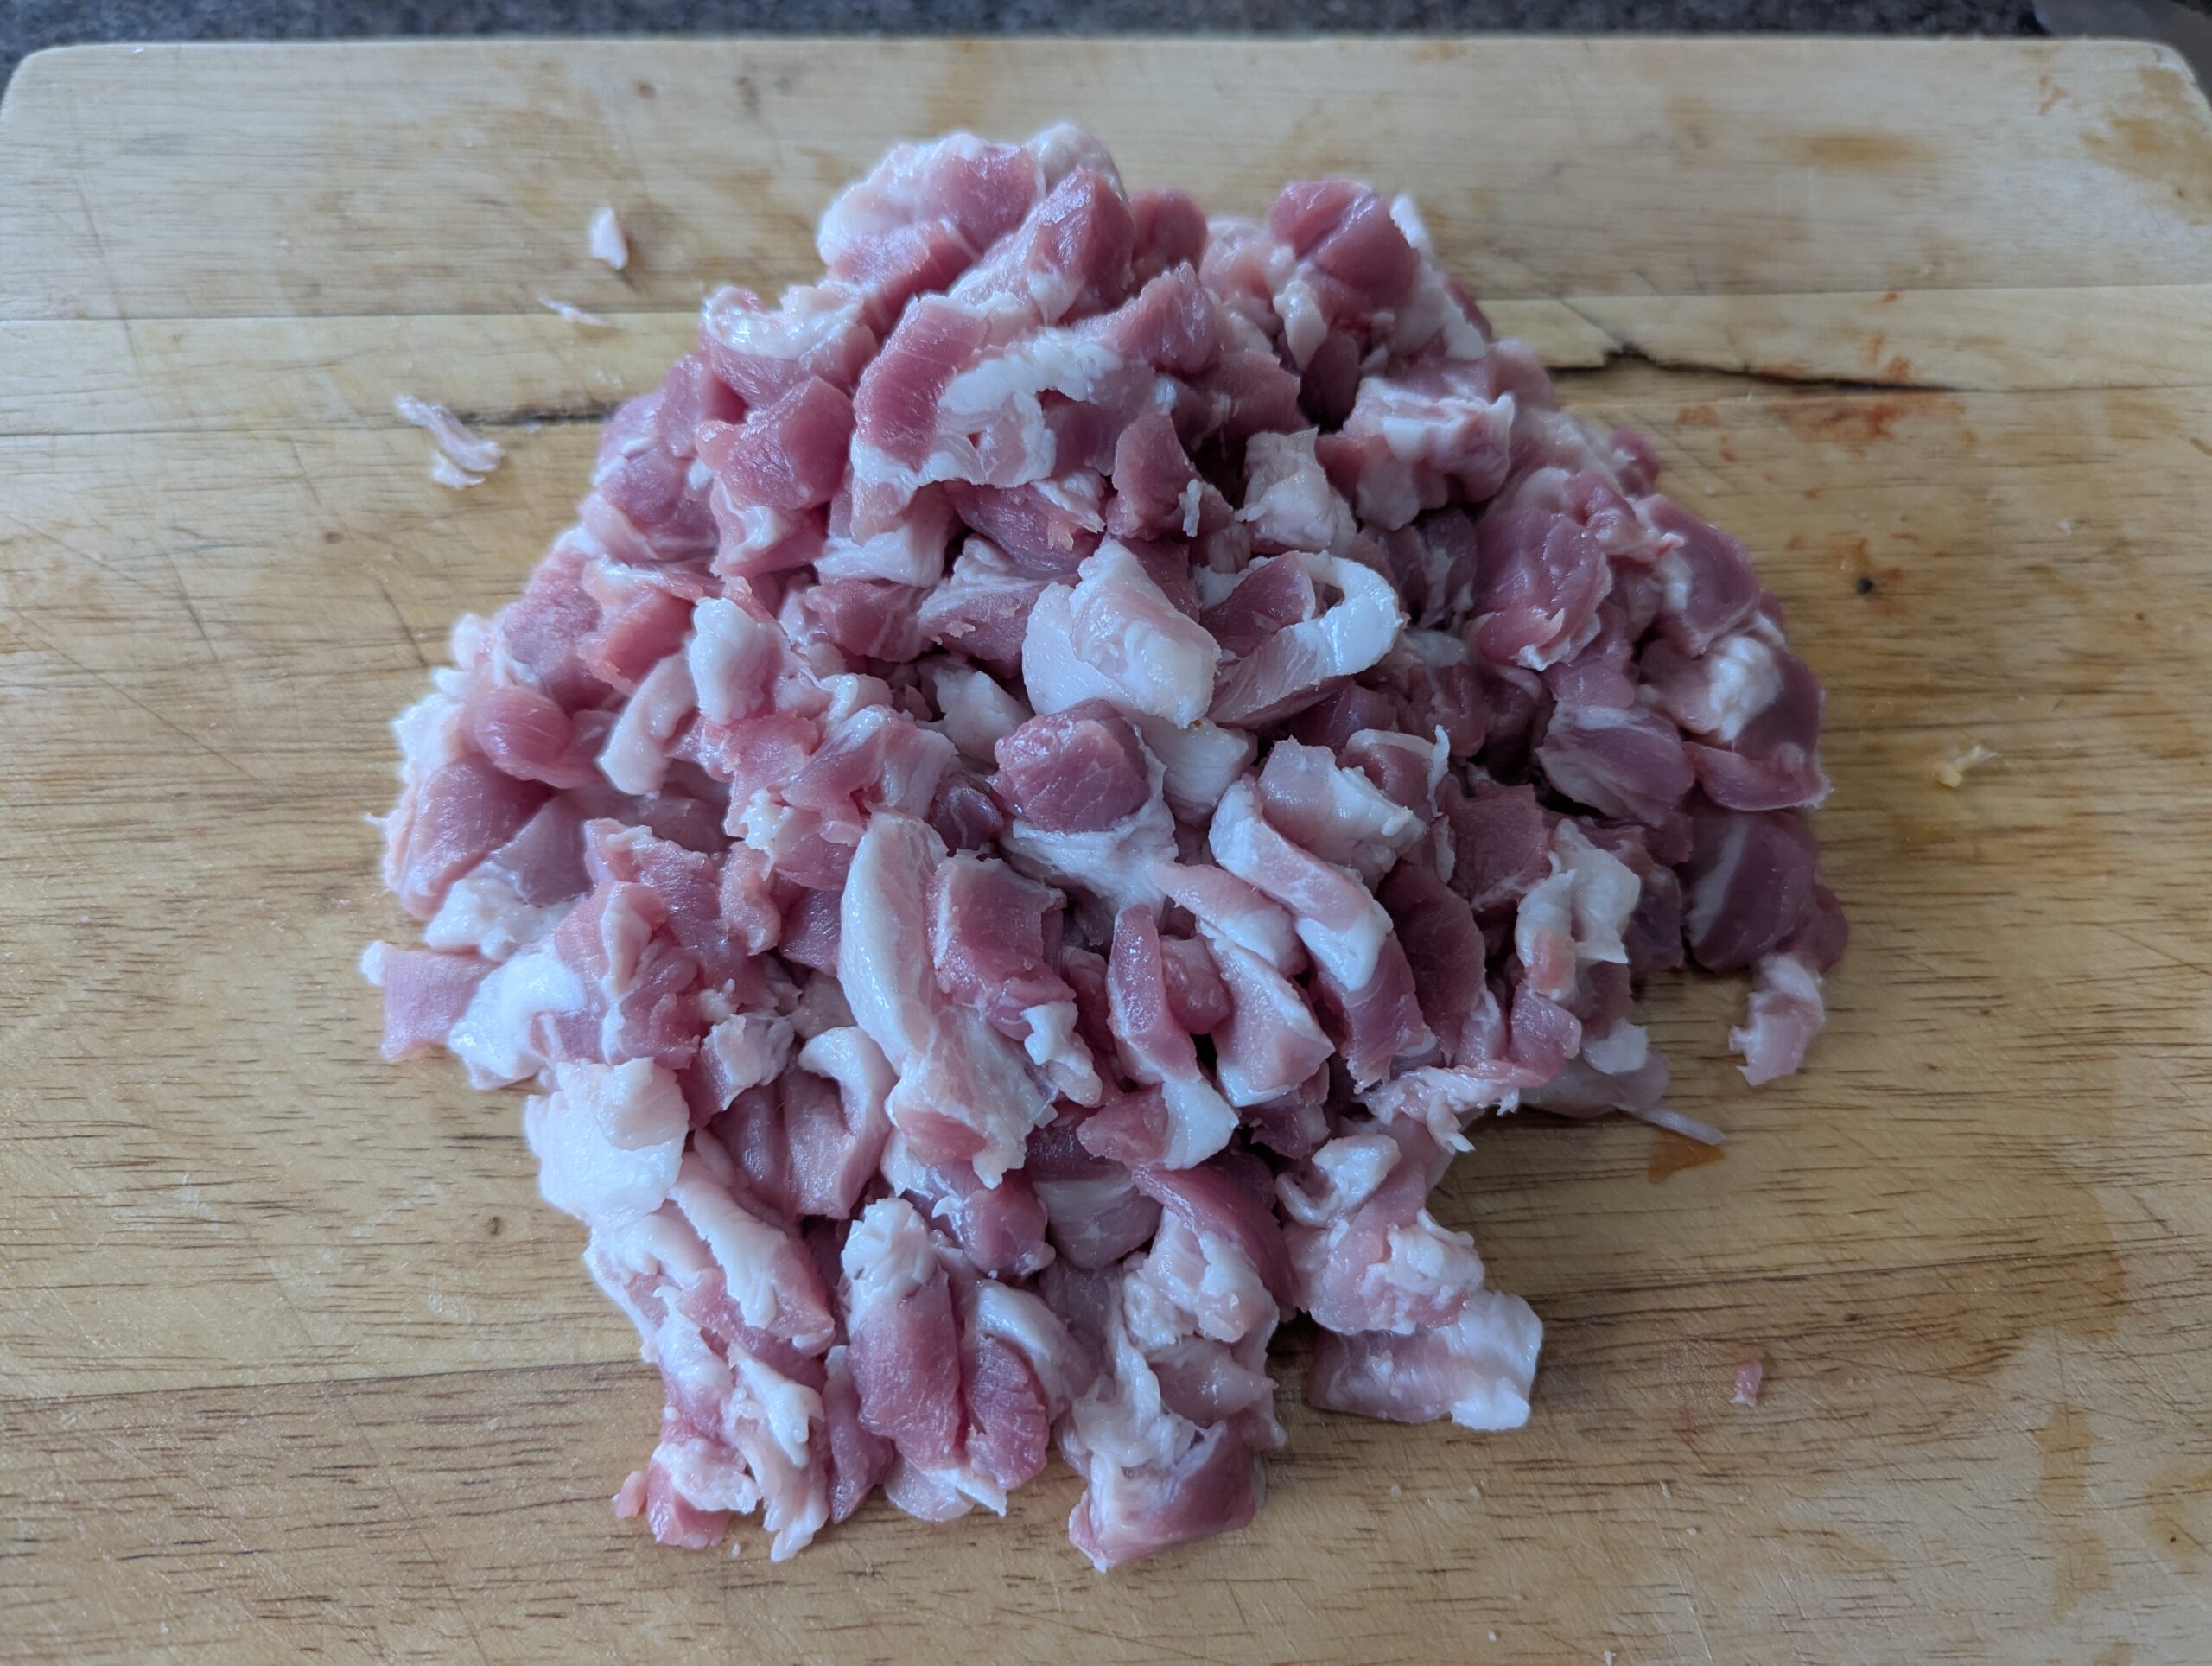
- 400 g pork belly, diced
- 100 g pancetta, diced
- 200 g onion, finely diced
- 150 g carrots, finely diced
- 150 g celery, finely diced
- 100 g Mushrooms, finely diced
- 1–2 garlic cloves, finely grated
- Extra virgin olive oil
- Neutral oil
80 g tomato puréeone can of crushed tomatoes reduced down to a purée- 400 g passata
- 200 ml red wine
- 150 ml Whole milk (added in two stages)
- ~500 ml
chicken orbeef stock - 1 Parmesan rind
- 2 bay leaves
- Pinch of nutmeg
- Salt, to taste
- Pepper, to taste
To finish
- Cold butter
- Extra milk
- Gastrique:
100 g balsamic vinegar + 50 g sugar50 g balsamic vinegar + 25 g sugar
Method
- On low heat, add olive oil and pancetta to a heavy pot and slowly render the fat.
- Add onion, carrot, mushroom and celery with a pinch of salt.
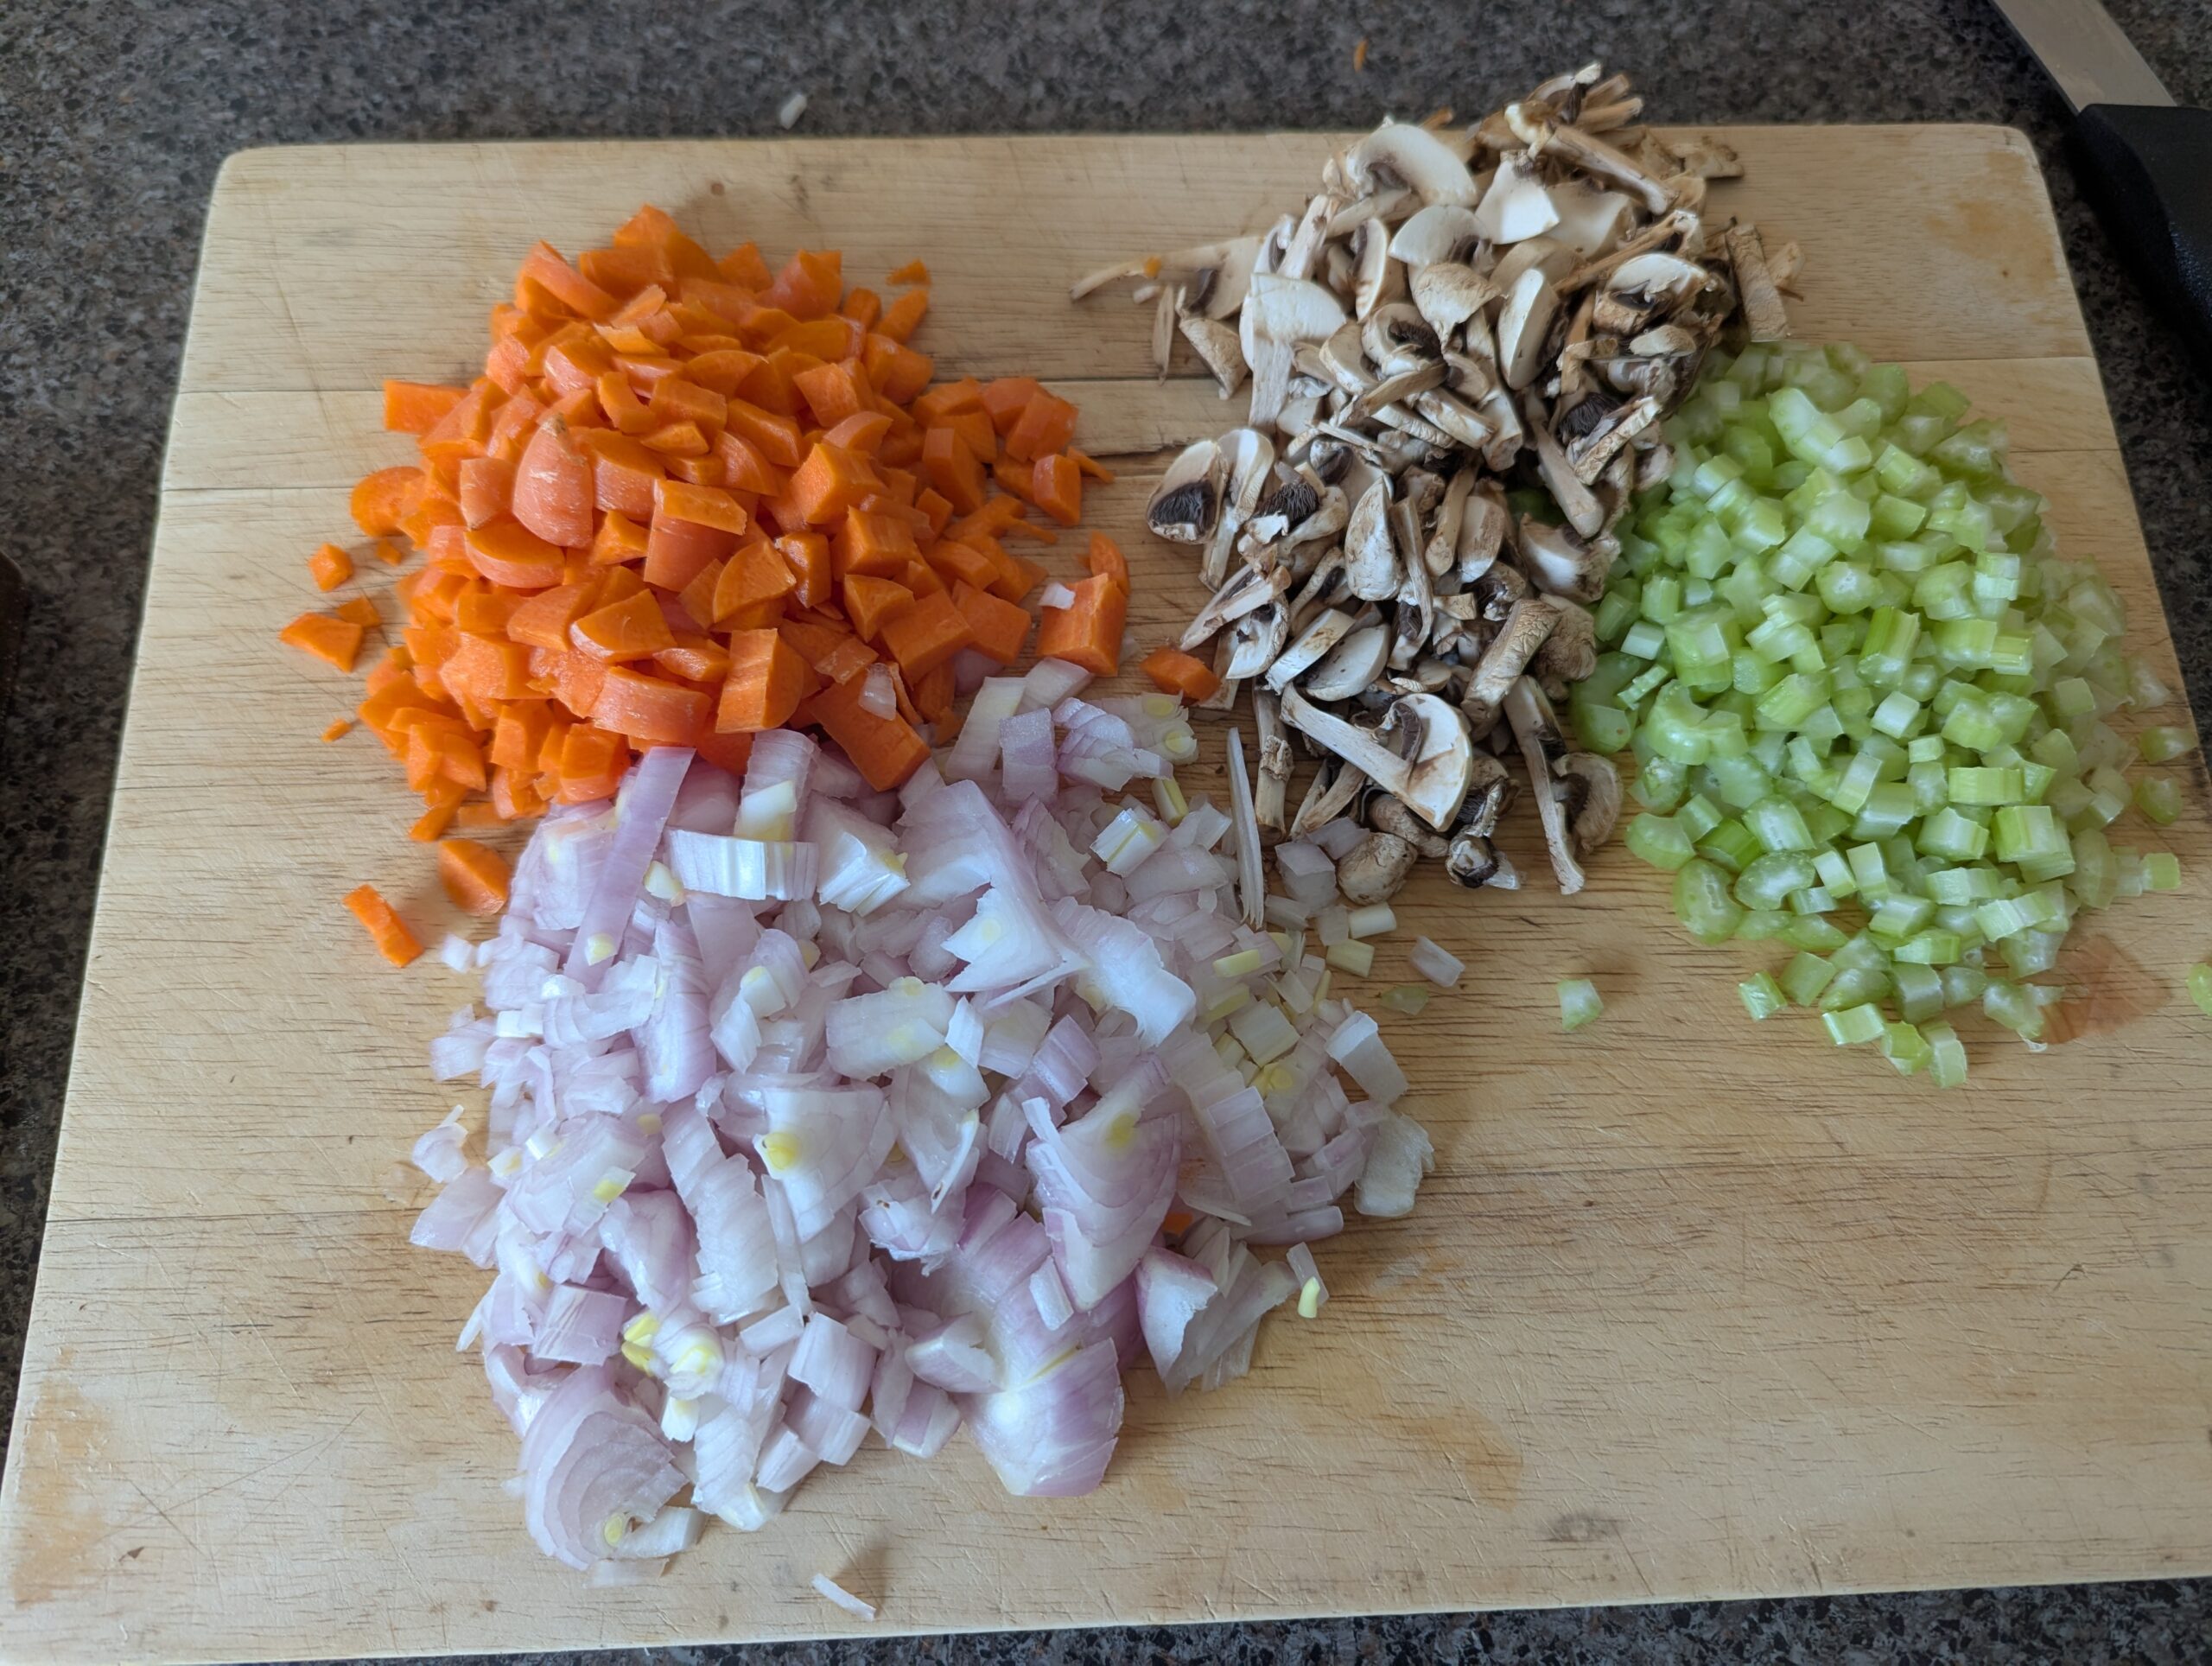
- Sweat gently until soft, pale and sweet, no colour.
- Grate in the garlic for the final 1–2 minutes, then remove the soffrito and set aside.
- Return the pot to high heat with a little neutral oil.
- Add the beef mince, breaking it up and cooking hot to drive off moisture.
- Once dry, lower the heat slightly and caramelise the beef slowly until deeply browned, scraping the fond regularly.
- Add the pork belly and gently warm through — no heavy browning.
- Stir in the tomato purée and cook until it darkens and caramelises.
- Lower the heat and add the first portion of milk. Let it fully absorb into the meat.
- Deglaze with red wine and reduce by about half, scraping the pan clean.
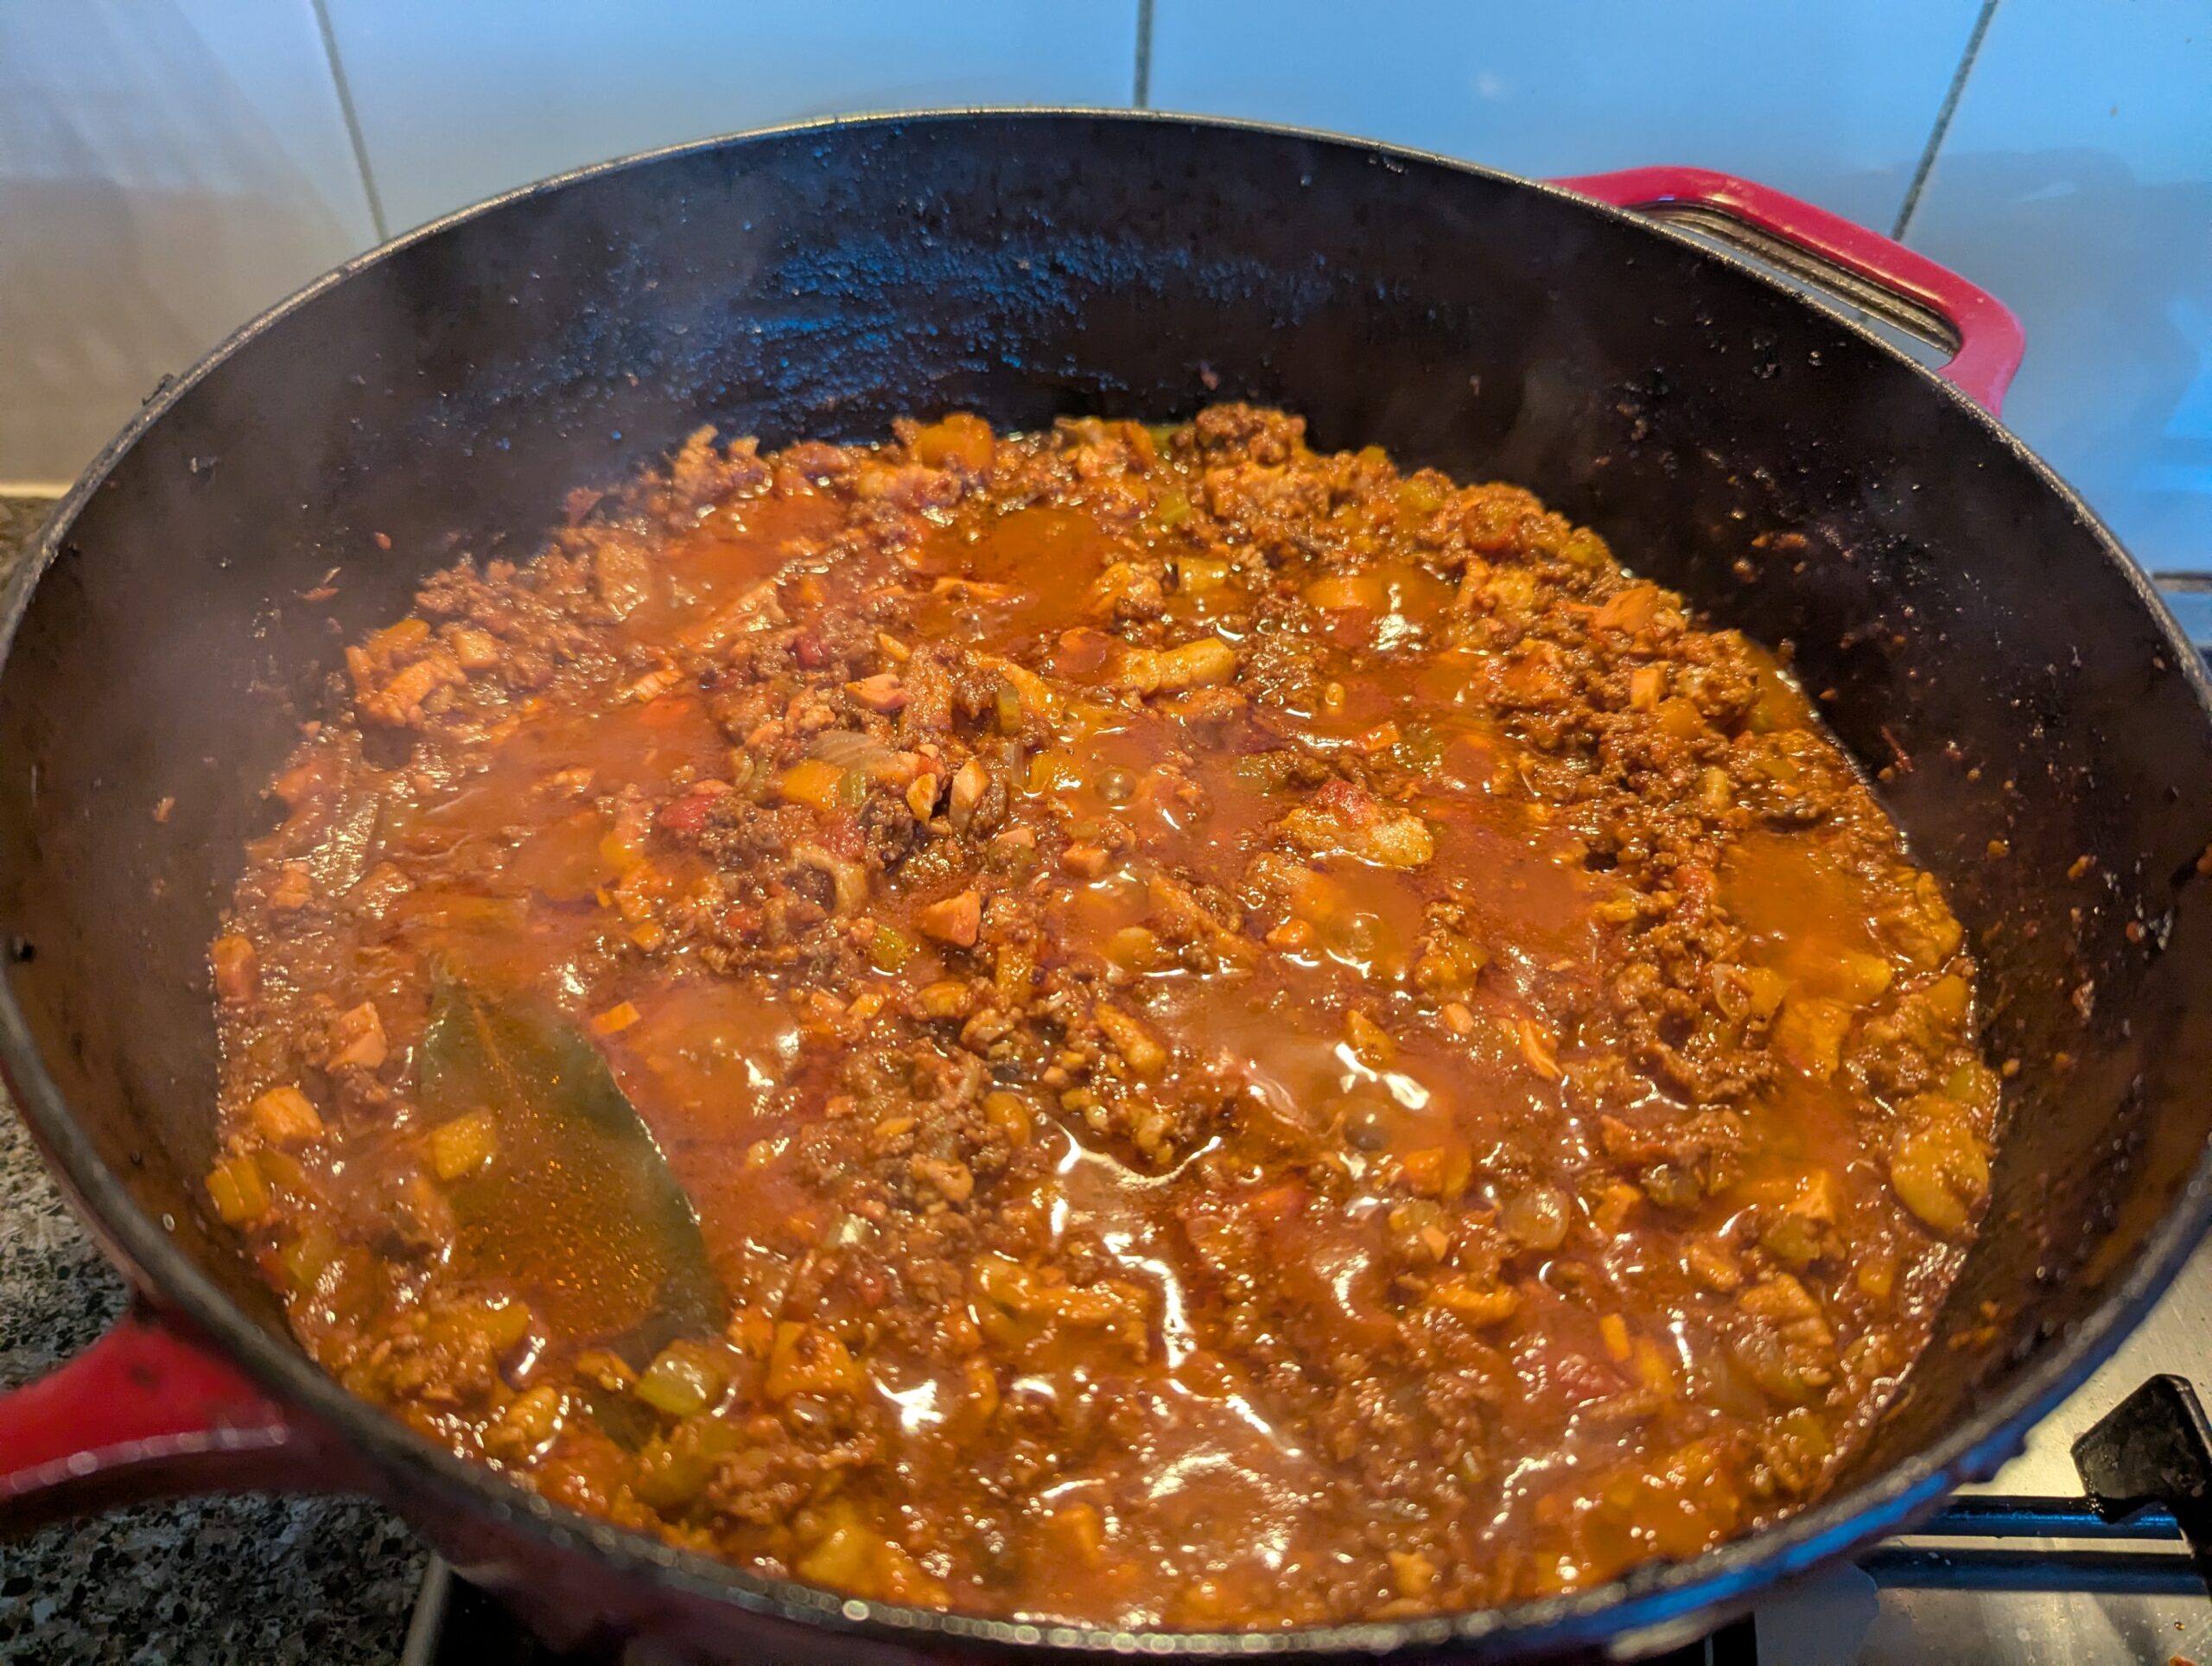
- Return the soffrito to the pot, then add passata, stock, Parmesan rind, bay leaves and a pinch of nutmeg.
- Bring to a simmer, cover, and cook in a low oven at 120°C for 4½ hours, stirring occasionally.
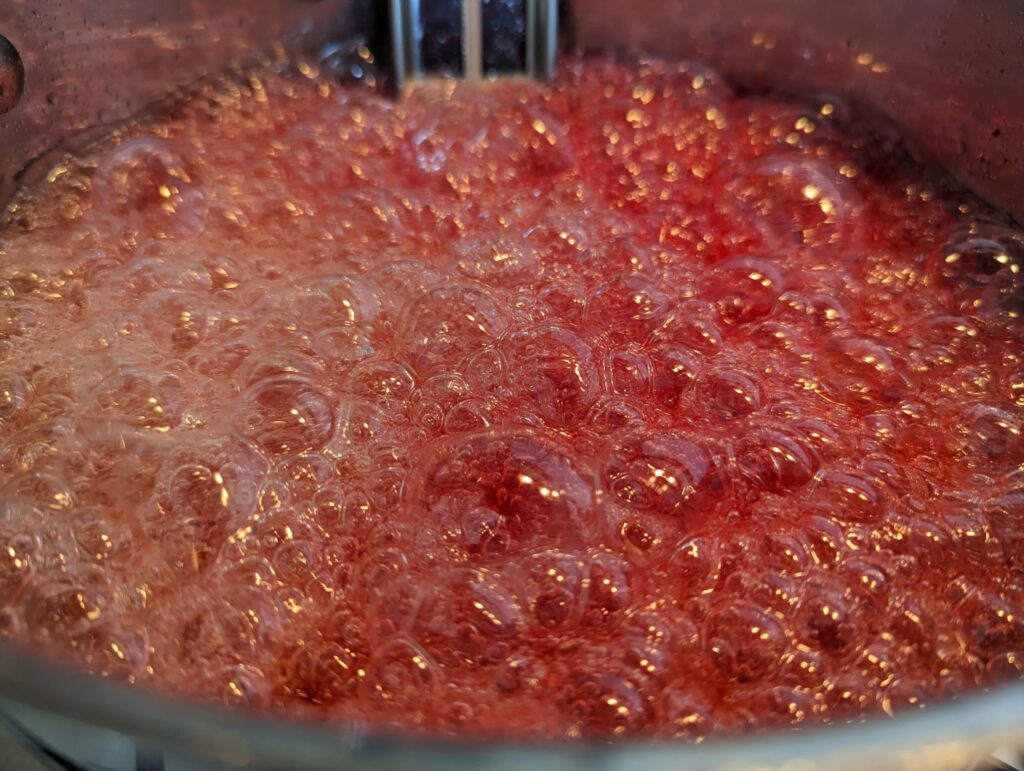
- While cooking, make a gastrique by boiling the vinegar and sugar briefly until lightly thickened.
- Once cooked, remove the bay leaves and Parmesan rind.
- Finish with a splash of milk, cold butter for gloss, and the gastrique added gradually to balance acidity.
- Season to taste.